Steel boat build - Almarine 1200fa

JOHNPEET

Well-known member
Joined
24 Sep 2002
Messages
429
Location
Anglesey
Visit site
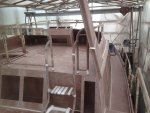
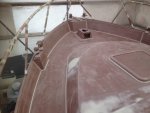
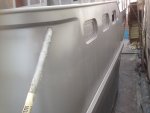
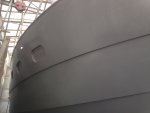
Fairing the hull! Well that was a nice job For testing your sanity!

There is a school of thought that steel boats don’t need to be faired! There’s no problem with being able to see the welds - cos it’s a steel boat!

Even though I took great care with the welding procedures, when you rubbed your hand along the hull plating, you could “feel” every weld even through the 4mm plate. My research suggested that one way of dealing with this was to simply hit every one of those weld points that could be felt with a grinder! I didn’t fancy the idea of that! There were also a few areas that needed some epoxy filler, just to produce the fair curves that the hull should have - effectively covering the imperfections in the hull plating.

So after spraying the first coat of epoxy primer, quite a few weeks were spent using epoxy filler to fair the hull and applying a nice fillet around all of the internal welded seams etc. I also purchased a couple of “flexible spatulas” from Flexisander which made the job much easier. Basically, plaster the filler on, then screed it off with the flexible spatula. The spatula rides the high points and follows the curves. I bought a 900mm and a 500mm one as I remember.

So the bulk of the fairing was completed after the initial coat of epoxy and then after spraying each subsequent coat, further refinements were made where required. The end result is not perfect, but is as good as my sanity could cope with!

The painting plan was:

First coat - Jotamastic 87AL red - above and below waterline
Second coat - Jotamastic 87AL grey - above and below waterline
Third coat - Jotamastic 87 off white - above and below waterline
Fourth coat - Jotun Hardtop AX white - above waterline
Fifth coat - Jotun Hartop AX white - above waterline
Fourth coat below waterline - Jotun Vinyguard Silvergrey - a holding coat applied so that the antifouling will adhere to the epoxy primer.

After all the spraying was completed, it was left for about eight weeks prior to being flatted with wet and dry and then buffed with G3 liquid rubbing compound to finish.

The epoxy fairing filler was from Reactive Resins - their “EasyFair” product. They were manufacturing a range of products under licence at the time which were very cost effective. Not sure if they’re still around!

7E36E78D-325F-4EB5-9CEC-008D0041F239.jpeg8D3A169F-6AC4-40FC-9202-308A659130D1.jpeg77DC23D6-EC93-41C7-8EB4-953C5017271D.jpegA388A30F-F125-4DA7-9007-FD7A0CC6F795.jpeg4A1D3805-72FC-4613-800E-BBDBBA46F39E.jpegA3615428-C01A-4FD8-B926-6013C13C38DF.jpeg8B8DD889-2340-4E62-A204-491C610DA85D.jpegA79646F4-3441-4467-8BD4-E1F84C01D3DB.jpeg
 

JOHNPEET

Well-known member
Joined
24 Sep 2002
Messages
429
Location
Anglesey
Visit site
Did you find out as to why the above water seams were only welded on one side John?

To be honest, it’s not a question that I ever asked!
The welds beneath the waterline are properly prepped by vee-ing the joint out and making a full penetration weld from the outside. The inside of the welds are then cleaned lightly with the grinder and a good bead of weld laid down and not ground off. So you end up with probably a good 6mm of weld thickness on a 5mm plate after grinding off the outside.
The welds above the waterline are still properly prepped and a full penetration weld achieved. There is great emphasis from the designers manual to not “overweld” the hull if you want to achieve a fair boat.

I think the issue is that the welds above the waterline still need to be carried out to a good standard, but as they’re not as critical as the ones beneath the waterline, they don’t need to be welded both sides. Also, over time, they’re less likely to lose thickness due to corrosion.

A great deal of the strength of the boat comes from the interlocking steel pieces, bulkheads, stringers etc - many of which are only stitch welded together. Together, it all forms a monocoque construction.
 

ean_p

Well-known member
Joined
28 Dec 2001
Messages
3,012
Location
Humber
Visit site
To be honest, it’s not a question that I ever asked!
The welds beneath the waterline are properly prepped by vee-ing the joint out and making a full penetration weld from the outside. The inside of the welds are then cleaned lightly with the grinder and a good bead of weld laid down and not ground off. So you end up with probably a good 6mm of weld thickness on a 5mm plate after grinding off the outside.
The welds above the waterline are still properly prepped and a full penetration weld achieved. There is great emphasis from the designers manual to not “overweld” the hull if you want to achieve a fair boat.

I think the issue is that the welds above the waterline still need to be carried out to a good standard, but as they’re not as critical as the ones beneath the waterline, they don’t need to be welded both sides. Also, over time, they’re less likely to lose thickness due to corrosion.

A great deal of the strength of the boat comes from the interlocking steel pieces, bulkheads, stringers etc - many of which are only stitch welded together. Together, it all forms a monocoque construction.
Nice job!
 

JOHNPEET

Well-known member
Joined
24 Sep 2002
Messages
429
Location
Anglesey
Visit site
The welding prep (vee-ing) for all those joints sounds like quite a process in itself. We're they pre machined or did you have to go round with a grinder?
All done with a grinder. The four bottom sheets were prepped prior to tacking them together. The rest were done afterwards mostly with a 3mm cutting disk. In reality, it became a routine which involved vee-ing about a meter length of seam, often cutting out the original tacks and fine tuning the alignment of the joint. Swapping between port and starboard to even up the stresses created from the welding.
 

JOHNPEET

Well-known member
Joined
24 Sep 2002
Messages
429
Location
Anglesey
Visit site
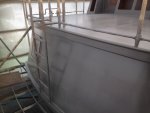
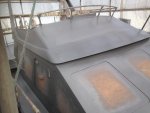
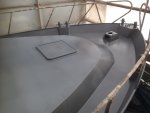
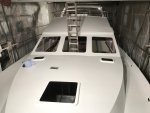
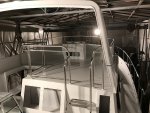
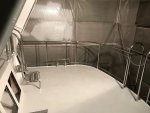
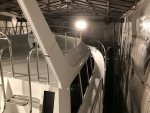
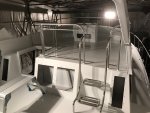
These were the photos that I took on the evening that I’d just finished removing all of the masking from the stainless steel. Note that the epoxy and topcoat are brought about 15 to 20mm onto the stainless so as to protect the weld and hopefully prevent moisture getting to the dissimilar metals junction.

Work starts inside in tomorrow’s instalment!

A9781E18-E78F-4790-8F50-6DFB44213263.jpeg566EE844-117D-49B0-A49F-B05143C1FE31.jpeg96740F88-1DE5-4EA3-A11D-C5DD2D9DE049.jpeg81F4B6DE-1859-4BEC-9B43-468DC779021B.jpeg0759B131-7AD6-4C0F-850A-913B6F5E30DE.jpeg5BE7332D-239A-45B8-A050-FBD4890B8143.jpegF3D720EF-FB4E-4687-8DE9-3EC761189358.jpeg827FBE1F-958F-4088-A6C7-94268BEAB55B.jpeg
 
Top