jakew009
Well-Known Member
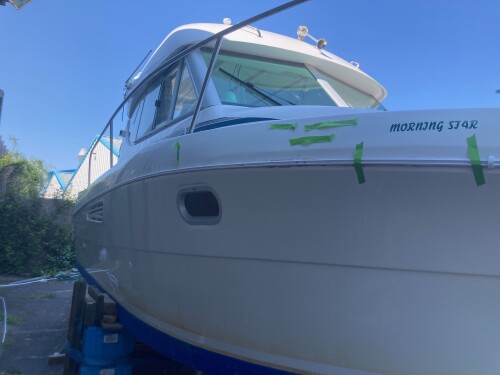
I think the windows are finished..
All that is left is painting the strip around the curved bit of acrylic to protect the sealant from UV, and then sticking them back into the boat.
Below is a bit of a pictorial description of how to glue them back together for anyone else who has the misfortune of doing this job in the future.
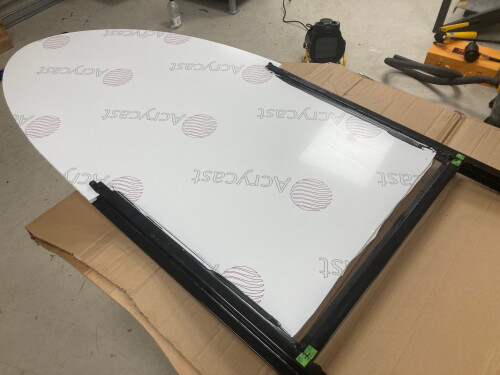
Note the bits of green tape that are used to help you align the frame. It's much easier to dry fit it all first as it's a nightmare when it's all covered in sikaflex.
You need to use the Sikaflex primer on the edges of the acrylic pieces, and also paint it inside the frame pieces. You need to be pretty accurate when you do it.

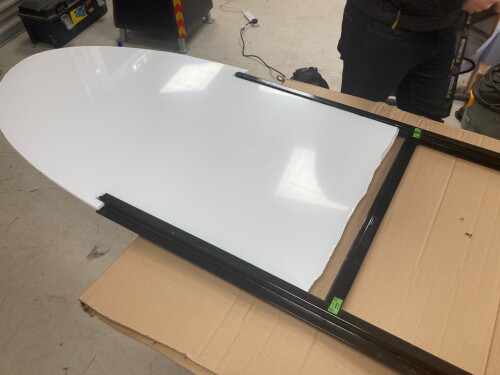
You need to completely fill the lower groove that the acrylic sits in, and then put a bit more in each side. This is fractionally too much.

The glue squeezes out when you put the acrylic in. It's difficult to get enough to know you are fully filling the gap, but not too much that it goes everywhere. Get a battery powered silicon gun unless you enjoy pain.

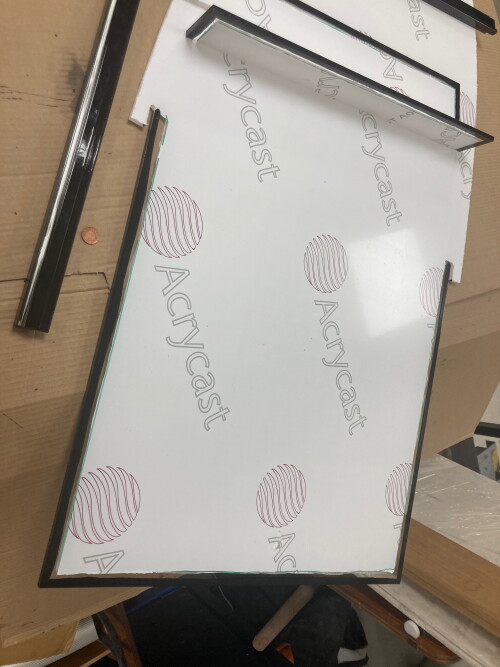
You have to first fit the rear vertical piece, and then slide the rear acrylic piece in. It looks like it would be easier to attach the acrylic to the upright piece first, but it's not possible (I tried, and had to clean all the sikaflex off and start again). You need a block of wood and a hammer to tap the vertical piece onto the acrylic whilst someone pushes from the other end.

Do not do it like this! It's not possible to slide this piece into the frame like this.

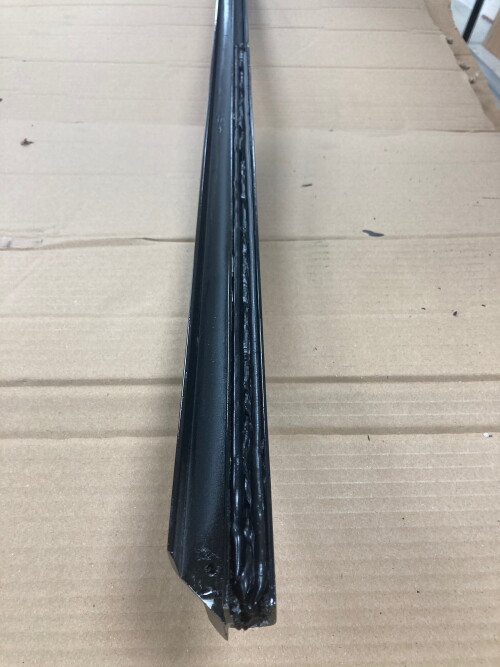
You know it's far enough in when this little hook piece is almost touching the end of the frame.

Showing it dry fitted up

Finished")

Once you have glued the frames in, you need to put another little bead of sikaflex in if you haven't fully filled the frame, and then go along with a square blade to leave a neat edge. Once the Sikaflex dries, you can then go along with you finger and rub off any sikaflex that's left on the window. It comes off pretty easily with a little rubbing. If you have any big lumps you can cut them off with a scalpel.

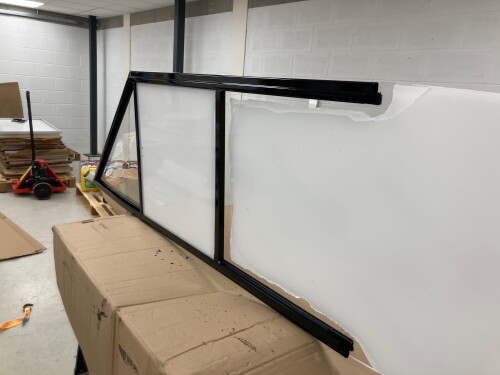


Bit of a difference between old (on left) and new (in triangle shape piece).

All that is left is painting the strip around the curved bit of acrylic to protect the sealant from UV, and then sticking them back into the boat.
Below is a bit of a pictorial description of how to glue them back together for anyone else who has the misfortune of doing this job in the future.
Note the bits of green tape that are used to help you align the frame. It's much easier to dry fit it all first as it's a nightmare when it's all covered in sikaflex.
You need to use the Sikaflex primer on the edges of the acrylic pieces, and also paint it inside the frame pieces. You need to be pretty accurate when you do it.
You need to completely fill the lower groove that the acrylic sits in, and then put a bit more in each side. This is fractionally too much.
The glue squeezes out when you put the acrylic in. It's difficult to get enough to know you are fully filling the gap, but not too much that it goes everywhere. Get a battery powered silicon gun unless you enjoy pain.
You have to first fit the rear vertical piece, and then slide the rear acrylic piece in. It looks like it would be easier to attach the acrylic to the upright piece first, but it's not possible (I tried, and had to clean all the sikaflex off and start again). You need a block of wood and a hammer to tap the vertical piece onto the acrylic whilst someone pushes from the other end.
Do not do it like this! It's not possible to slide this piece into the frame like this.
You know it's far enough in when this little hook piece is almost touching the end of the frame.
Showing it dry fitted up
Finished
Once you have glued the frames in, you need to put another little bead of sikaflex in if you haven't fully filled the frame, and then go along with a square blade to leave a neat edge. Once the Sikaflex dries, you can then go along with you finger and rub off any sikaflex that's left on the window. It comes off pretty easily with a little rubbing. If you have any big lumps you can cut them off with a scalpel.
Bit of a difference between old (on left) and new (in triangle shape piece).