Sol68
Active Member
Kalo Pasxa Vas !
Kalo Pasxa Vas !
 )
)

Another fantastic job Vas. Hard earned siesta!
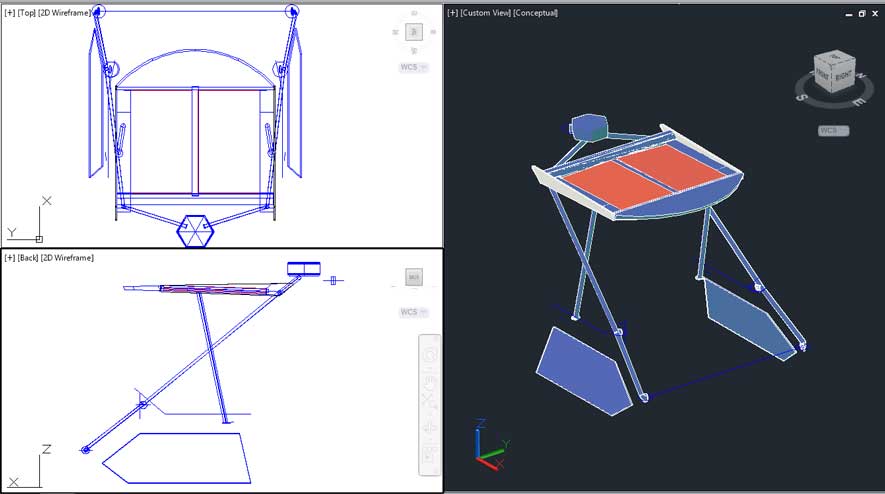
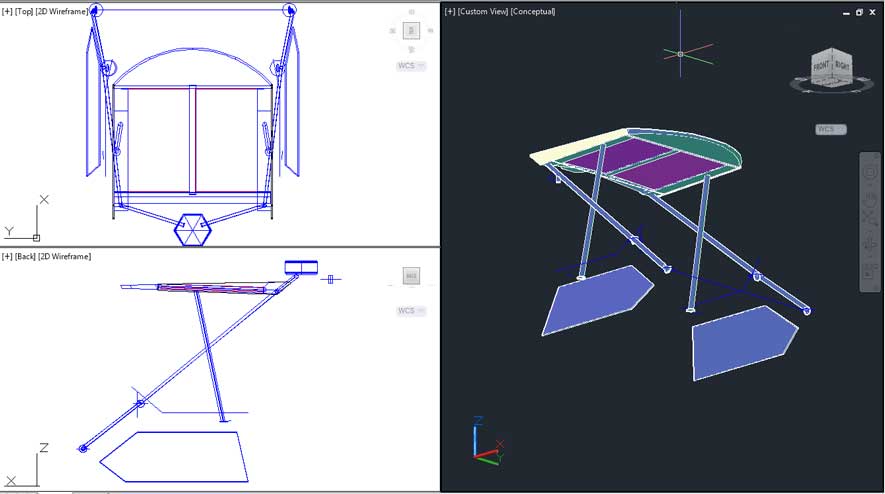

 ) structural idea is 3 cold formed sections in most likely 2mm SS sheet running aft to bow with the cross braced pipes welded on them.
")
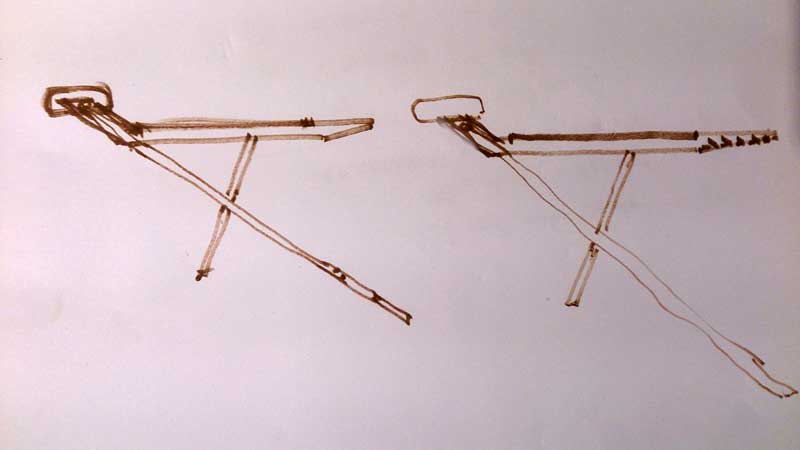
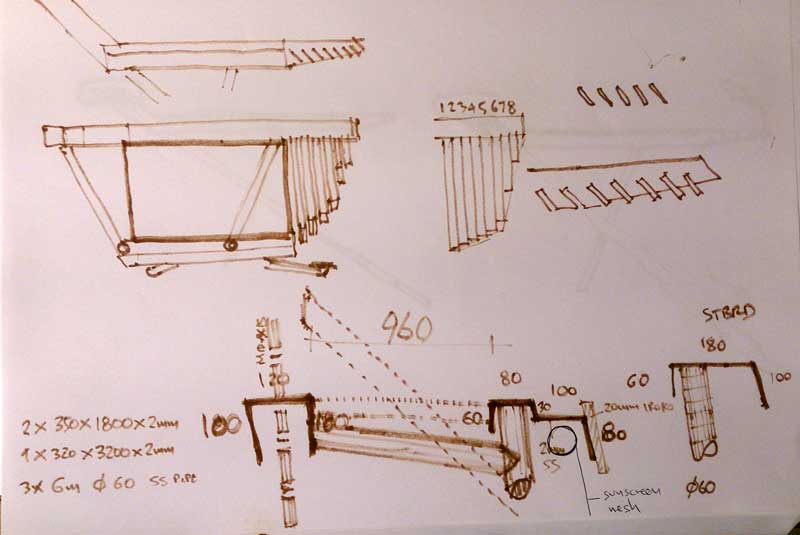

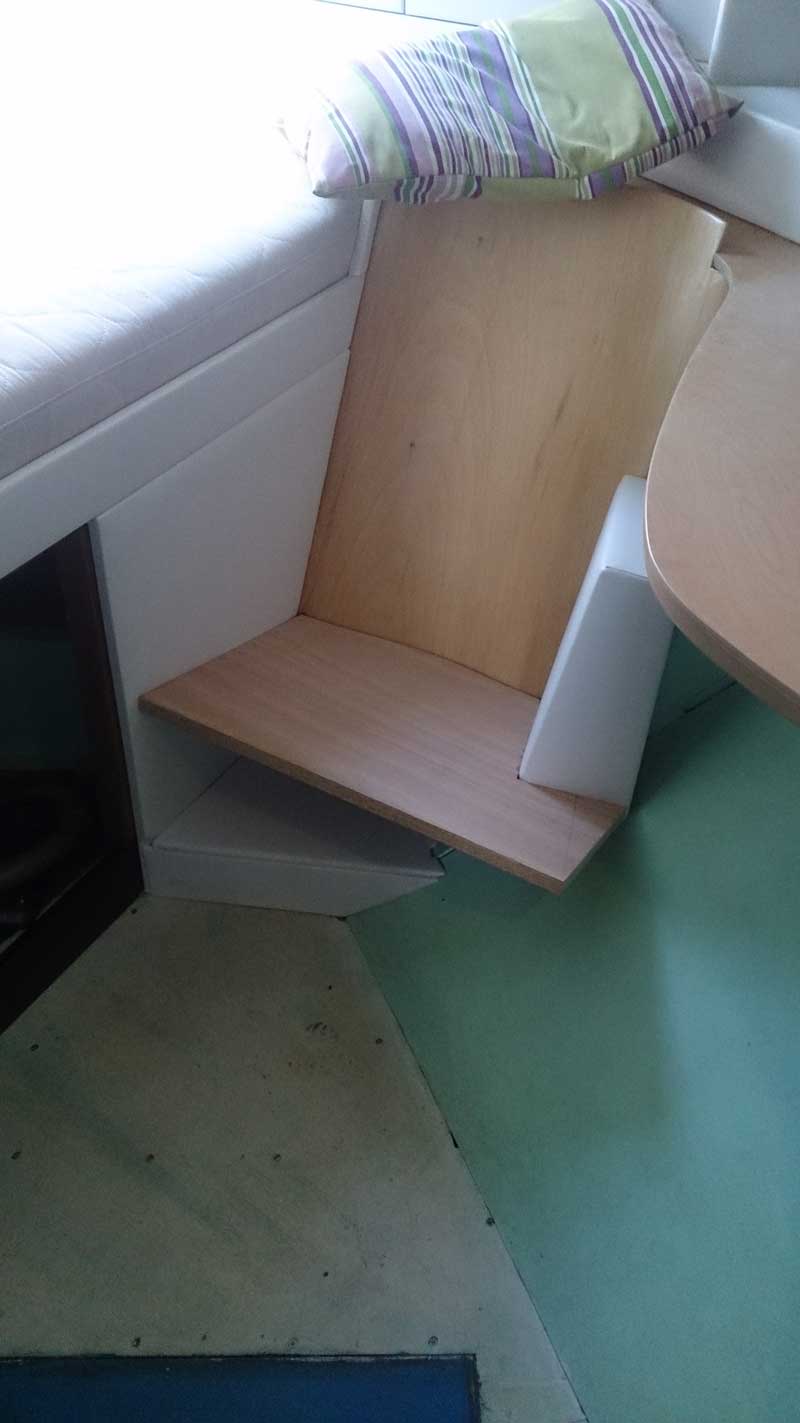
So, the following photo of the A4 I got all the details on sort of explains (or confuses...) the whole idea. Will try to find some time before the w/e to draft it in AutoCAD and get some allround renderings in order to be able to discuss it in detail with Nikos the ss fabricator.
Having dimensioned the 3 main cold formed sheet sections I went ahead and estimated the weight of the whole lot, cannot say I'm overly happy, so any comments welcomed!
Assuming 7800kg/m3 for an average SS we get:
Two side sections 20kg
Central section 16kg
pipes 2inch and approx 18m (3X6m lengths) (from http://www.engineeringtoolbox.com/ansi-stainless-steel-pipes-d_247.html )
if 40S approx 4mm wall thickness 98kg
if 10S approx 2.7mm wall 70kg
if 5S approx 1.65mm wall 43kg
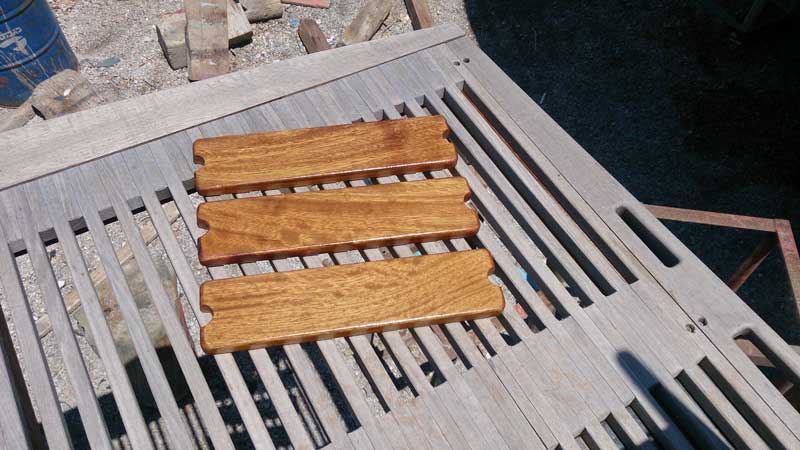
I'd also add another 10kg for the shading slats on the front and the two iroko sides
Now, with a v. heavy duty 40S pipework, whole Hard top with panels, radar and cabling/speakers/lights/antennas will be dangerously close to 200kg!
going down to 10S pipes 2.7mm wall seems rather thick to me tbh! we are down to almost 150kg
I'm cheating a bit as these weights COG are not up at the H/T elevation but a good 60-70cm below, so say 1.3m above f/b level, which indeed means two extra persons on the f/b, cannot be that bad, can it?
Would like to hear comments on weight and possible effects, I feel it will make bugger all difference to the 8-9K kg boat (yes, haven't got a clue how heavy she is, will measure the volume of the hull below the W/L and get a decent estimate.)
as always all opinions welcomed!
cheers
V.
and wont come back to that as I've changed to design yet again and haven't got time to model it in AutoCAD atm.


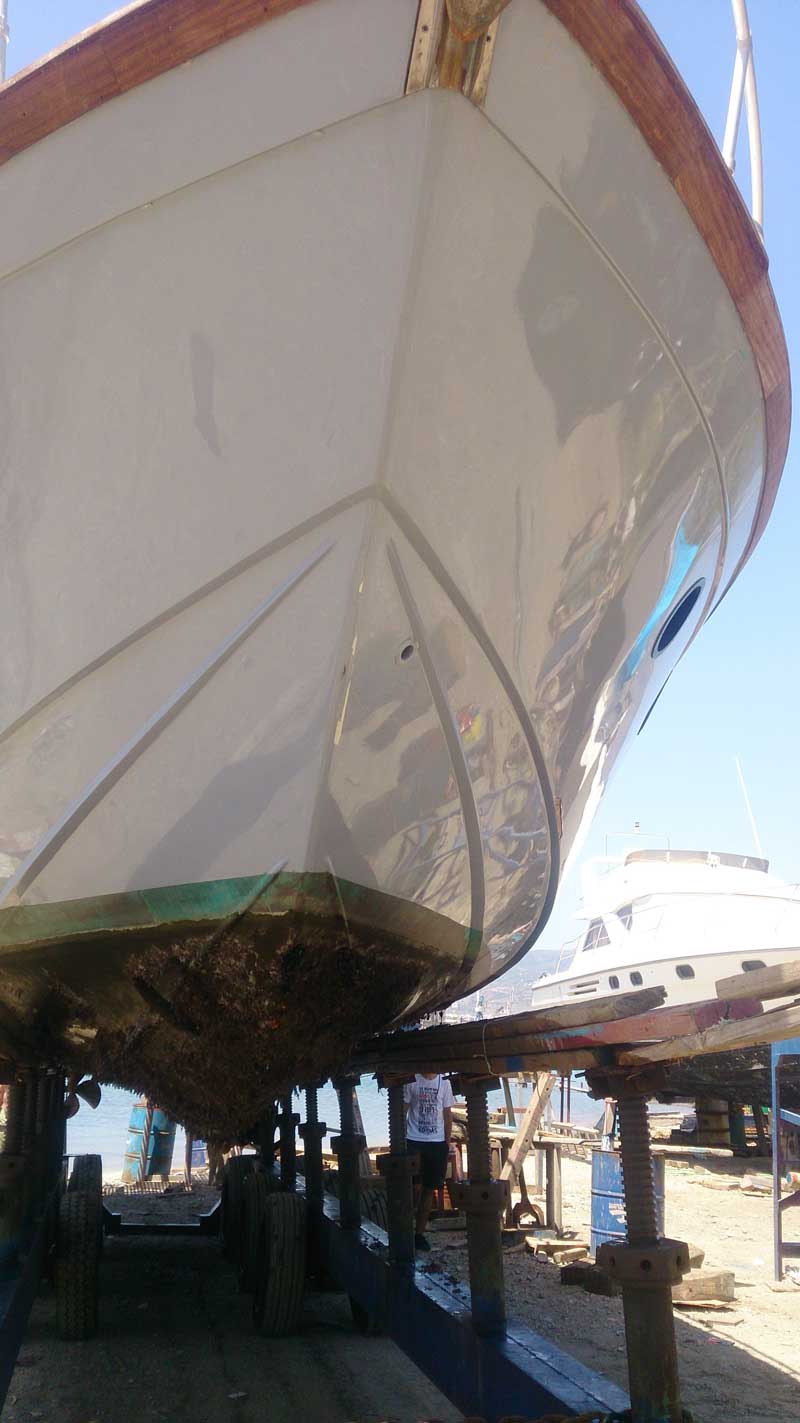
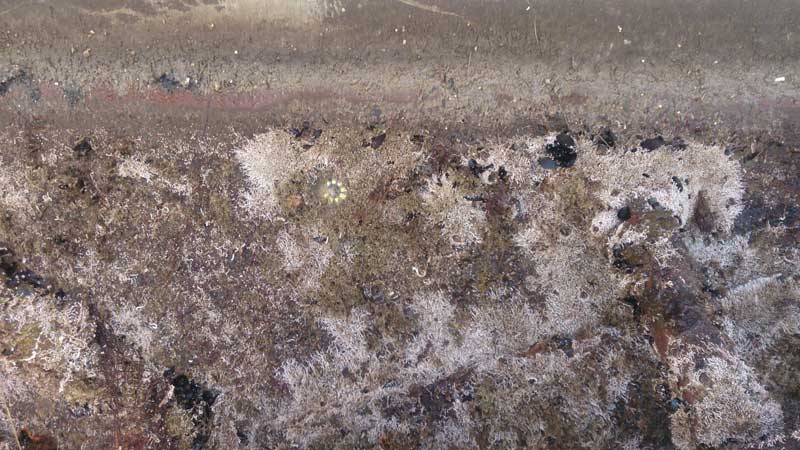
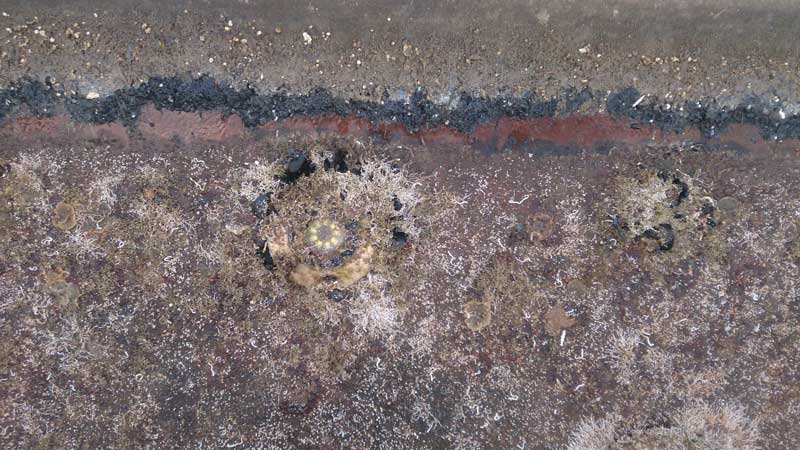
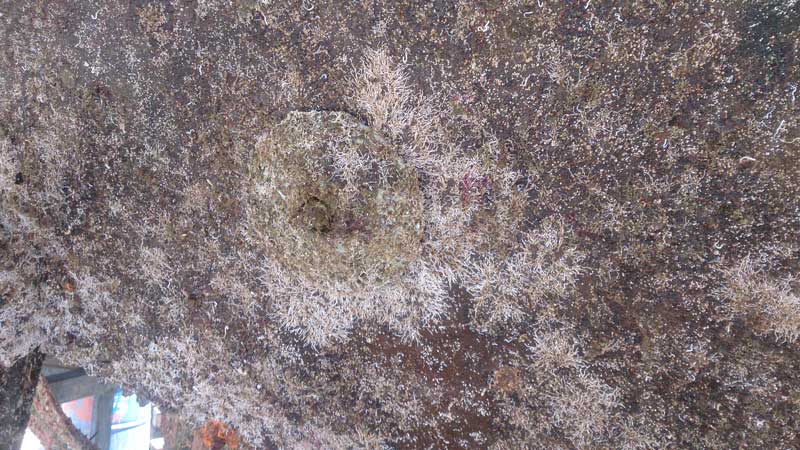

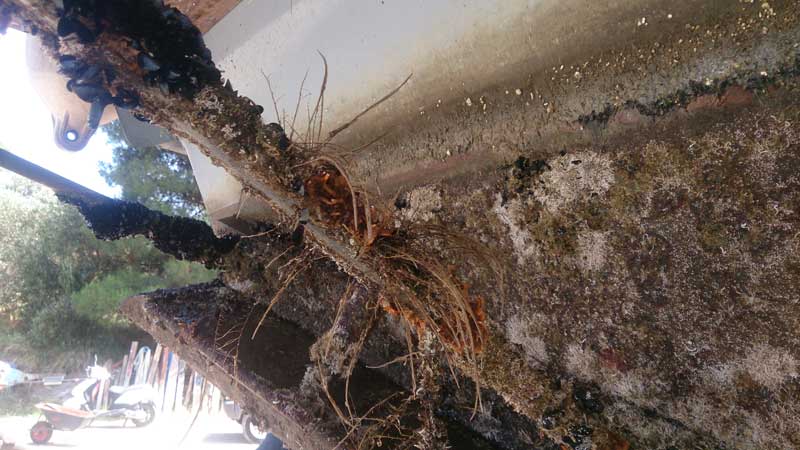

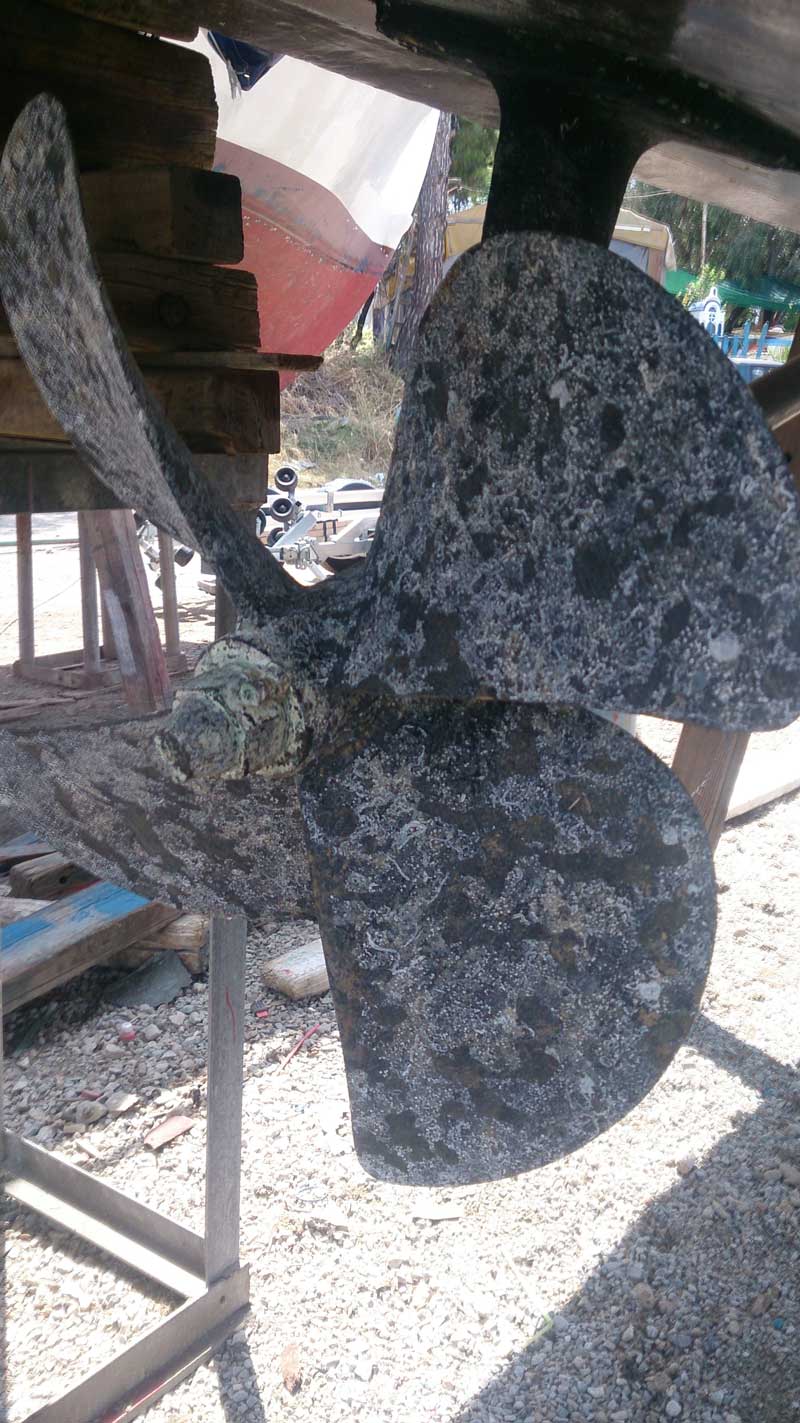
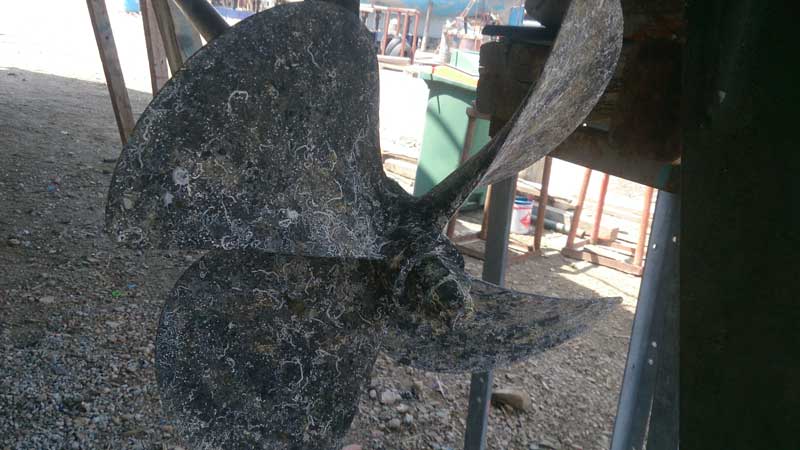


I too have been disappointed with the TK a/f Vas. Tube worm seemingly loves the stuff, and sticks "like a sailor to your sister......".
Off out today to see what impact a couple of weeks of decent weather has had on Rafiki's speed. ��
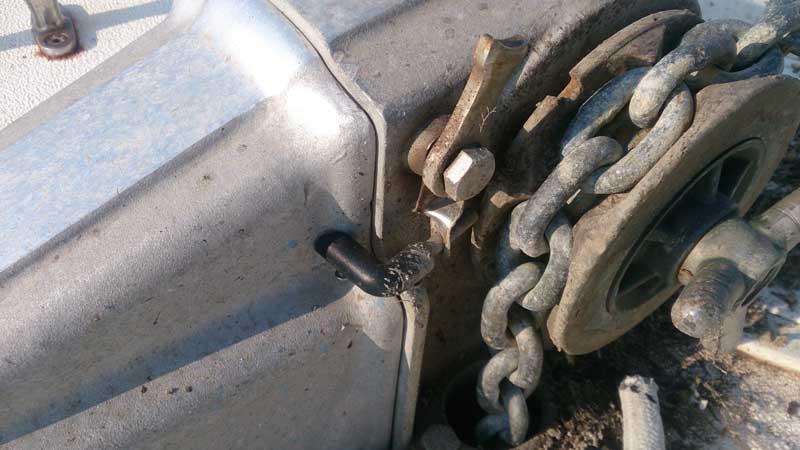
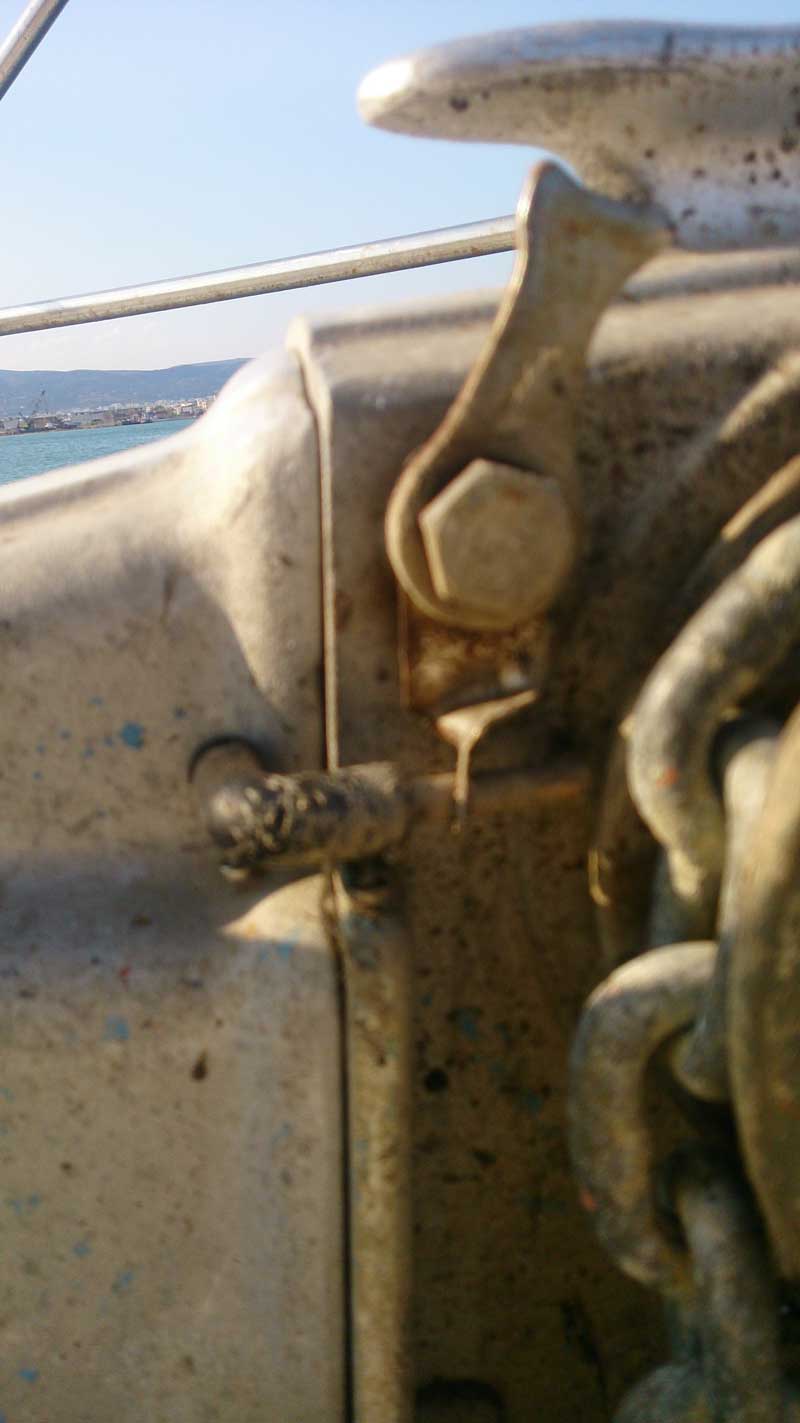
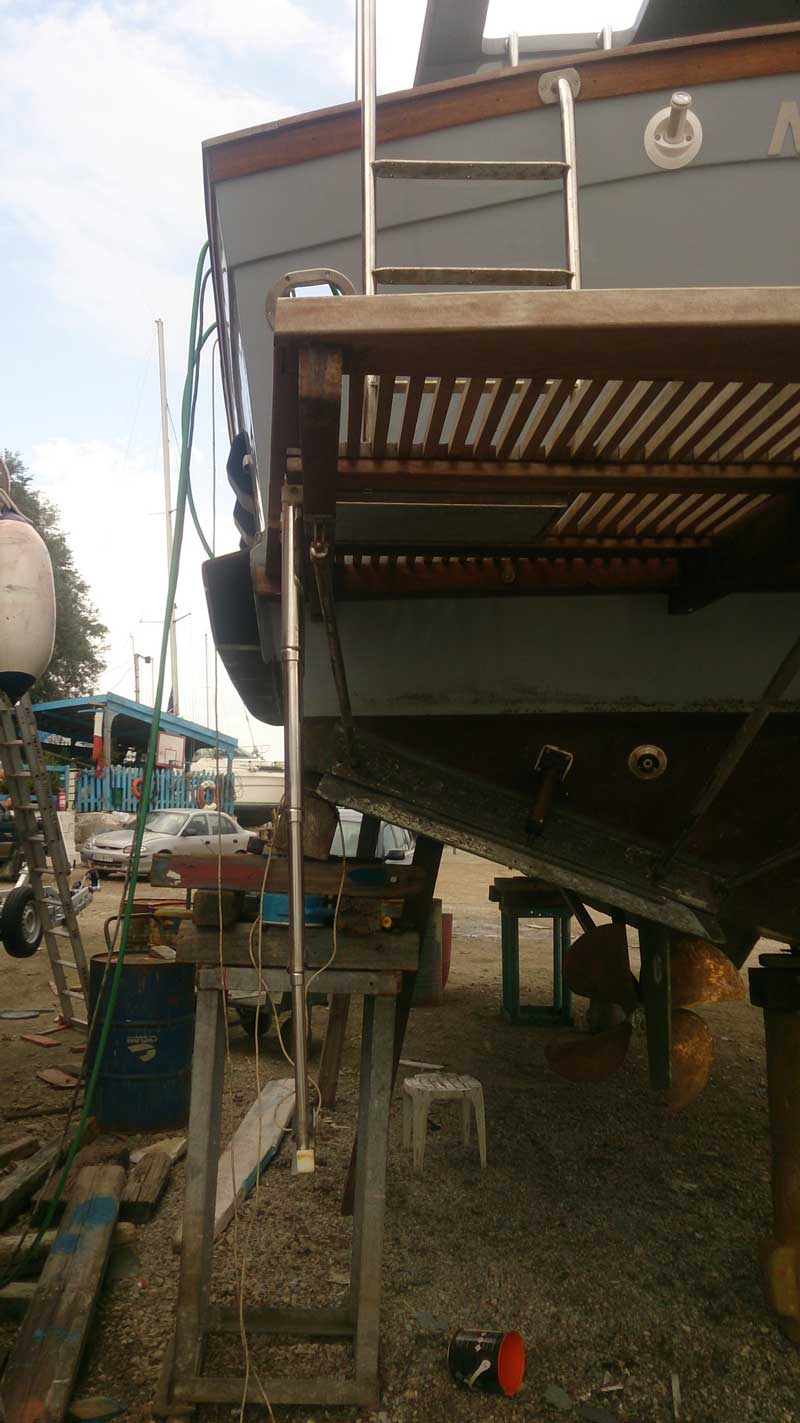
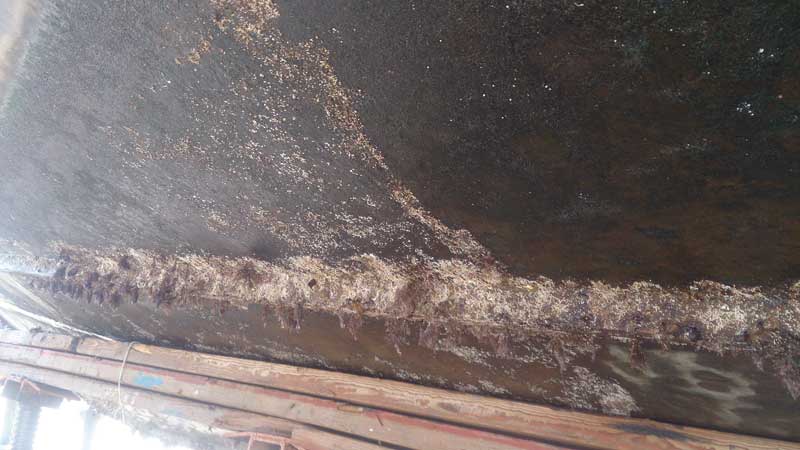
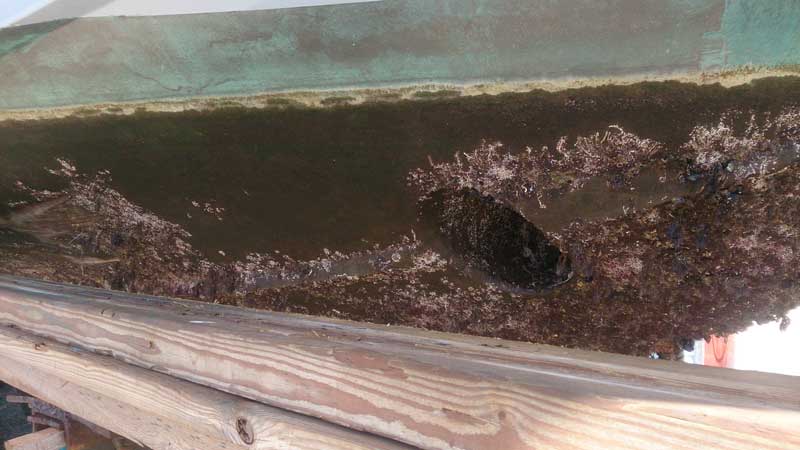
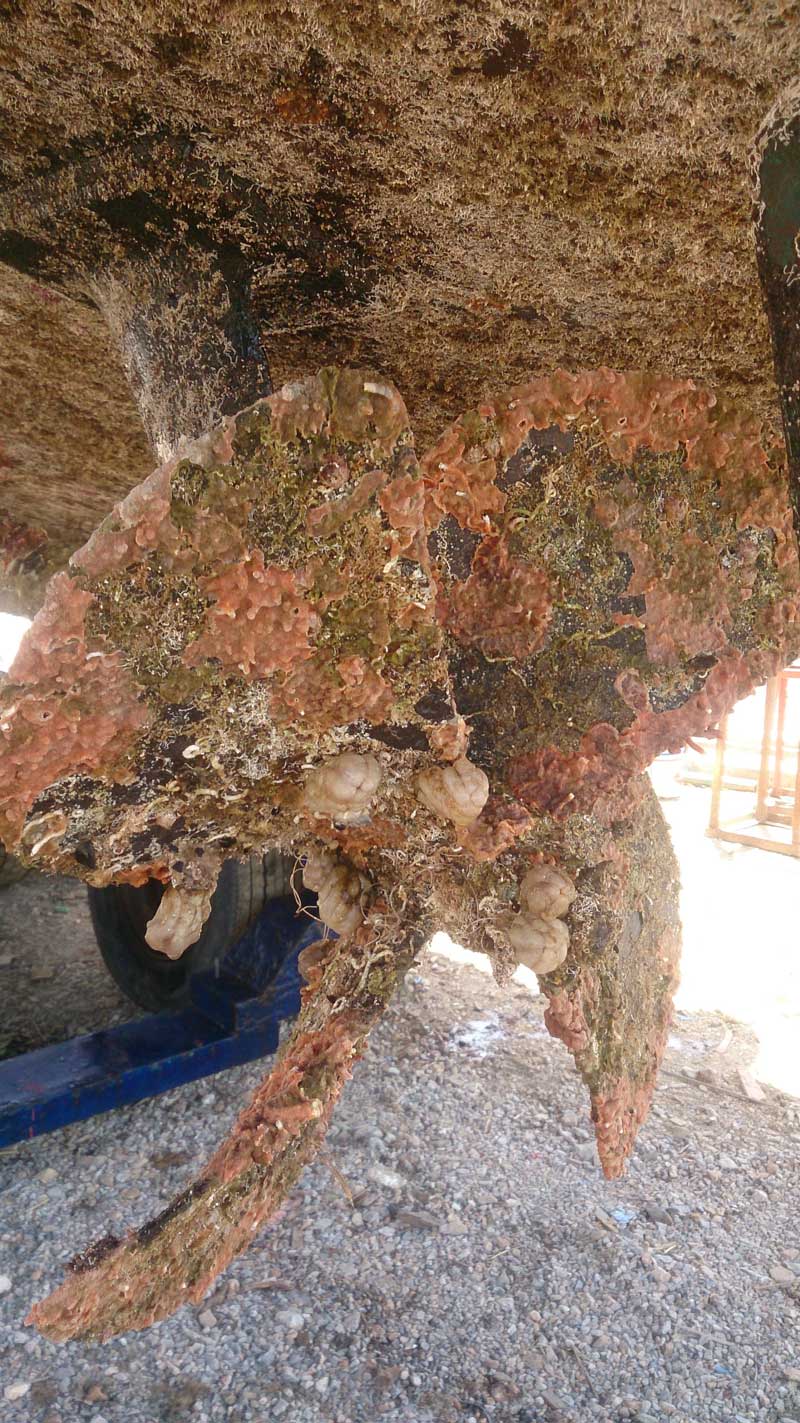
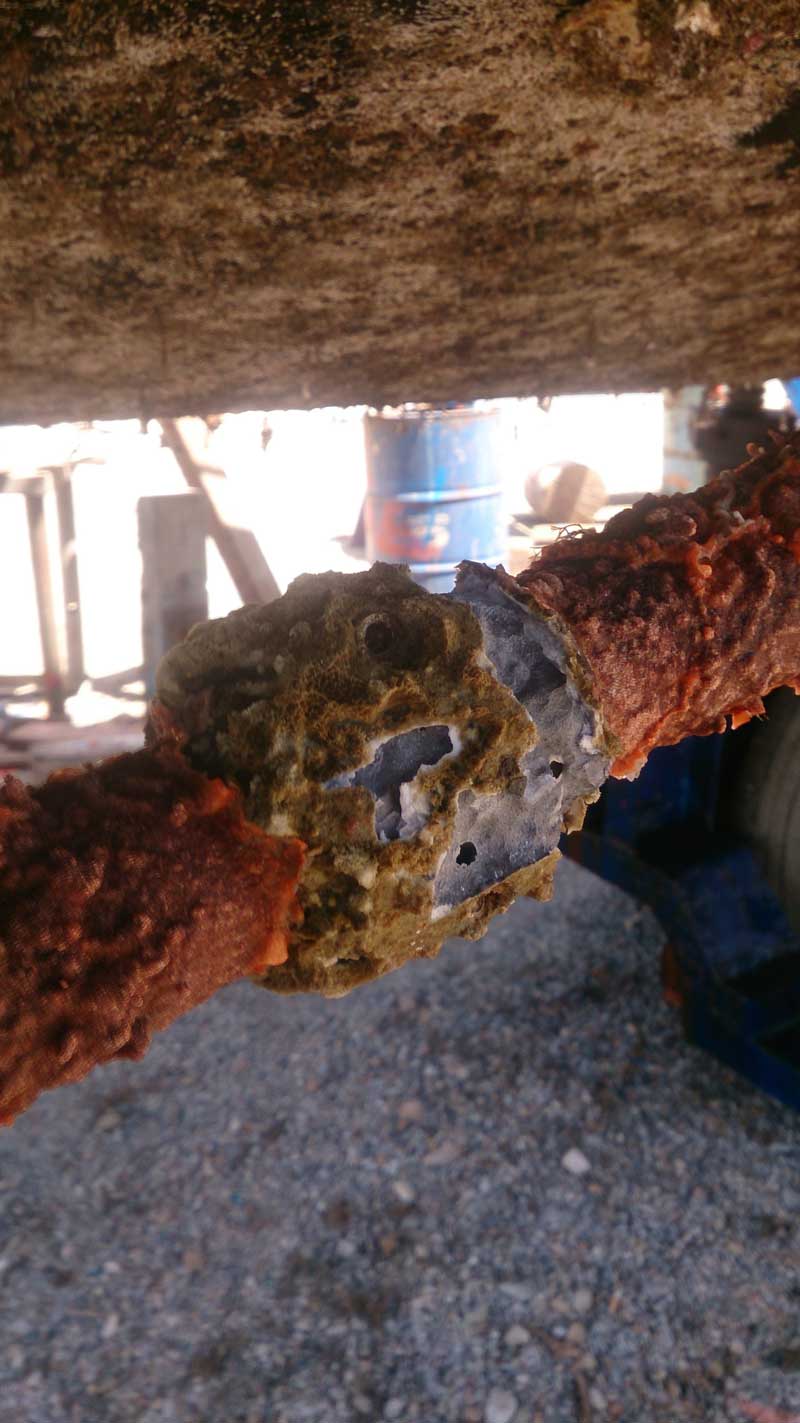
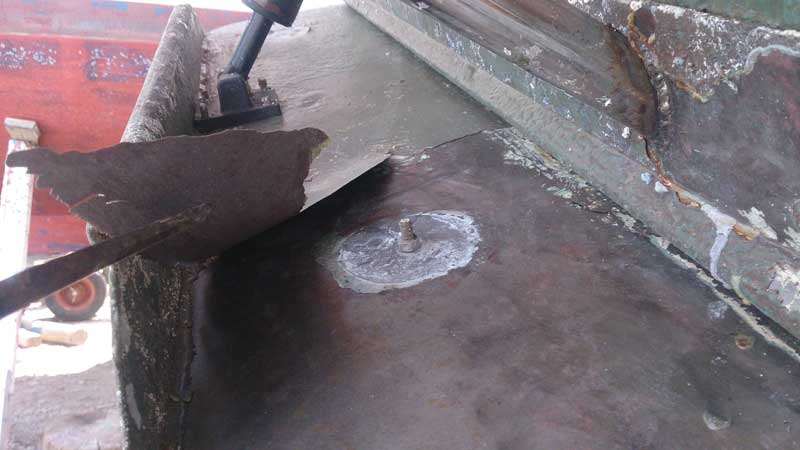
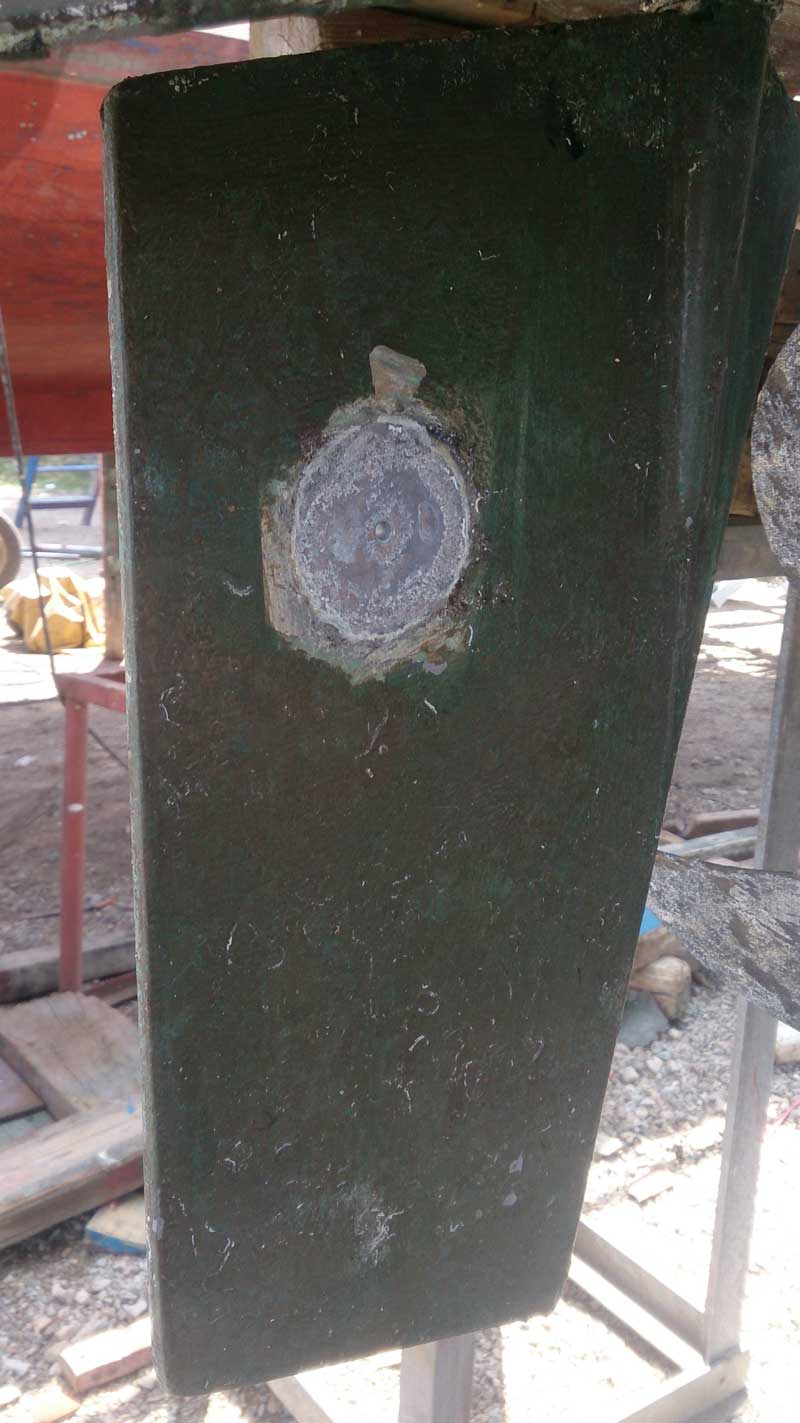
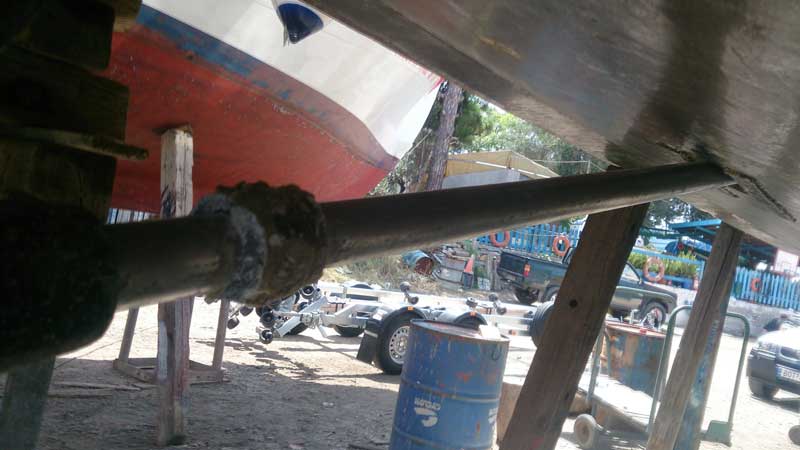
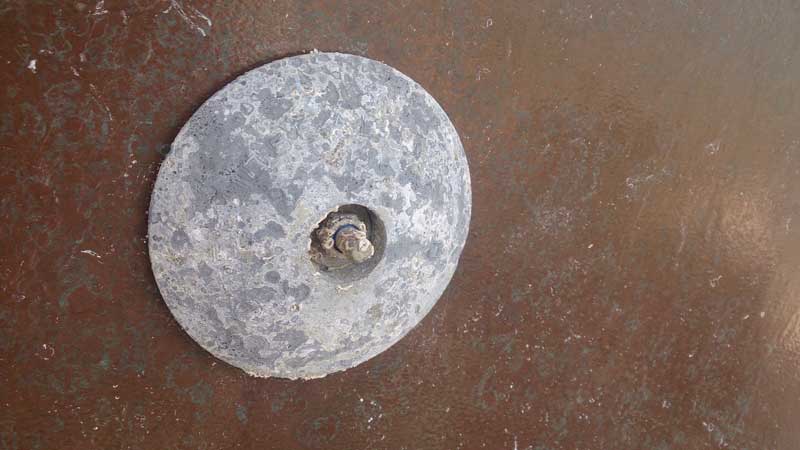
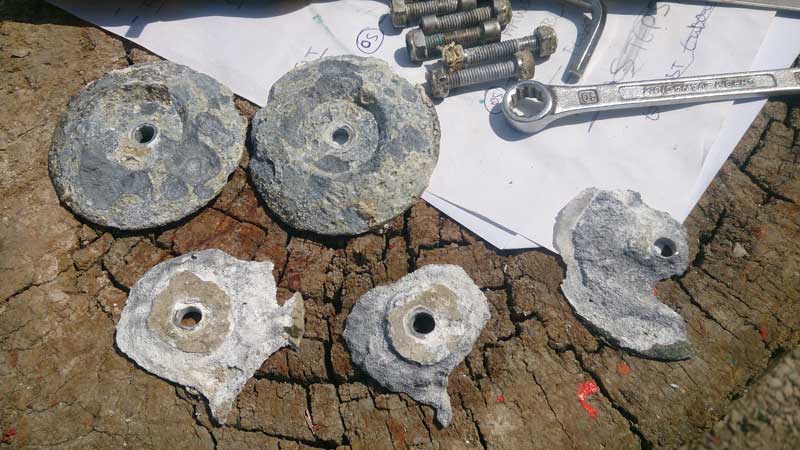
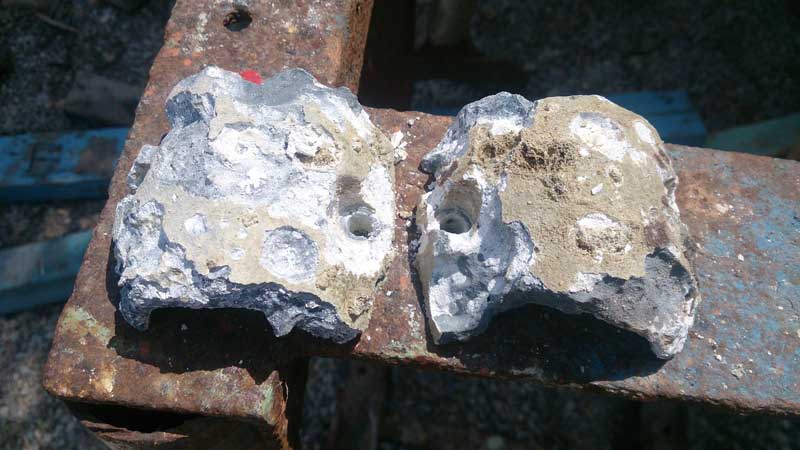
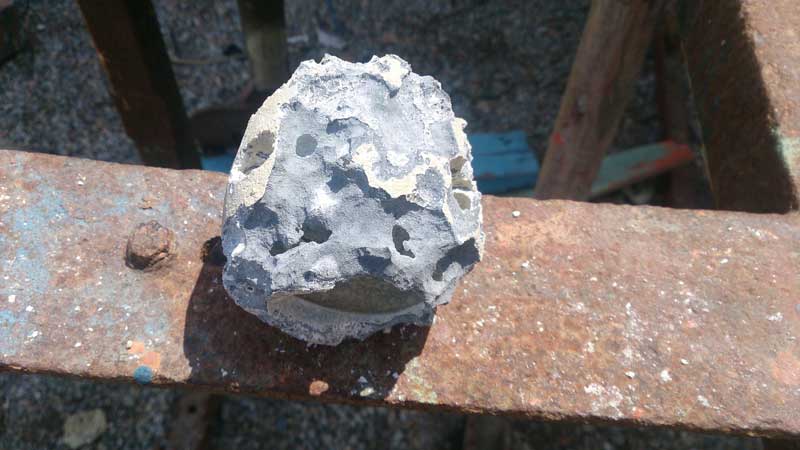
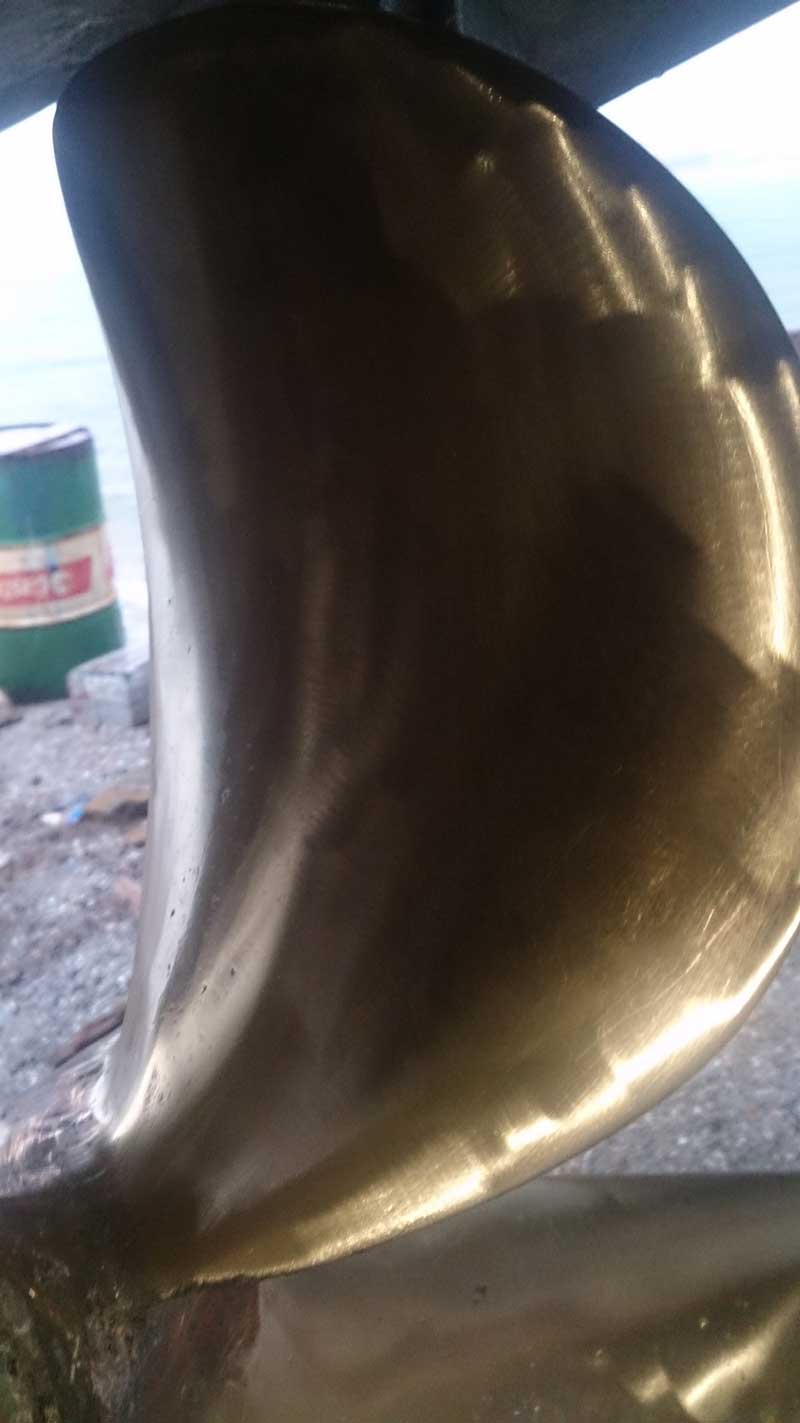
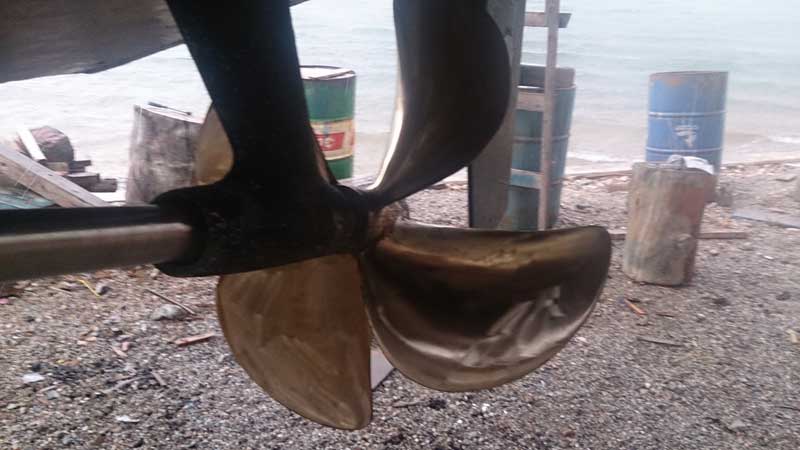
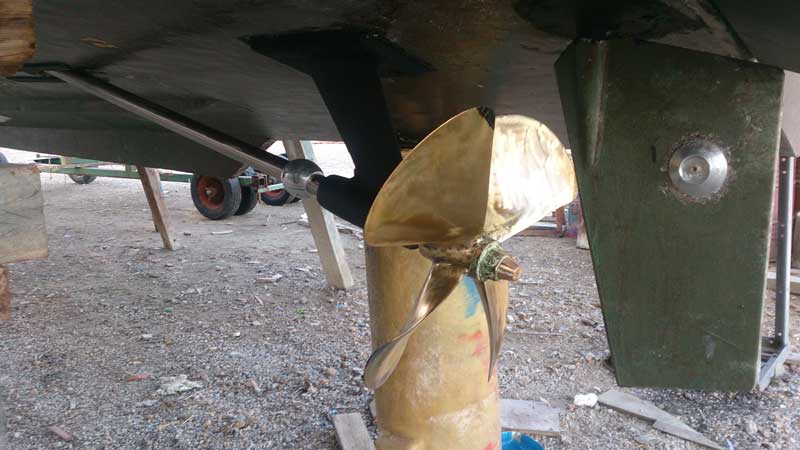
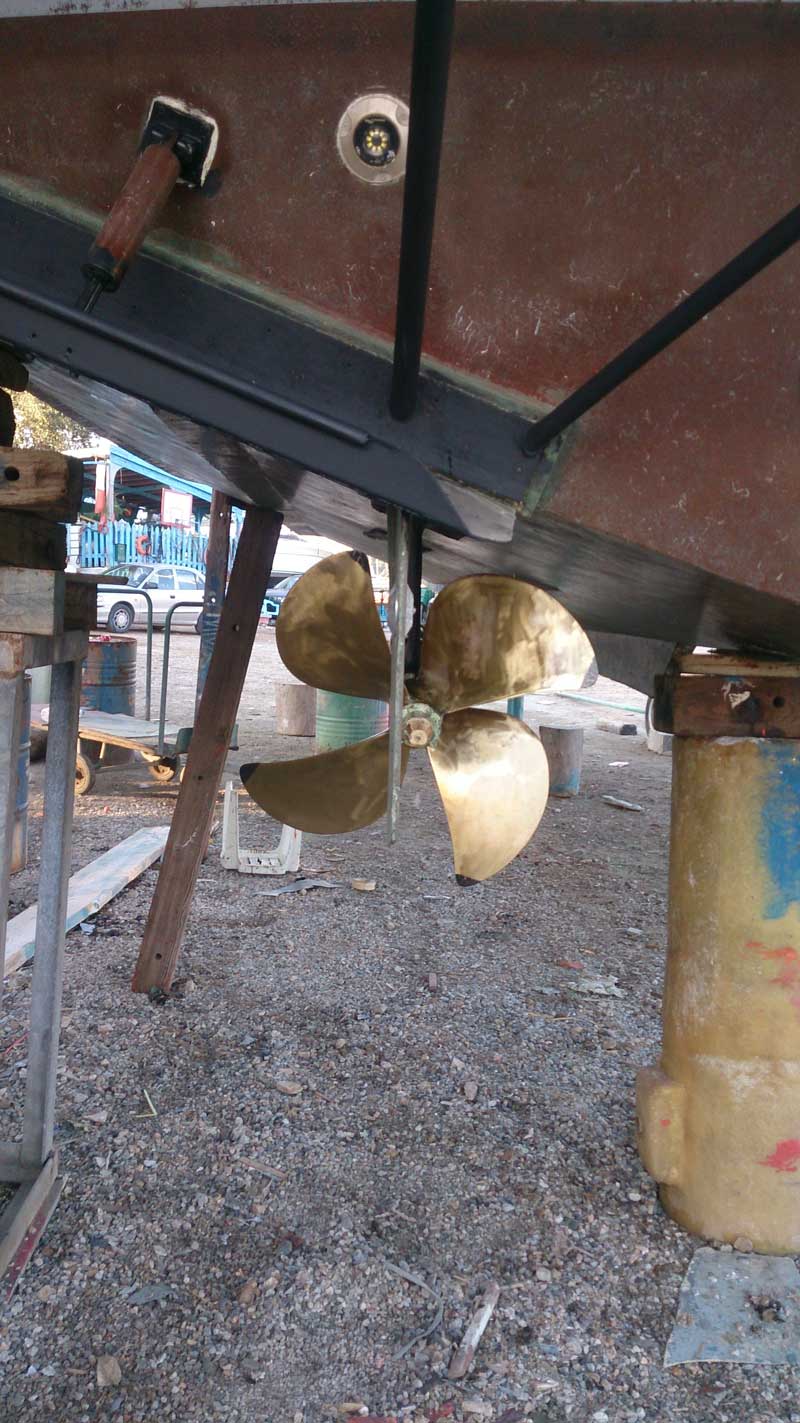
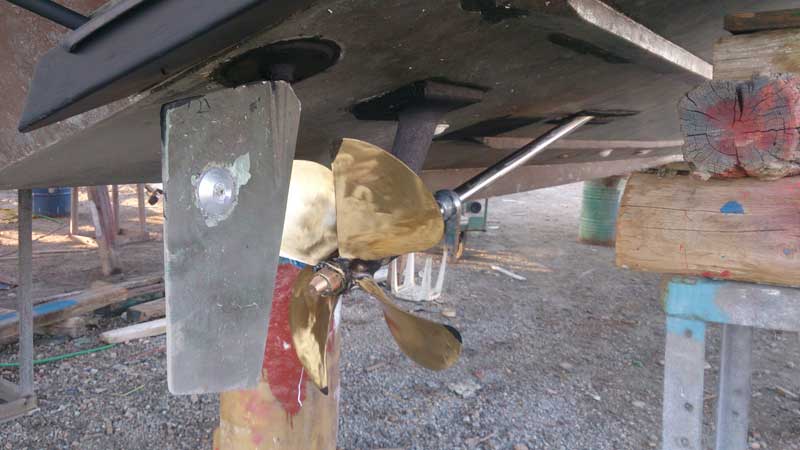
that´s a serious amount of fizzing on your anodes. Do you leave the boat connected to shore power? If so it might be worth getting a galvanic isolator and velox or equivalent all the underwater metal bits as well.
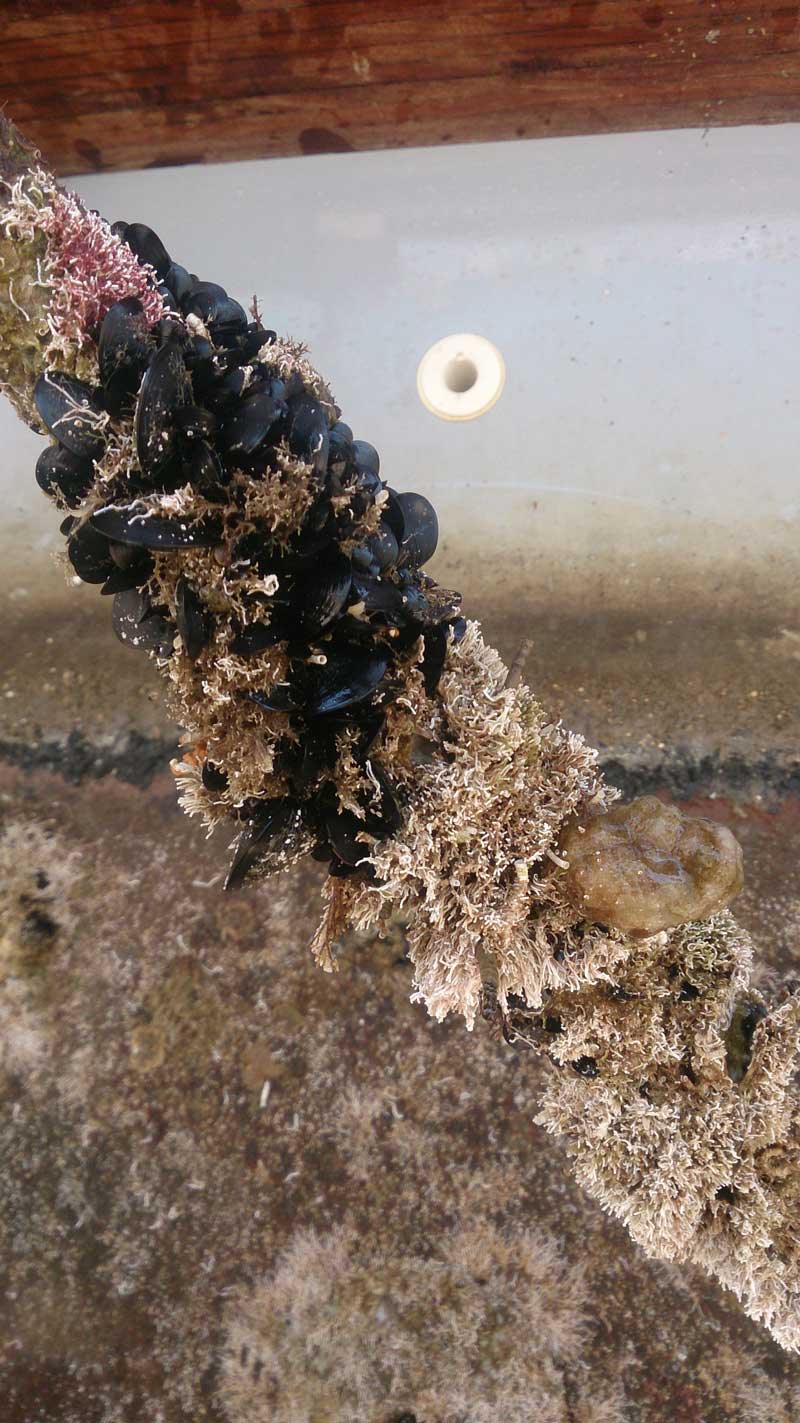
I find velox a bit disapointing too, I did use propspeed for a few years and it does seem better, but once the fuzzies get a hold over the winter its a pig to get it all off again.
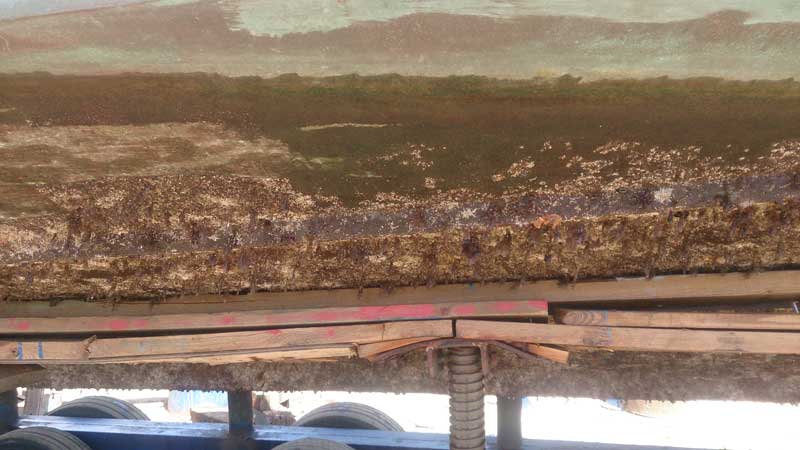
if you were down here, with a good couple of weeks you might not be able to plane
") , look bloody great. So would you say it has been worht it, you have been at it for some time now. I can one HUGE benefit you have, the weather, over here it is not the best for this kind of work, i think i would take a lot longer to get done what you have, be to tempted to get onboard and chill out to often.
, look bloody great. So would you say it has been worht it, you have been at it for some time now. I can one HUGE benefit you have, the weather, over here it is not the best for this kind of work, i think i would take a lot longer to get done what you have, be to tempted to get onboard and chill out to often. thanks Marcus, would be nice to have a look at a few pics of your Mystere, no?Stunning as always Vas.
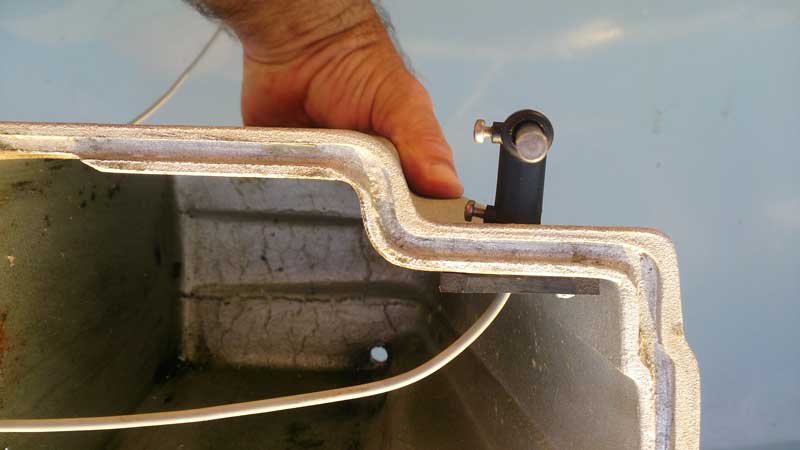
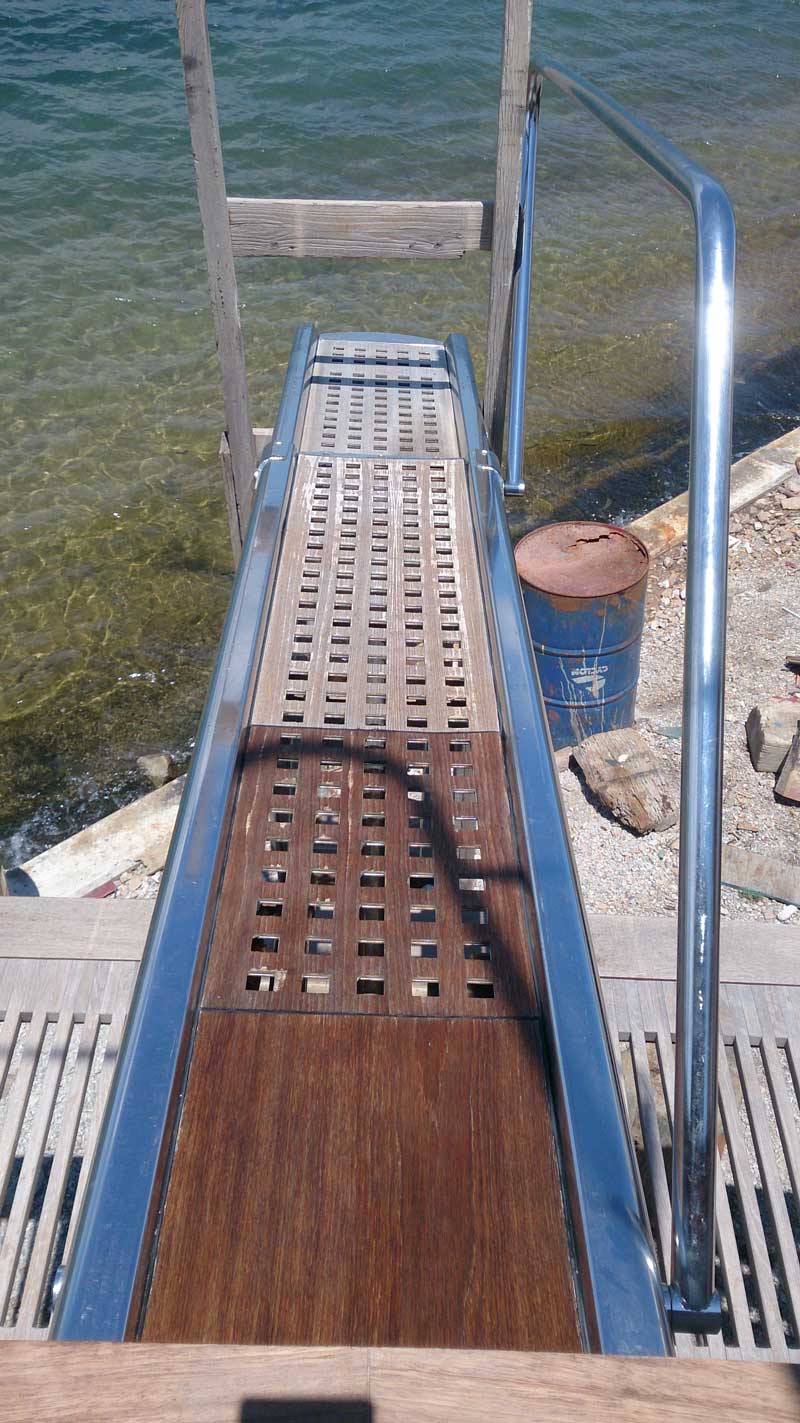
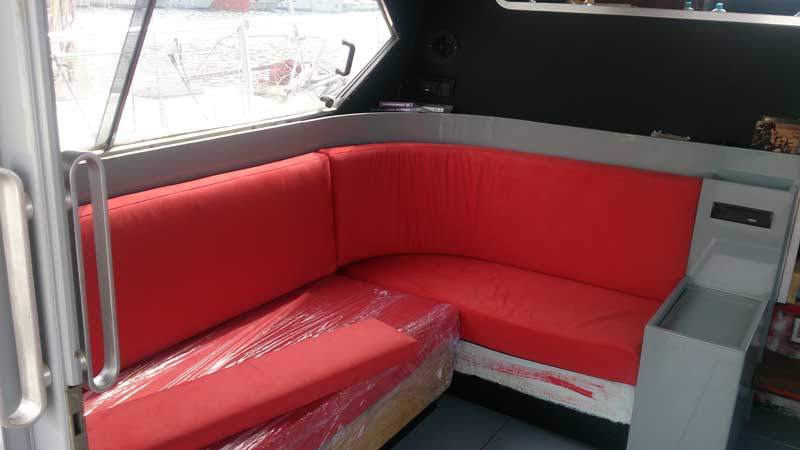
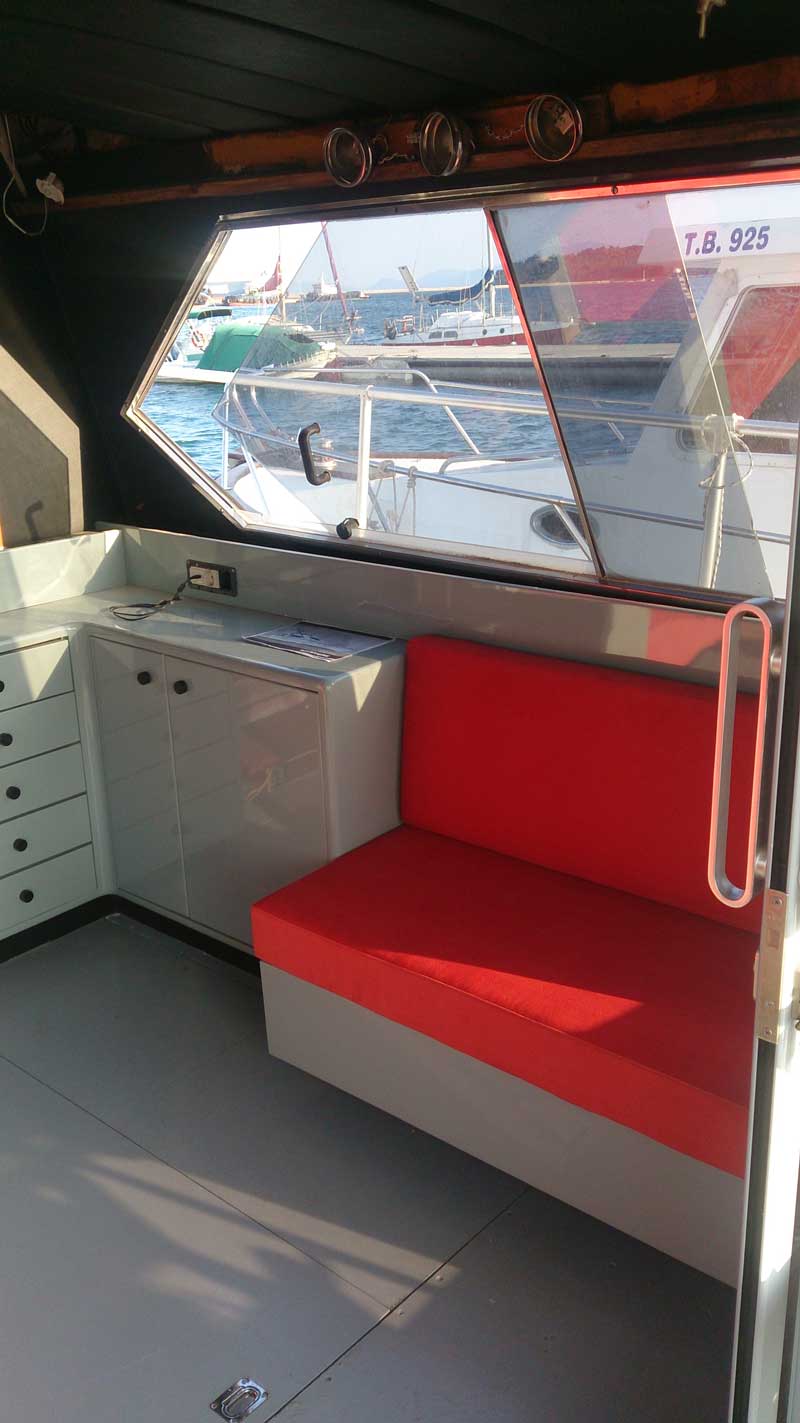
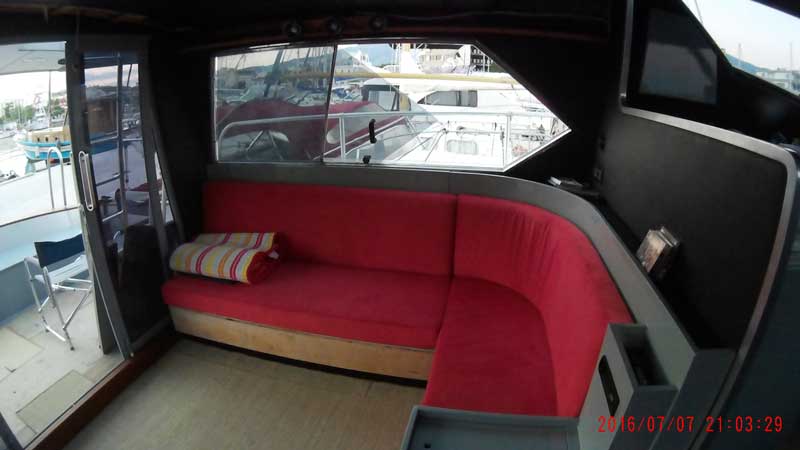
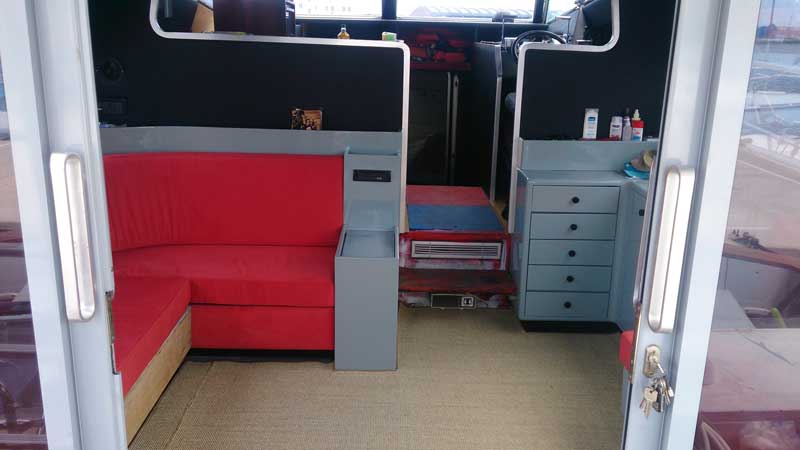
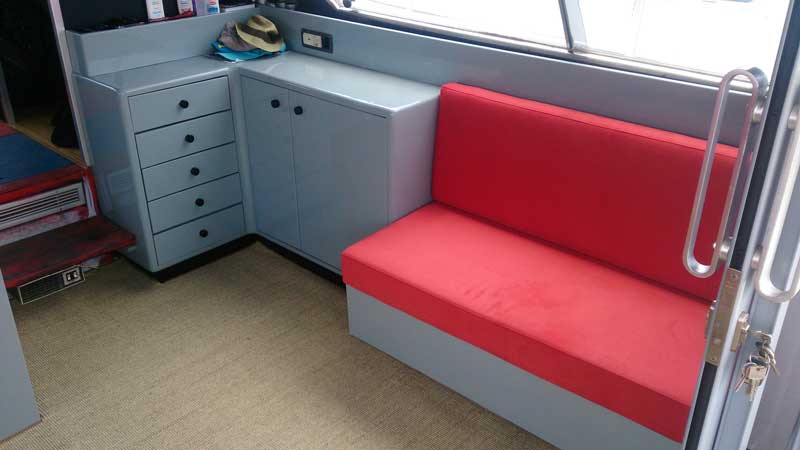
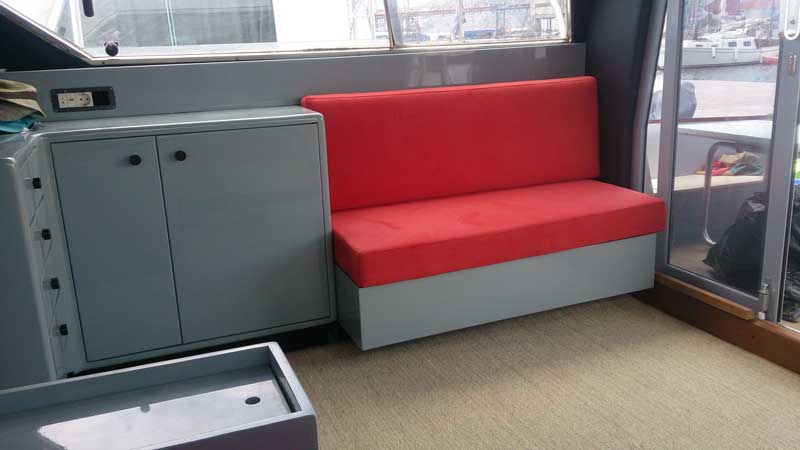
Passerelle fix turns out to not be exactly right, as over the last couple of months I've found it down on more than three occasions and had to add oil to the passerelle tank. Since I have another much more intense back pain I cannot bend and start checking about, so will do as soon as I've recovered fully.Welcome back Vas. The passerelle seal fix sounds real hassle. Clearly not meant to be serviced. Good to see the saloon in all its glory. Nice job.
Just lovin Vas
Me i spend time with a Bovril contemplating.
Awsome boat you have
Wolly
hope their predictions are as accurate as your own met office ones and we get glorious sunshine like today's 12C! Hi Vas,
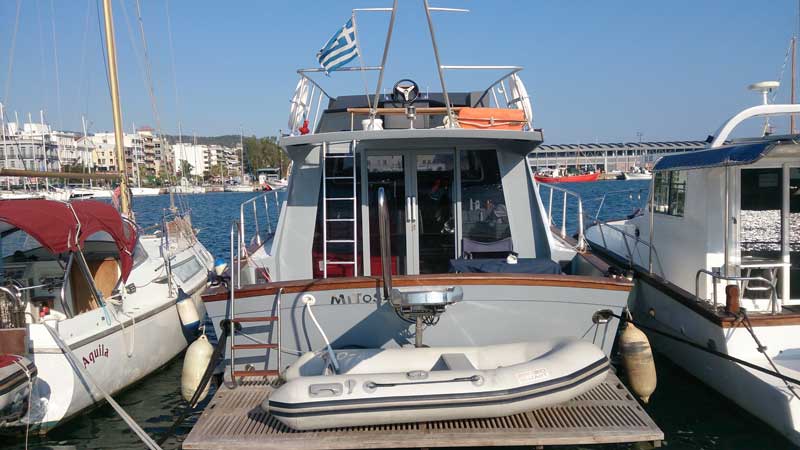
Your fine vessel looks so amazing! Such a pleasure to get regular updates about the saga.
I understand that this year you remained in the Volos area. What about an extensive Dodecanese cruise with lots of pics ;-) Tell us about your cruising intentions of next year!
Cheers,
V
Vas, did you ever get your turbos fixed?