Hurricane
Well-Known Member
Mike,
what is the width of the "teak" between the two black caulking strips?
and what is the width of the caulking strip?
cheers
V.
Sorry for the late reply, VAS
I wanted to double check the sizes.
I depends on which plank you are measuring.
Trakmark supply the standard "double plank" material with two caulking joints.
One caulking joint is designed to be welded to the next "double plank".
The other caulking joint is already extruded into the "double plank" section.
See here

In this case, the plank size is 46mm and each caulking strip is 5mm
That makes the "double plank" 102mm overall.
But they also offer a "square border" profile.
The "square border profile" is a single plank of 55mm with the usual caulking size of 5mm
So that is 60mm overall.
Unfortunately, the "square border profile" has been designed to be universally fitted.
It doesn't have the "V cutout" shapes where you would normally "back weld".
This threw me to begin with as I needed to make my own "V cutouts" using a small hand plane.
This pic shows the principle

The result after planing is this

Then, when two similar edges are put together, the joint can be back welded.
Actually, I think I may have missed the point a bit here because Trakmark also provide a 50mm "border profile" which I think probably has the "V cutouts" already moulded into the profile.
But, I wanted a wider border plank than the main planks.
At the time, I just thought that was how it was done.
I will probably stick to that concept so my borders are going to be a bit more difficult to make than Trakmark have designed.
I hope that makes sense.
You can see the difference in the border sizes in this pic.

This pic also shows how I built up the plank sizes down the side decks.
Had I done it the way that Wattsons made the teak, I think it would have looked odd.
They centred the middle planks cutting the plank beside each border thus making it symmetrical.
Trakmark planks are wider than the original Watson ones.
If I had done that, my cut would have been 12mm on each side and I think would have looked very odd.
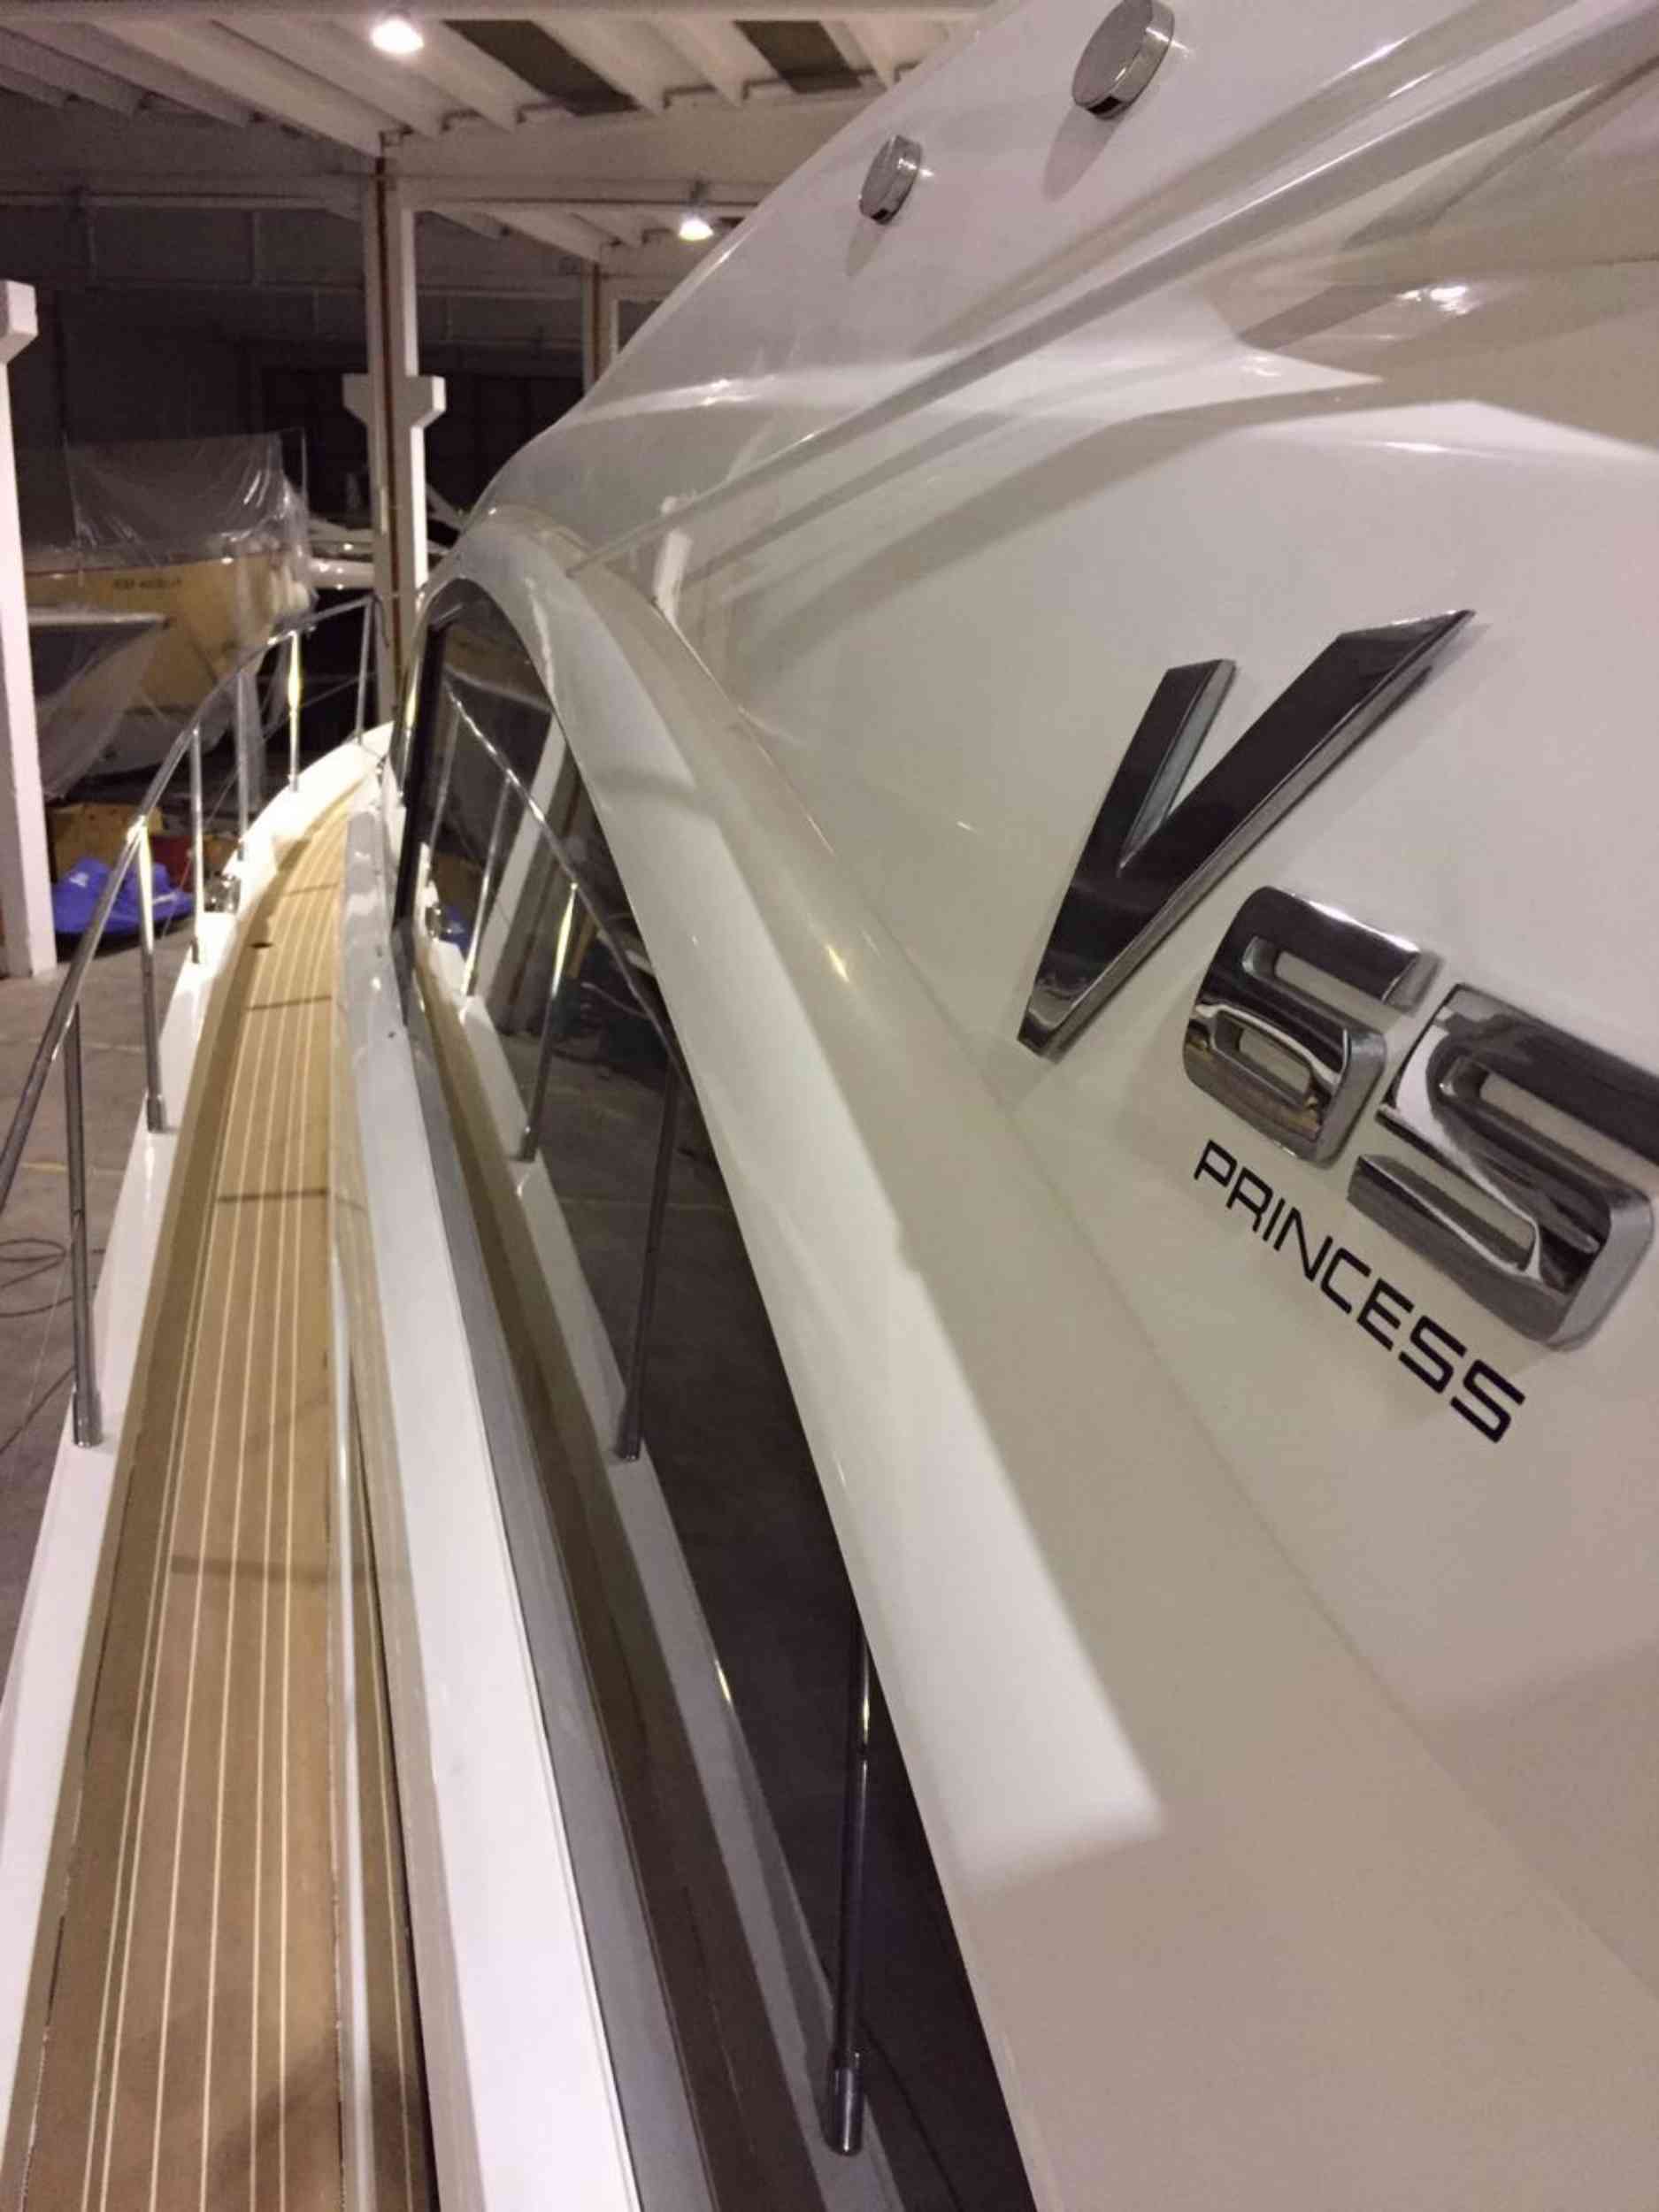
This point is evident in my original search when I found that Princess V65
See here
Well, personally, I don't like that so thats why I offset the planks from the centre.
Also, as the deck gets wider, the panel follows the outboard edge and the cut plank gets wider until it merges with the rest of the foredeck.
So, I'm pleased with that concept.
See here

Anyway, I'm sure most people working on their own boats would think about this kind of thing.
That V65 pic proves to me that some contractors probably don't think the same was as us boat owners.
Last edited:

") Actually I think it may be more that just a couple of lock downs.
Actually I think it may be more that just a couple of lock downs.


