rafiki_
Well-Known Member
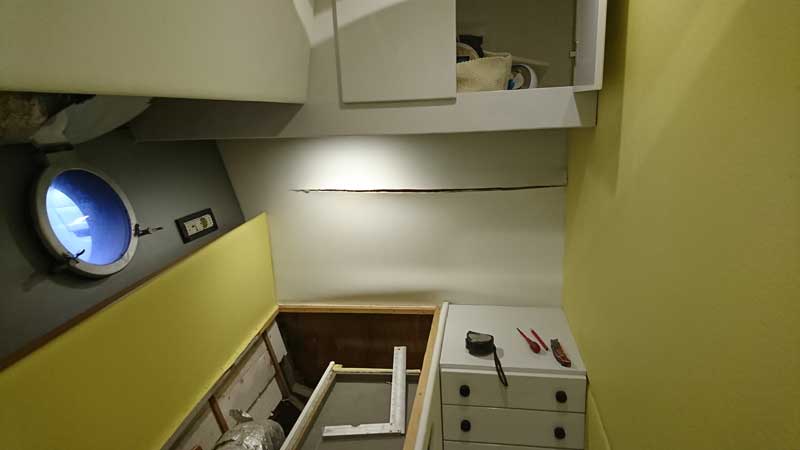
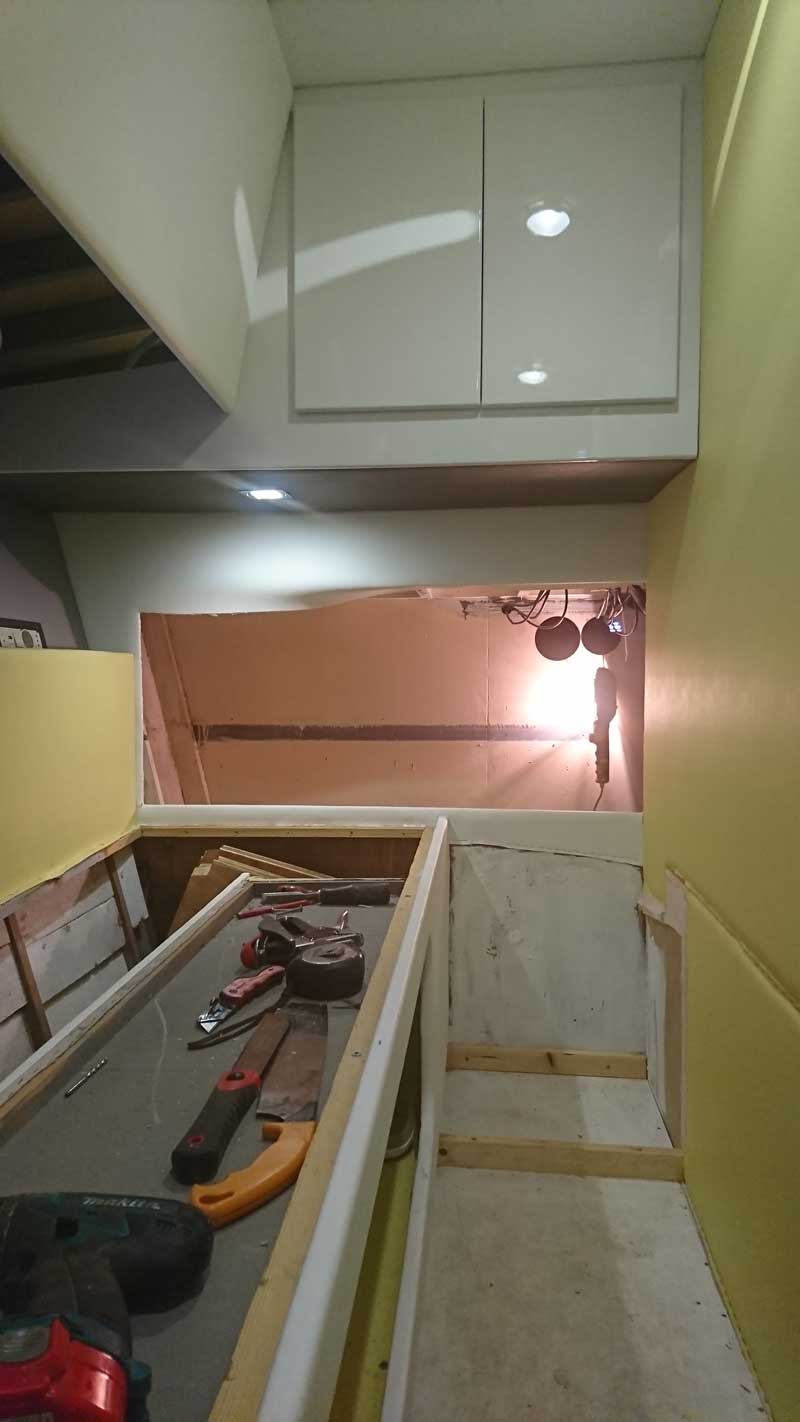
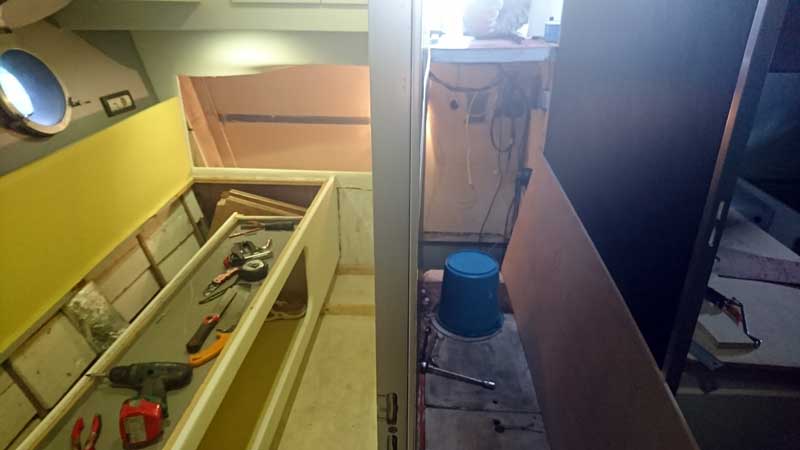
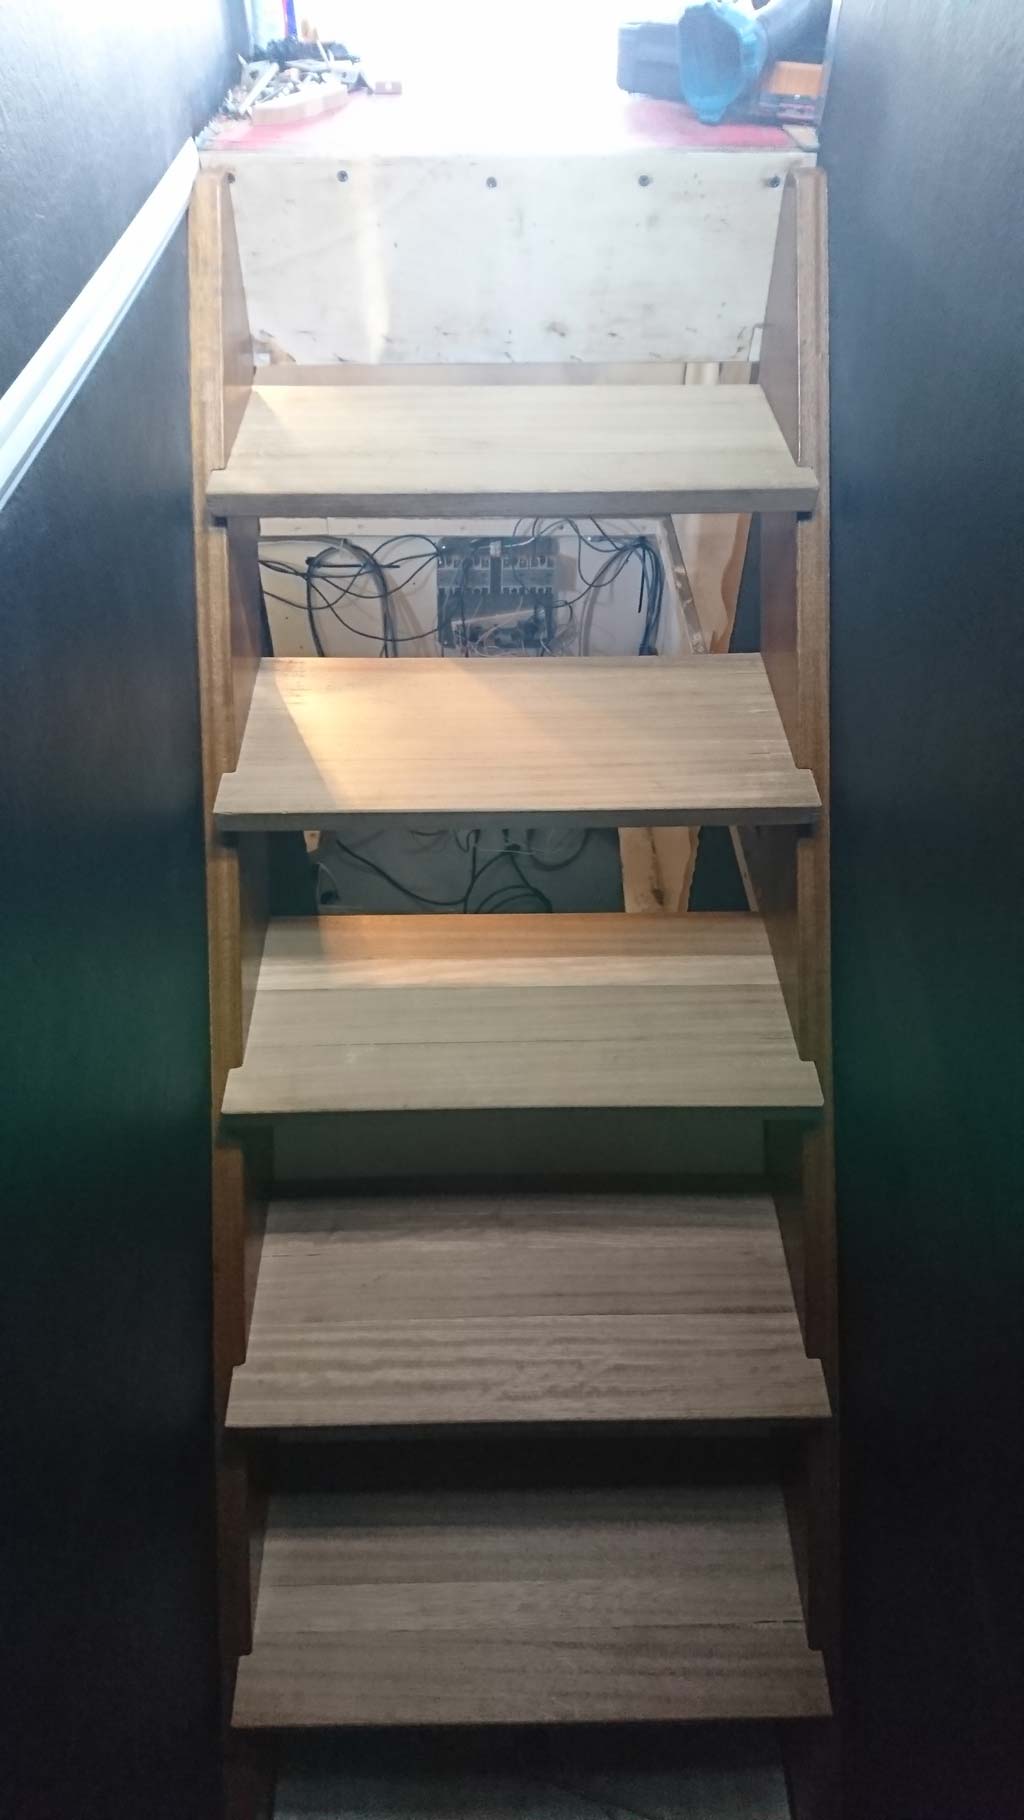
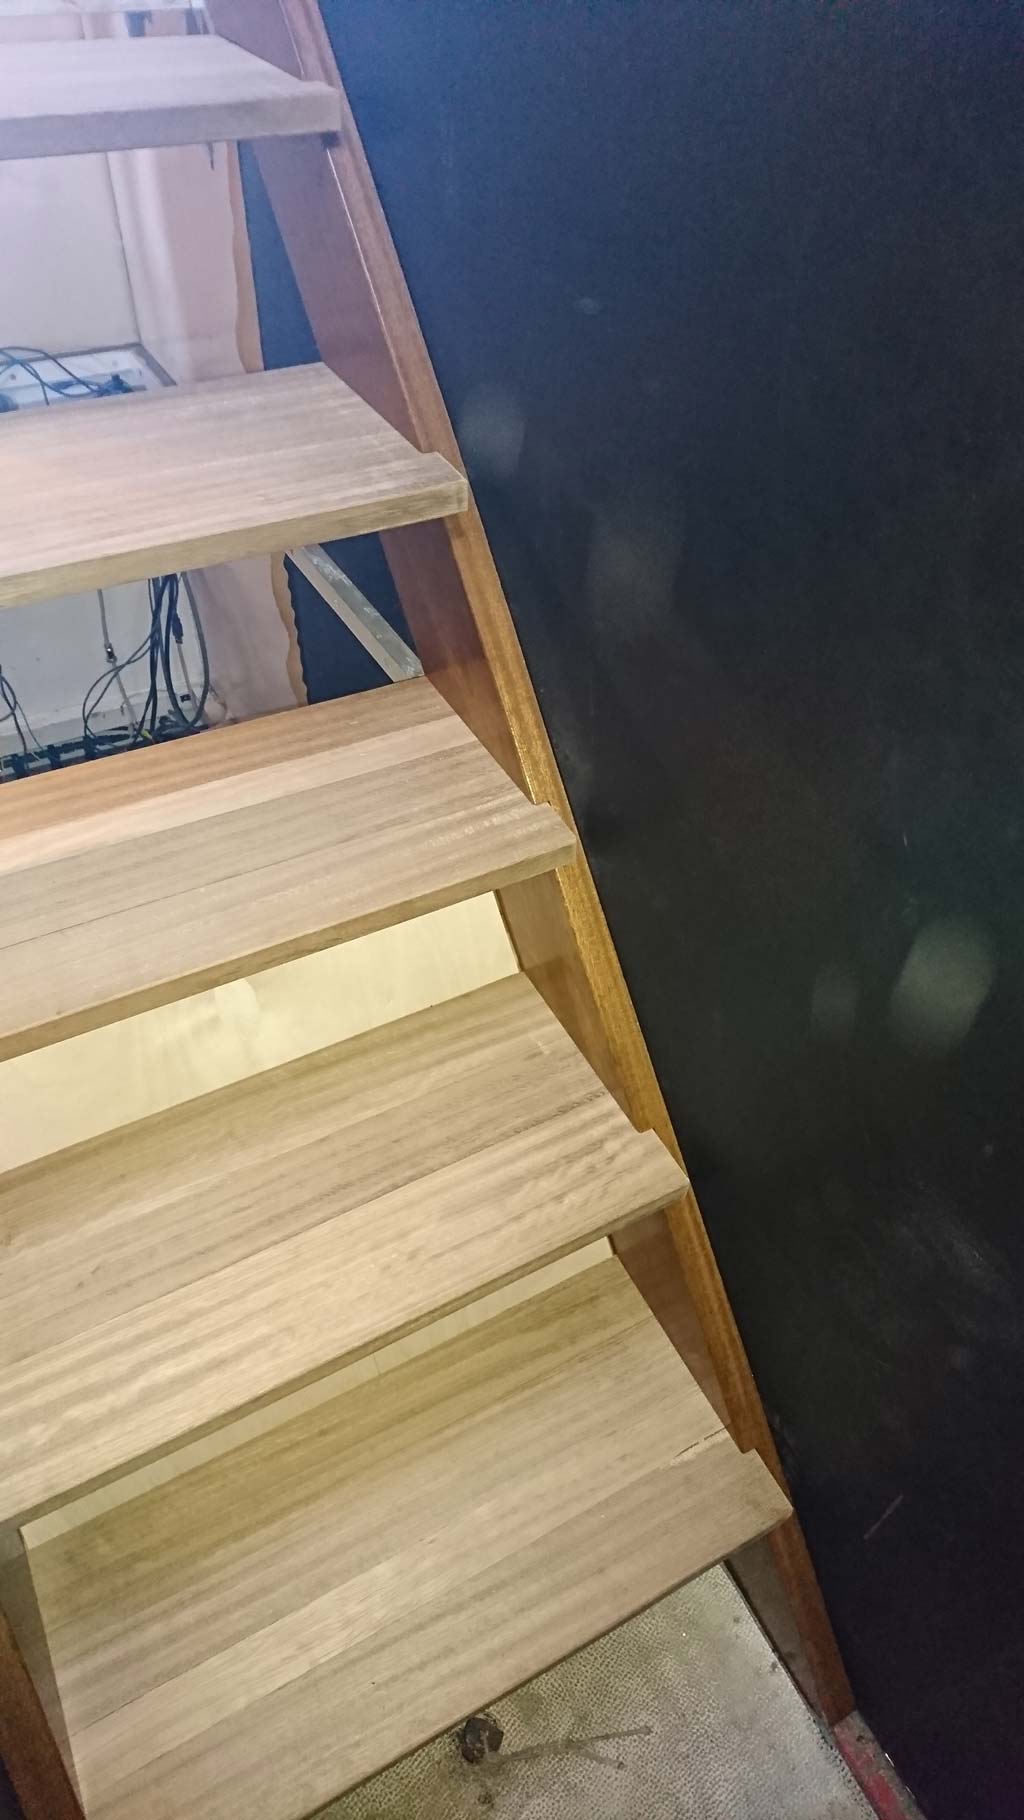
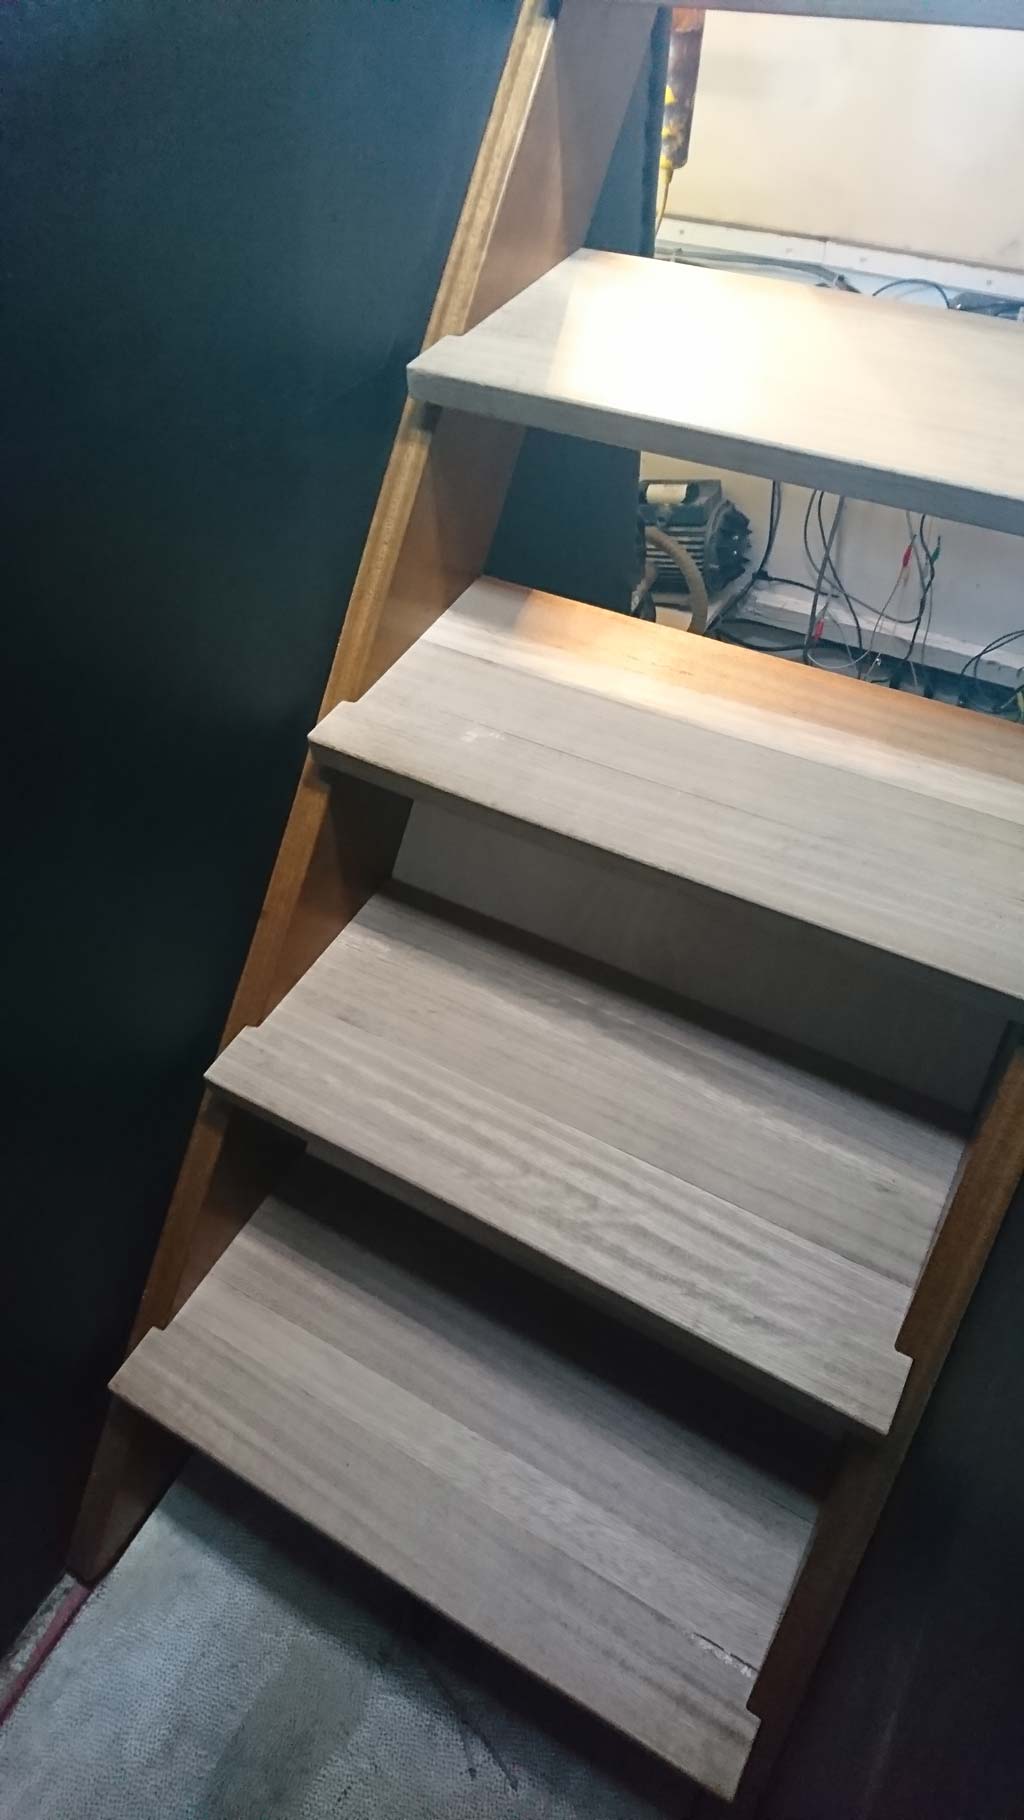
The interior looks great Vas, and your bed making impressive. I recall the various schemes for the main cabin seat and desktop, and it has come together very well.
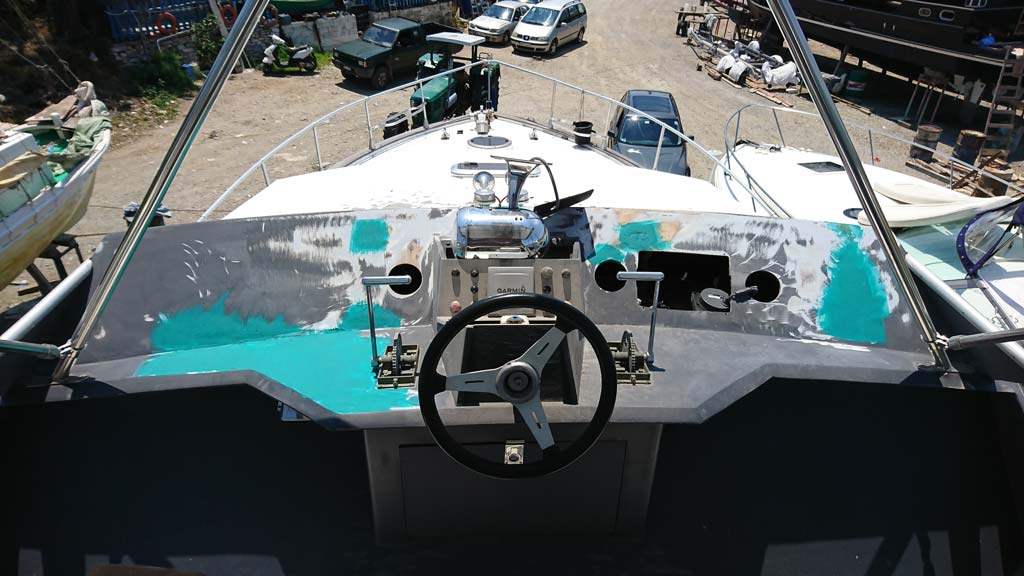
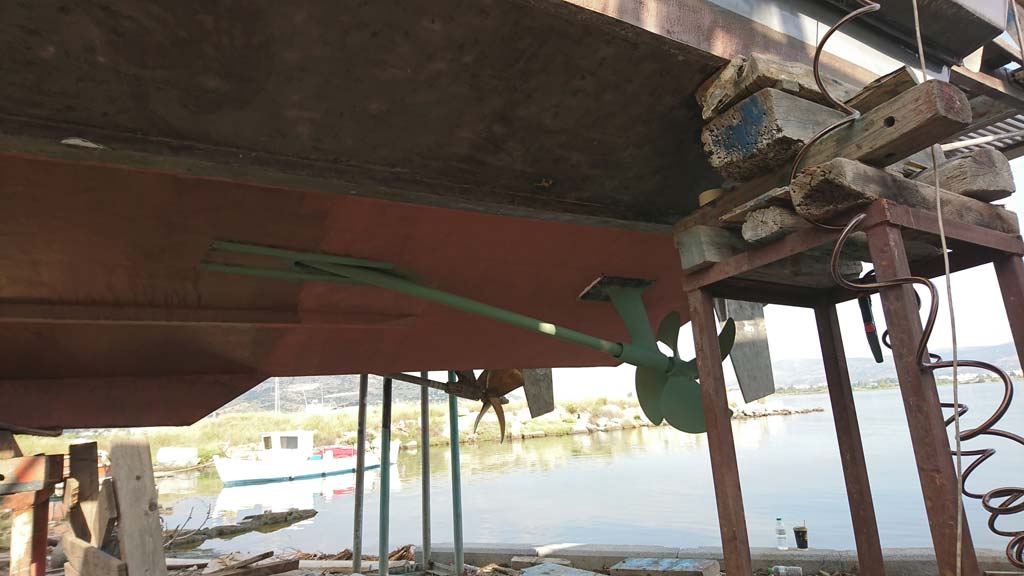
With respect to the fins, of course JFM and Bart will give you the best views, but my tuppence is for the sternmost position of the 2. You might want to talk to a stabs supplier with a “what if.....” type discussion, and from the installations I have seen, I think most tend to be about 1/3 along the hull length.
With respect to the fins, of course JFM and Bart will give you the best views, but my tuppence is for the sternmost position of the 2. You might want to talk to a stabs supplier with a “what if.....” type discussion, and from the installations I have seen, I think most tend to be about 1/3 along the hull length.


")


") Hope your trip goes well.
Hope your trip goes well.