Hurricane
Well-Known Member
First some background on the subject
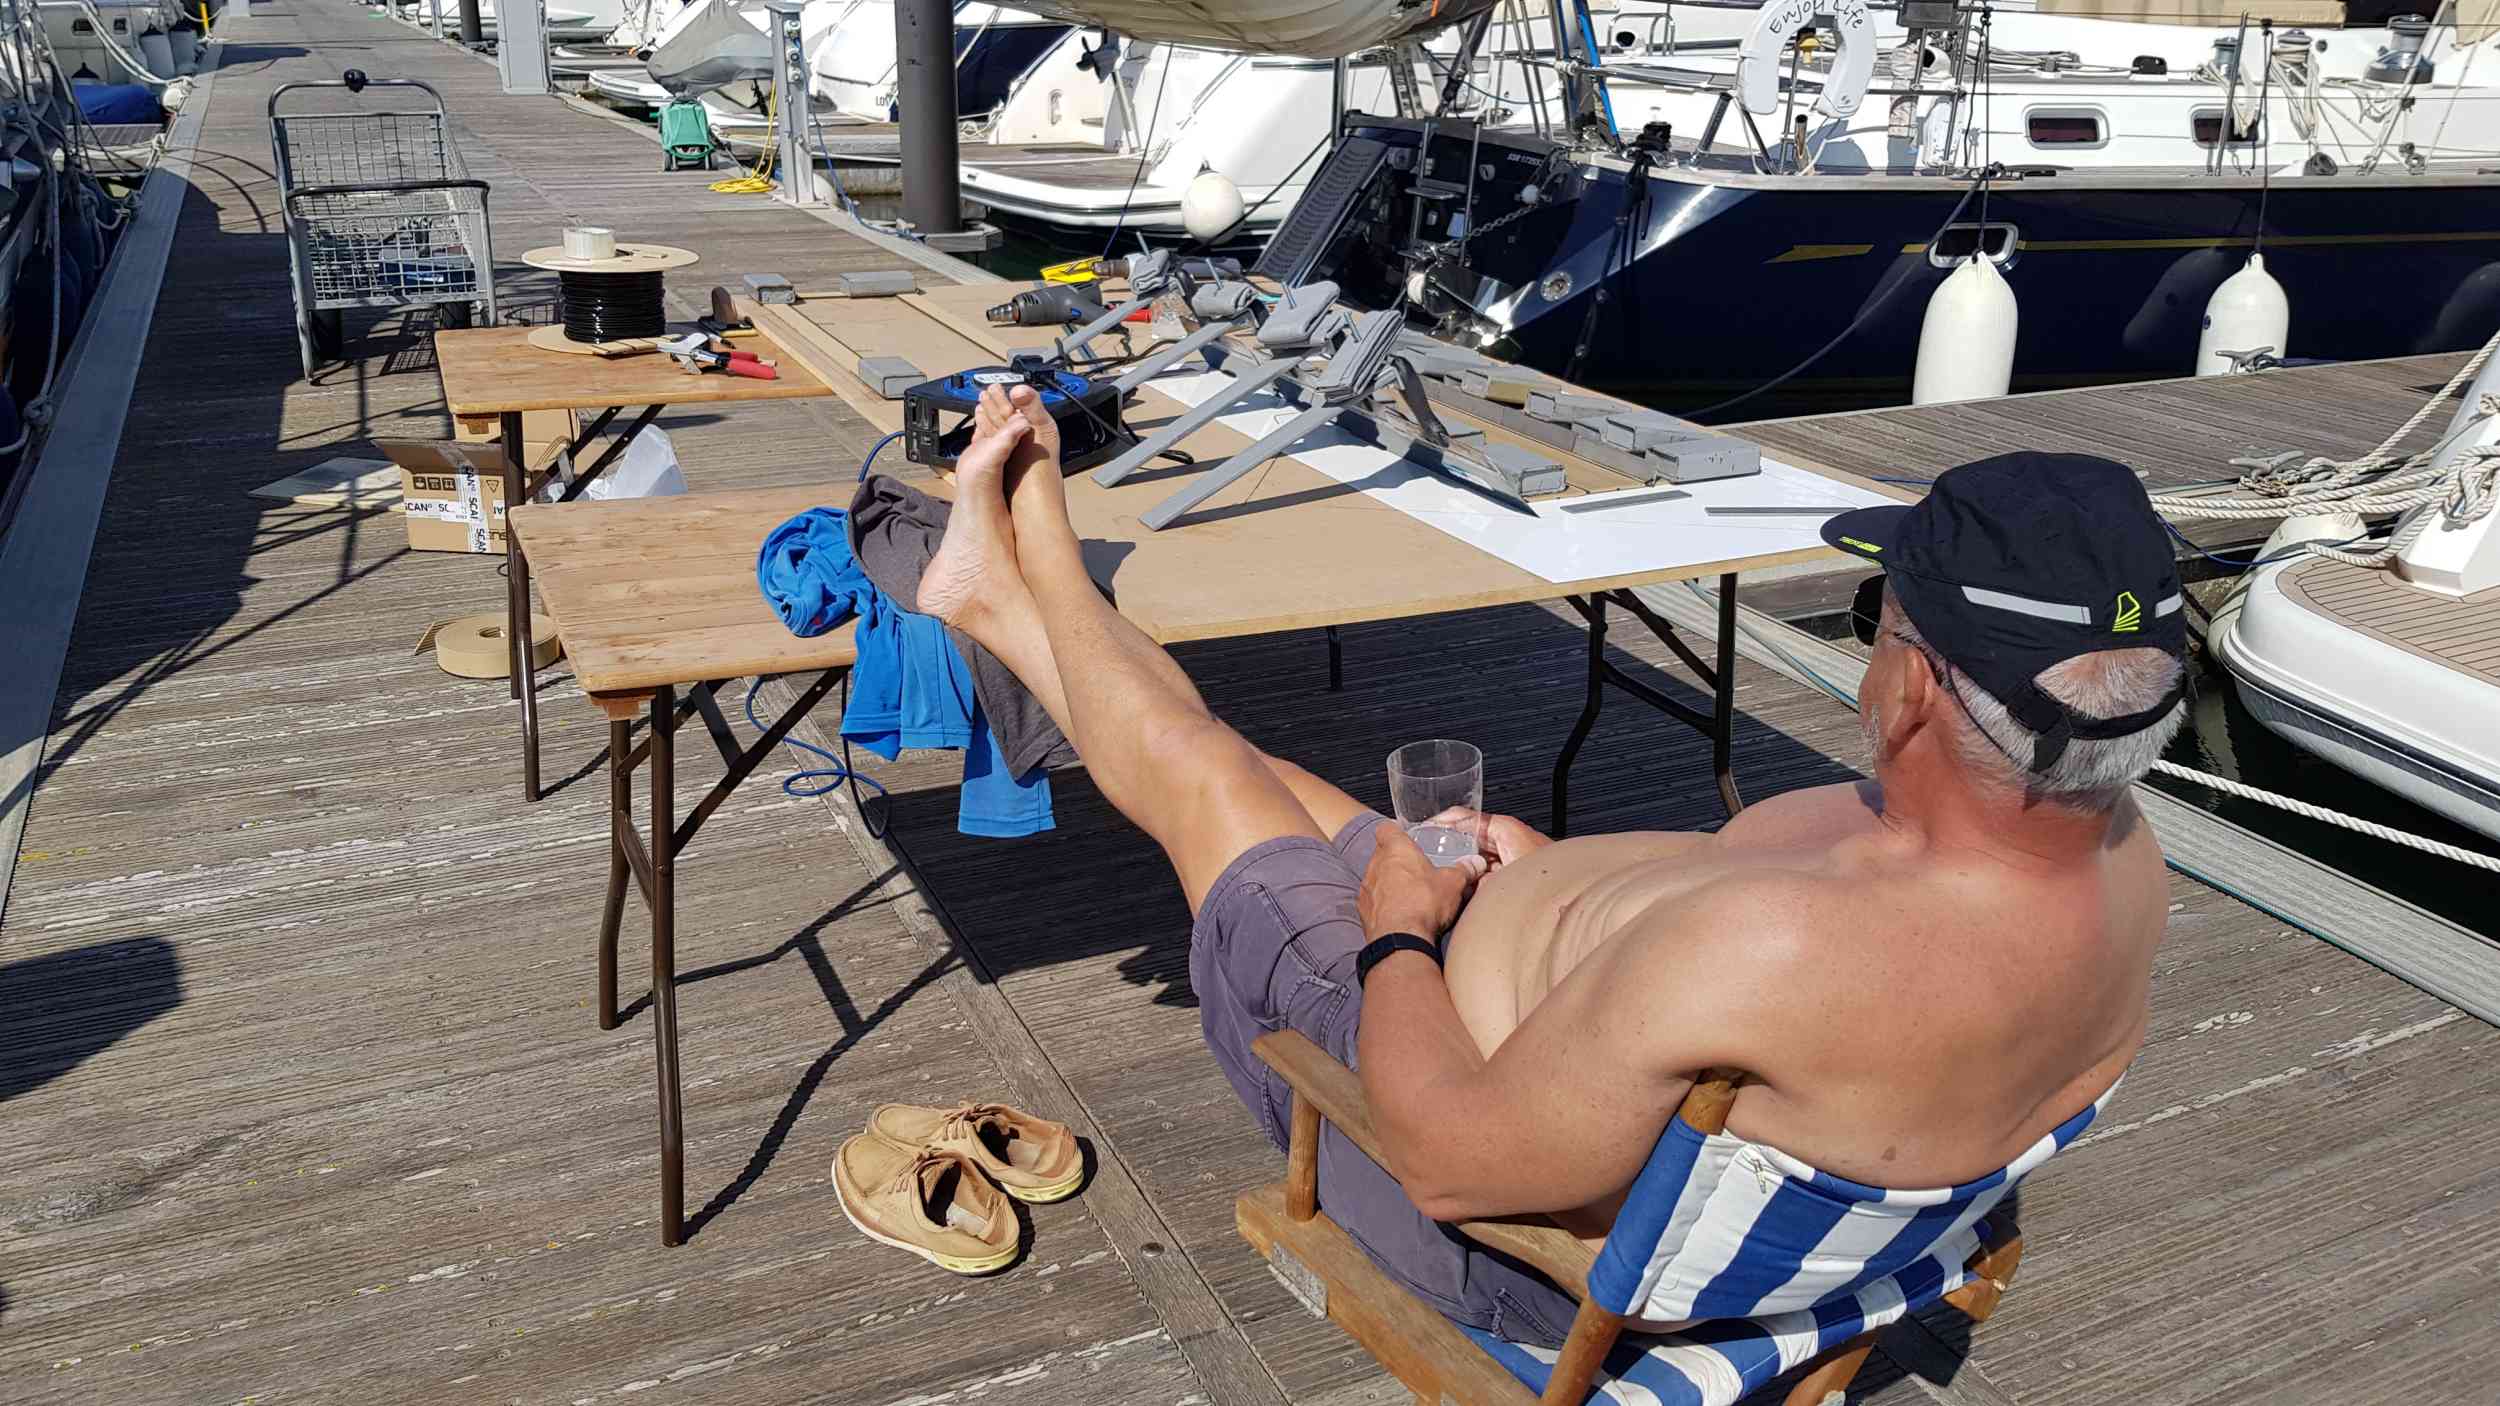
Please note that these notes are my views and experiences. Not everyone agrees with my views of real wood teak. But, for the last 15 years, I have owned two boats fitted with real wood teak. For me wood teak is just plain “dirty” and needs continual cleaning to make it look good. We spend quite a bit of time at anchor and we don’t have a water maker. So, every morning, SWMBO and I try to get up early enough to catch the early morning dew to “flunky” off the boat. It is then that you see just how dirty the real wood teak gets. Simply stepping of recently cleaned teak onto a GRP coach roof will leave dirty footprints. This dirt is then transferred around the rest of the boat. The only way to clean it is with the two part chemicals. Some yachties will tell you that all you need to do is throw a bucket of sea water over it but that is total rubbish. Wood teak is just plain dirty and slopping some sea water over it does absolutely nothing. Also, over a period of 10 to 12 years, wood teak requires replacing anyway. Princess yachts start with 6mm thick teak decks. After 12 years the teak ends up less than 3mm thick.
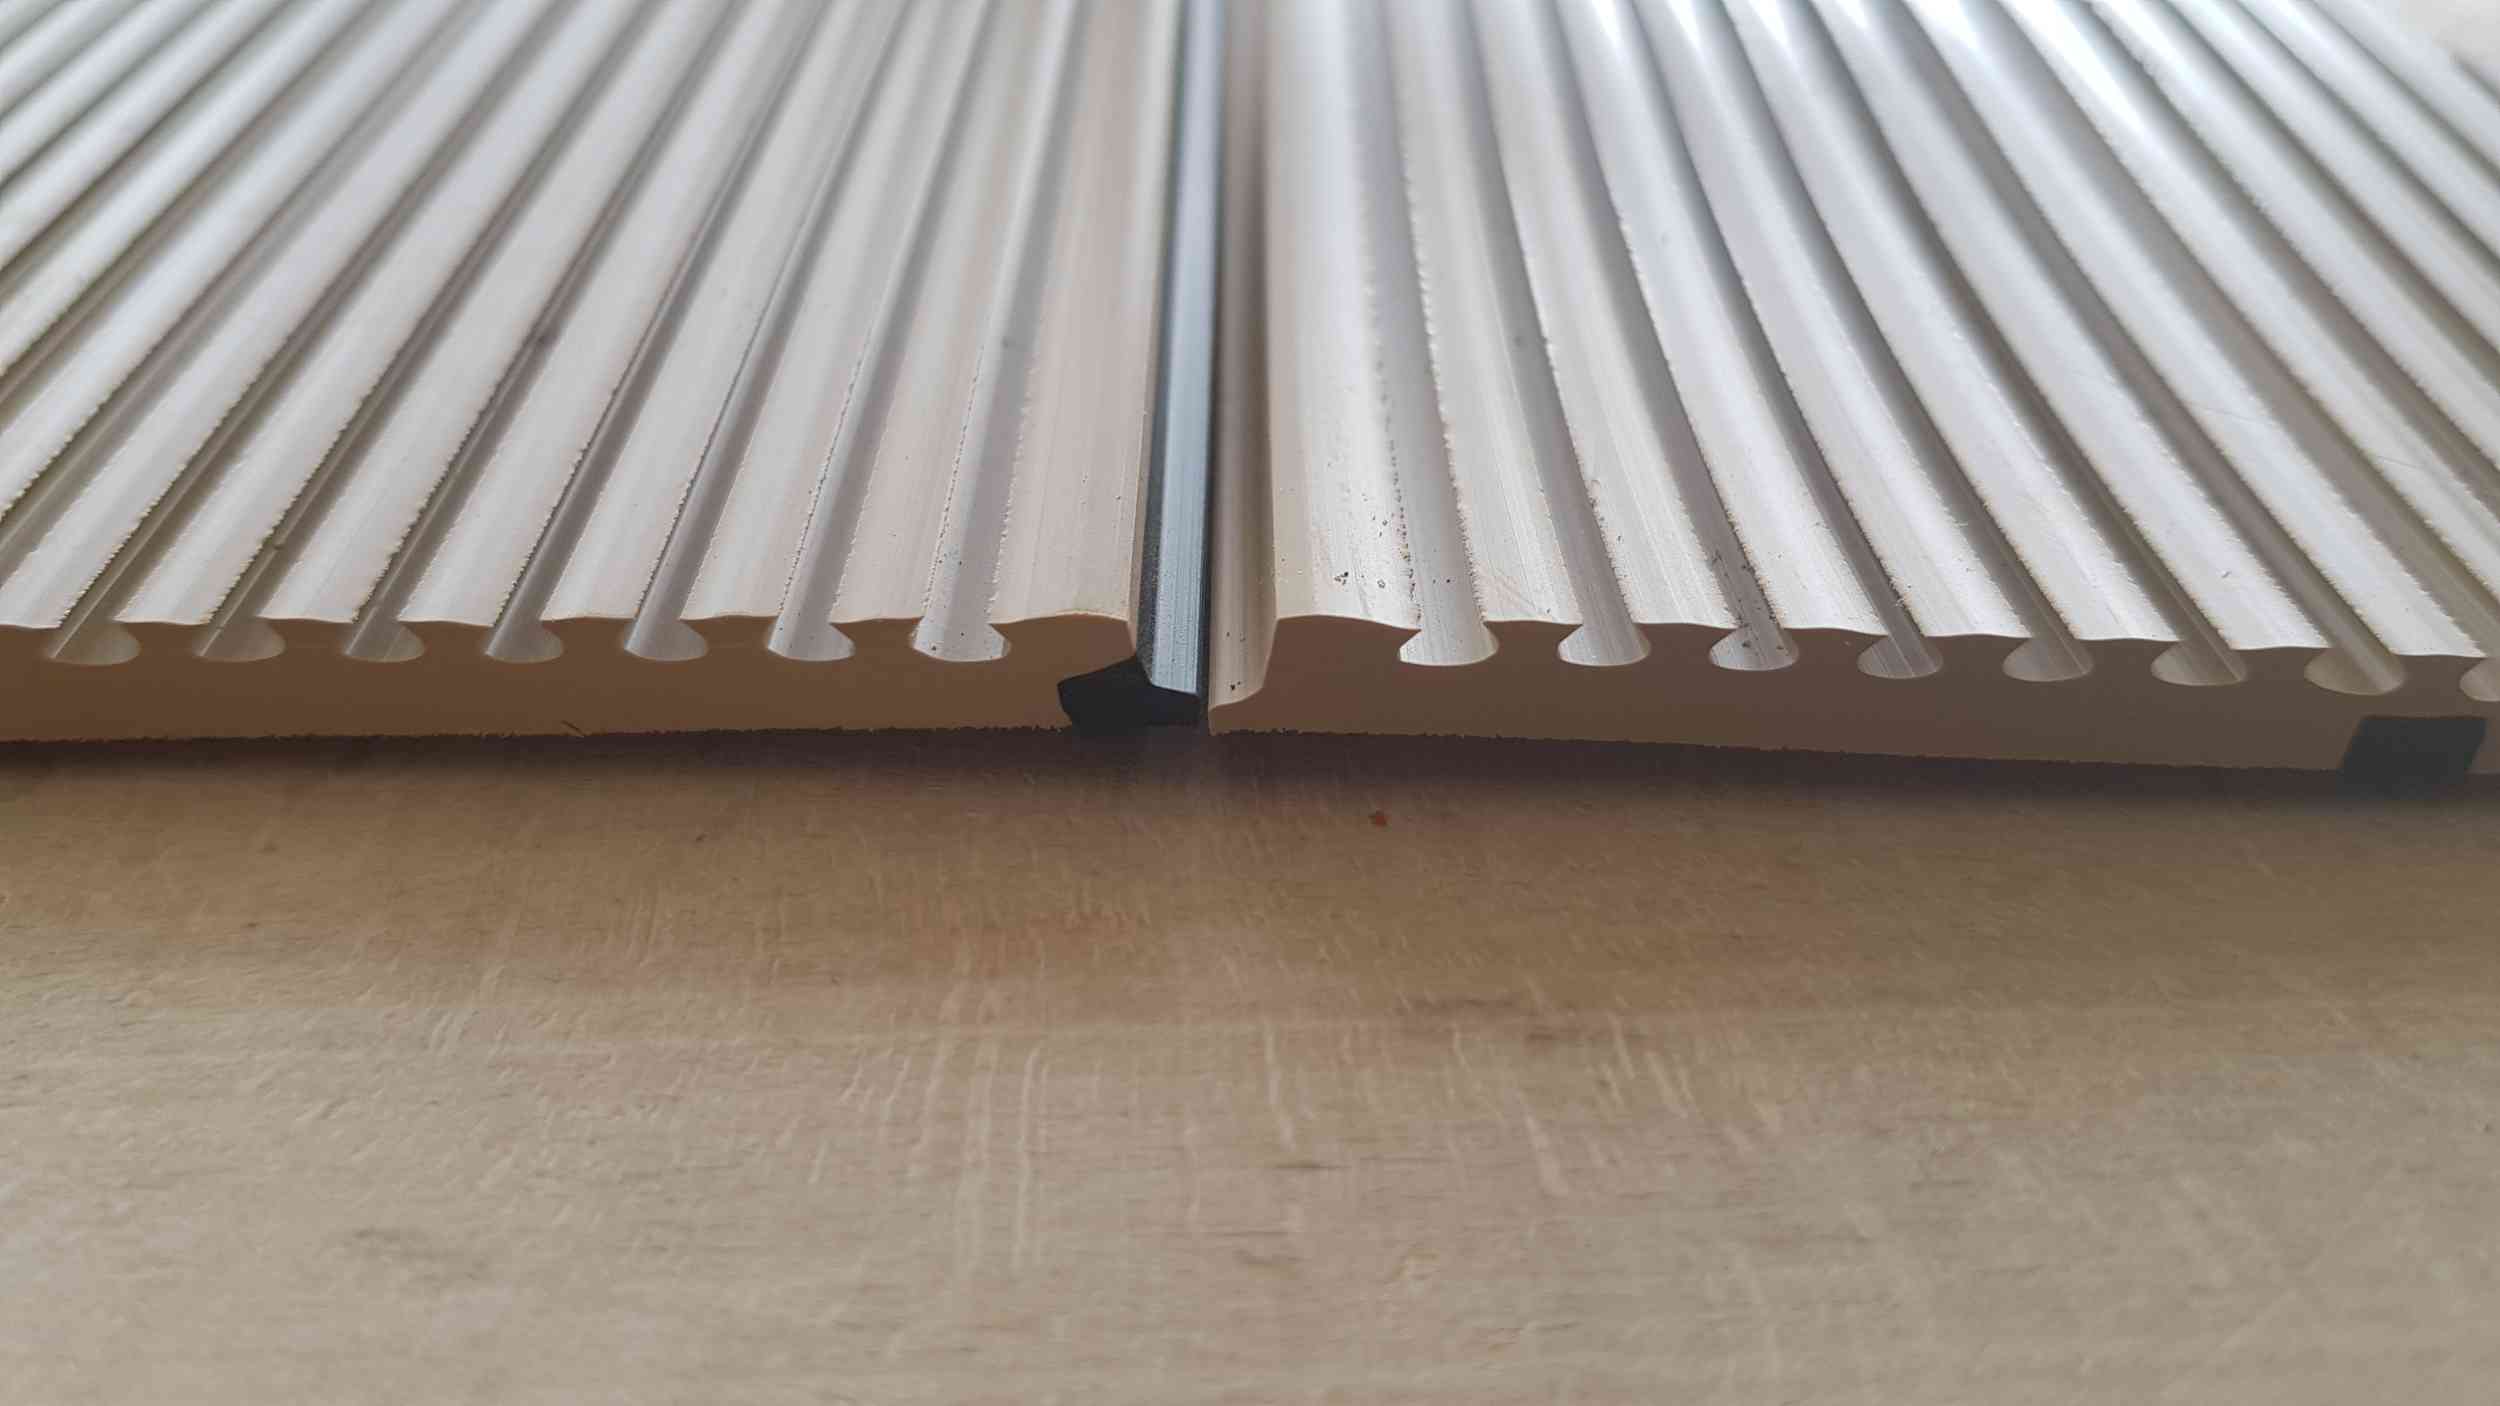
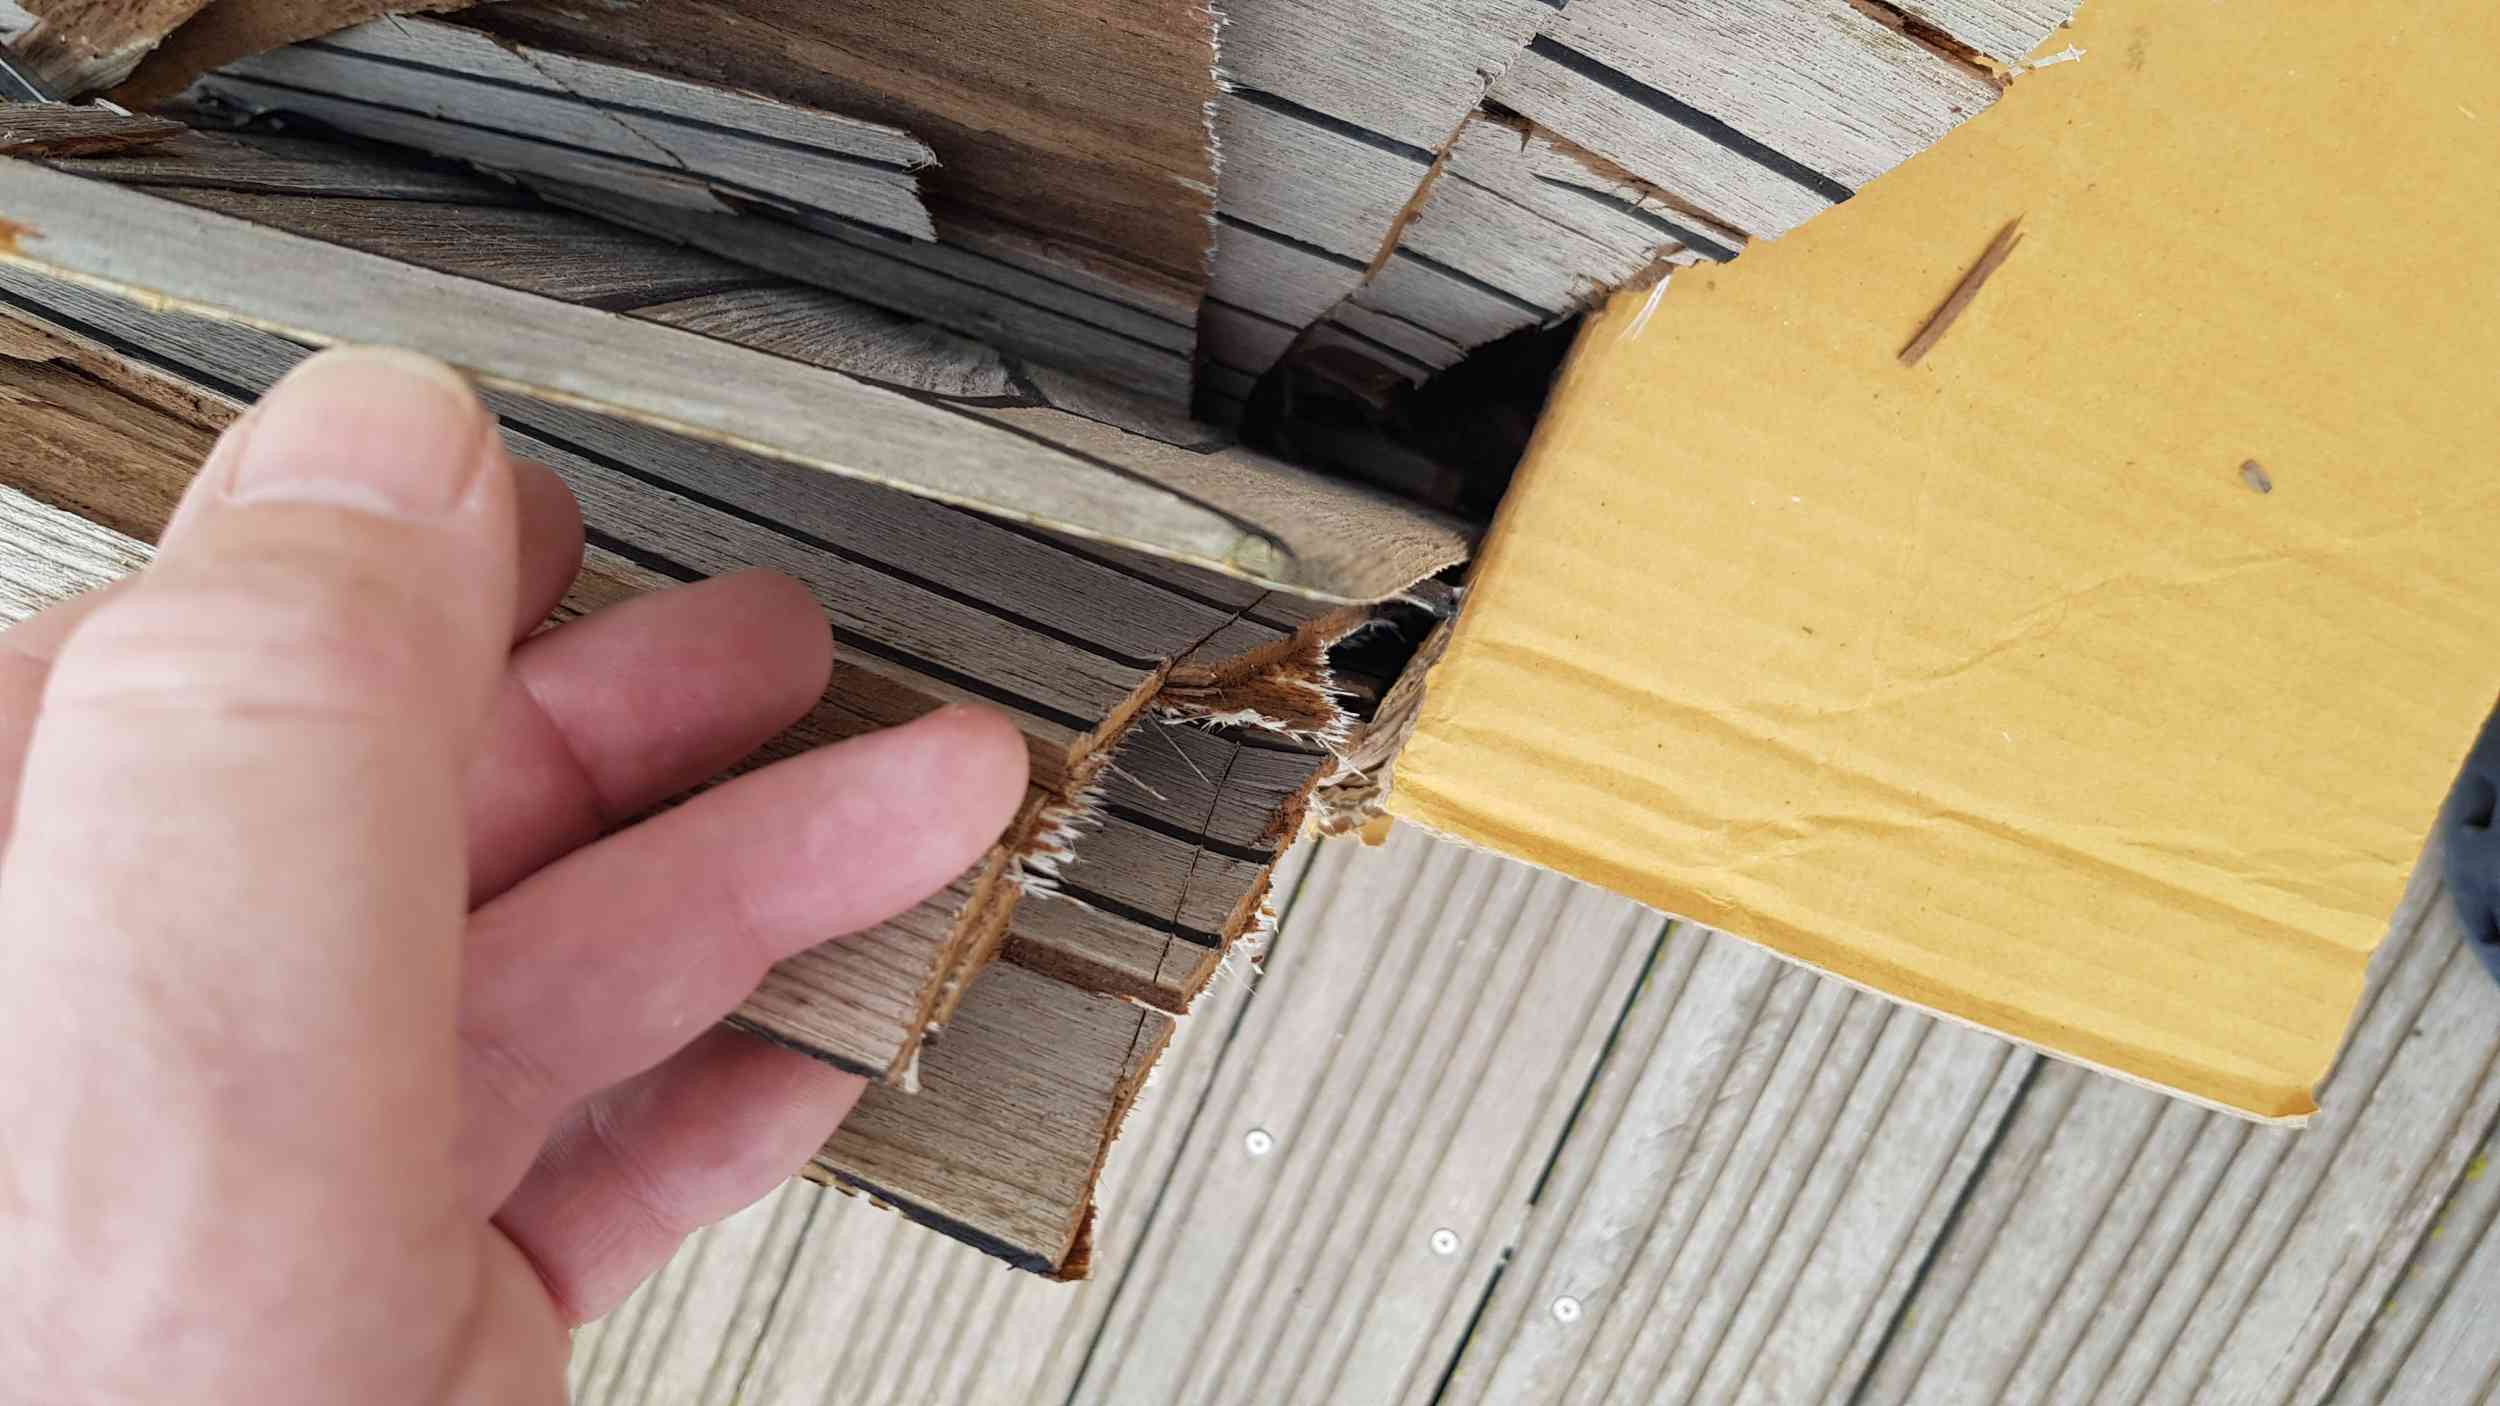
Here is a pic showing the thickness of our old wood teak. You can see just how thin it is.
About three years ago, the bathing platform on our Princess 67 was showing signs of wear to the point where the black caulking was down to bare wood. This made the whole boat look shabby. So we decided to pay to have it replaced professionally. We chose to fit the second generation Flexiteek synthetic deck so now we have experience in both synthetic and real teak. Everything in boating is a compromise and teak decks are no exception. Real wood is hard to keep clean and wears away whereas synthetic teak gets very hot in strong sunshine but is dead easy to clean. So it is a matter of what suits you the best. In my opinion, the hot summer surface is a small price to pay for dirt free decks thus keeping the rest of the boat clean. Incidentally, away from the marinas, the synthetic teak stays much cooler. And as long as you select a recognised product, synthetic teak can look to the untrained eye just like real teak.
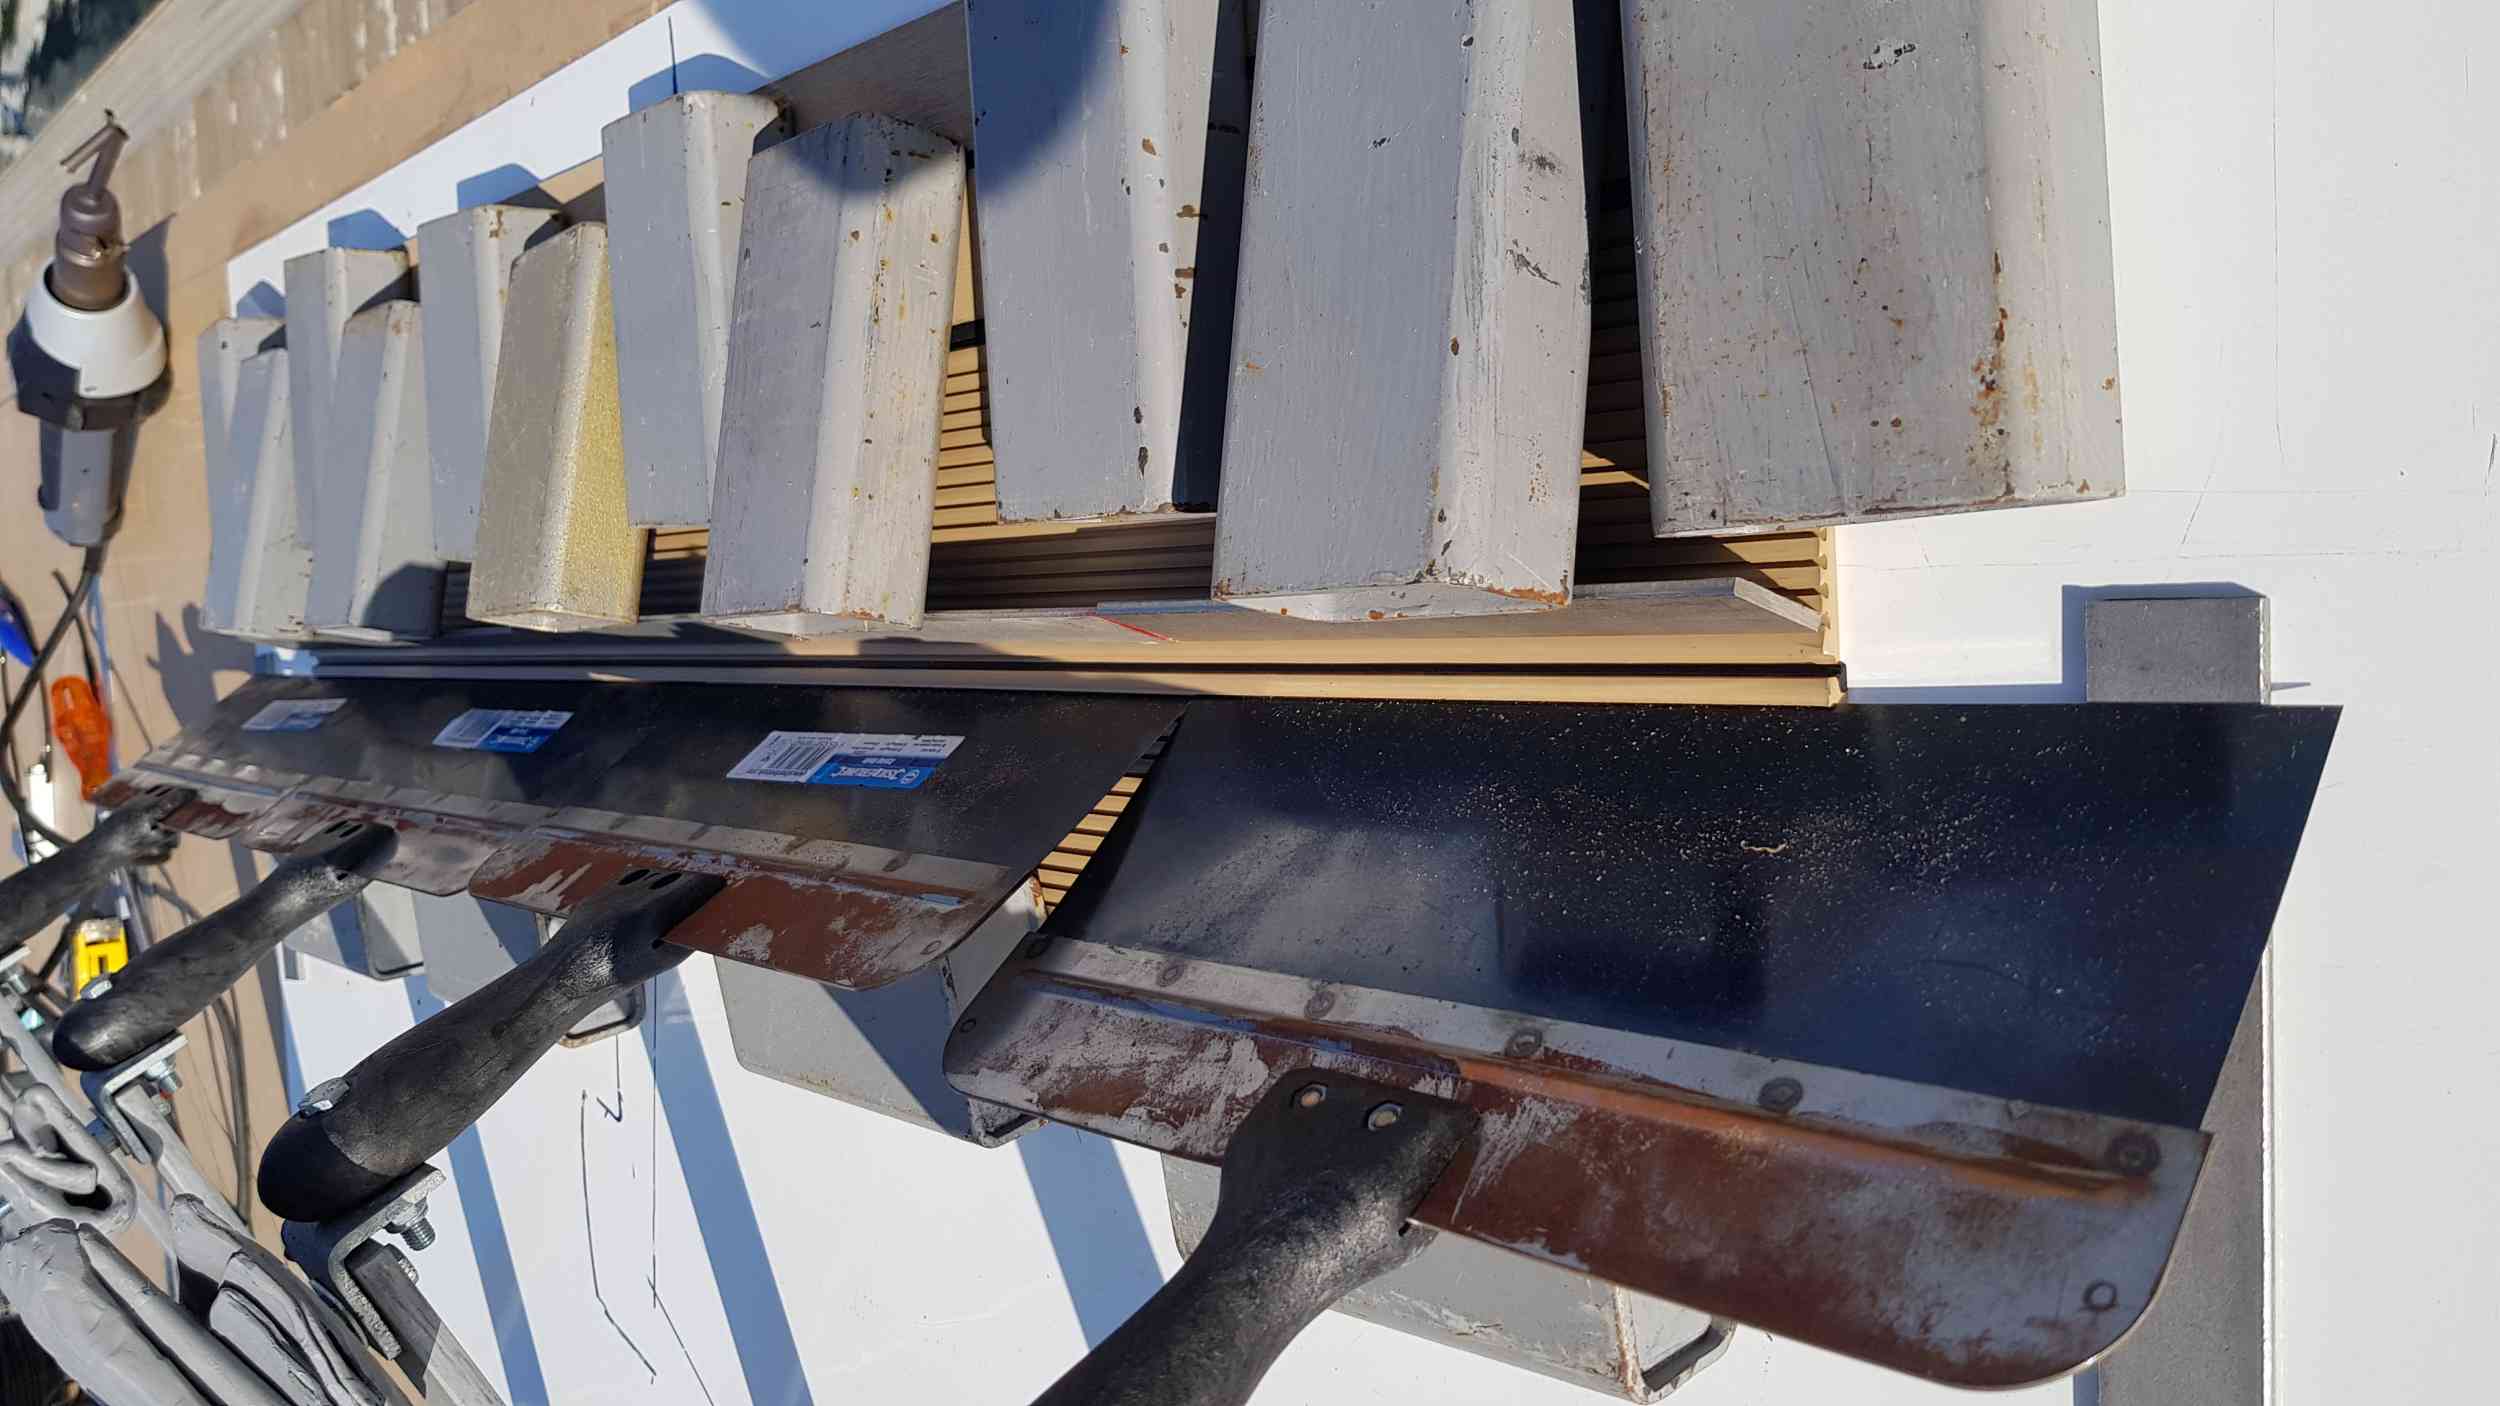
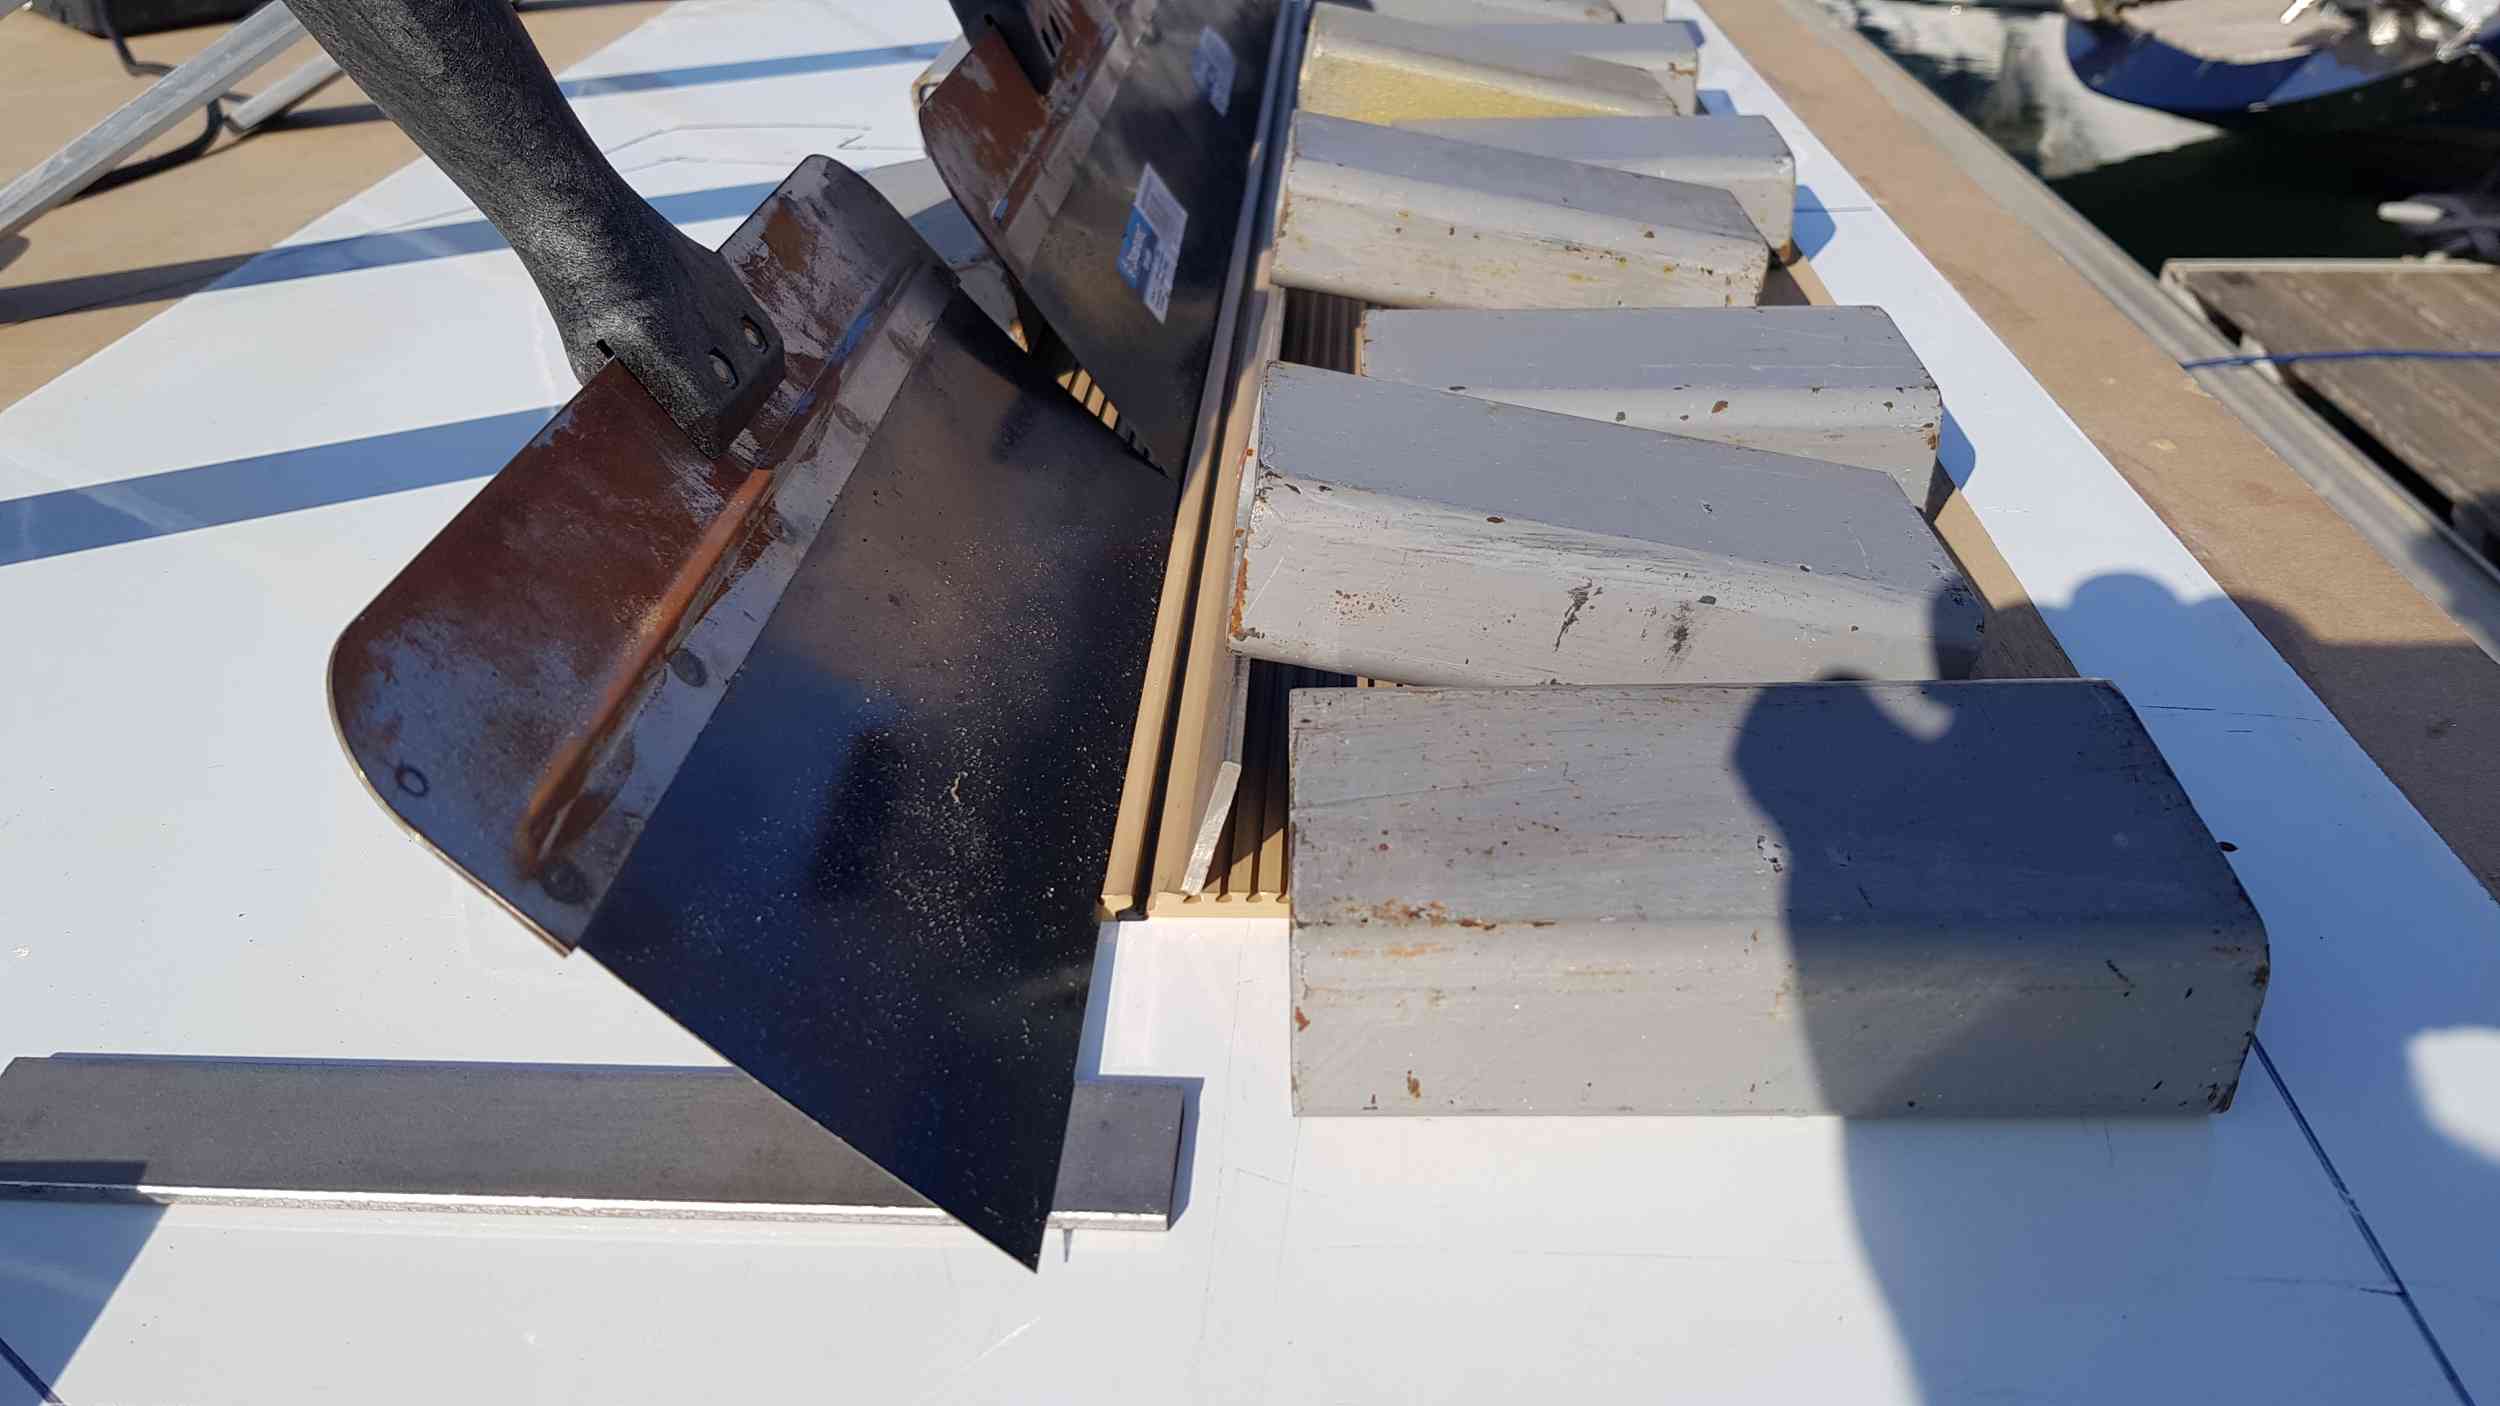
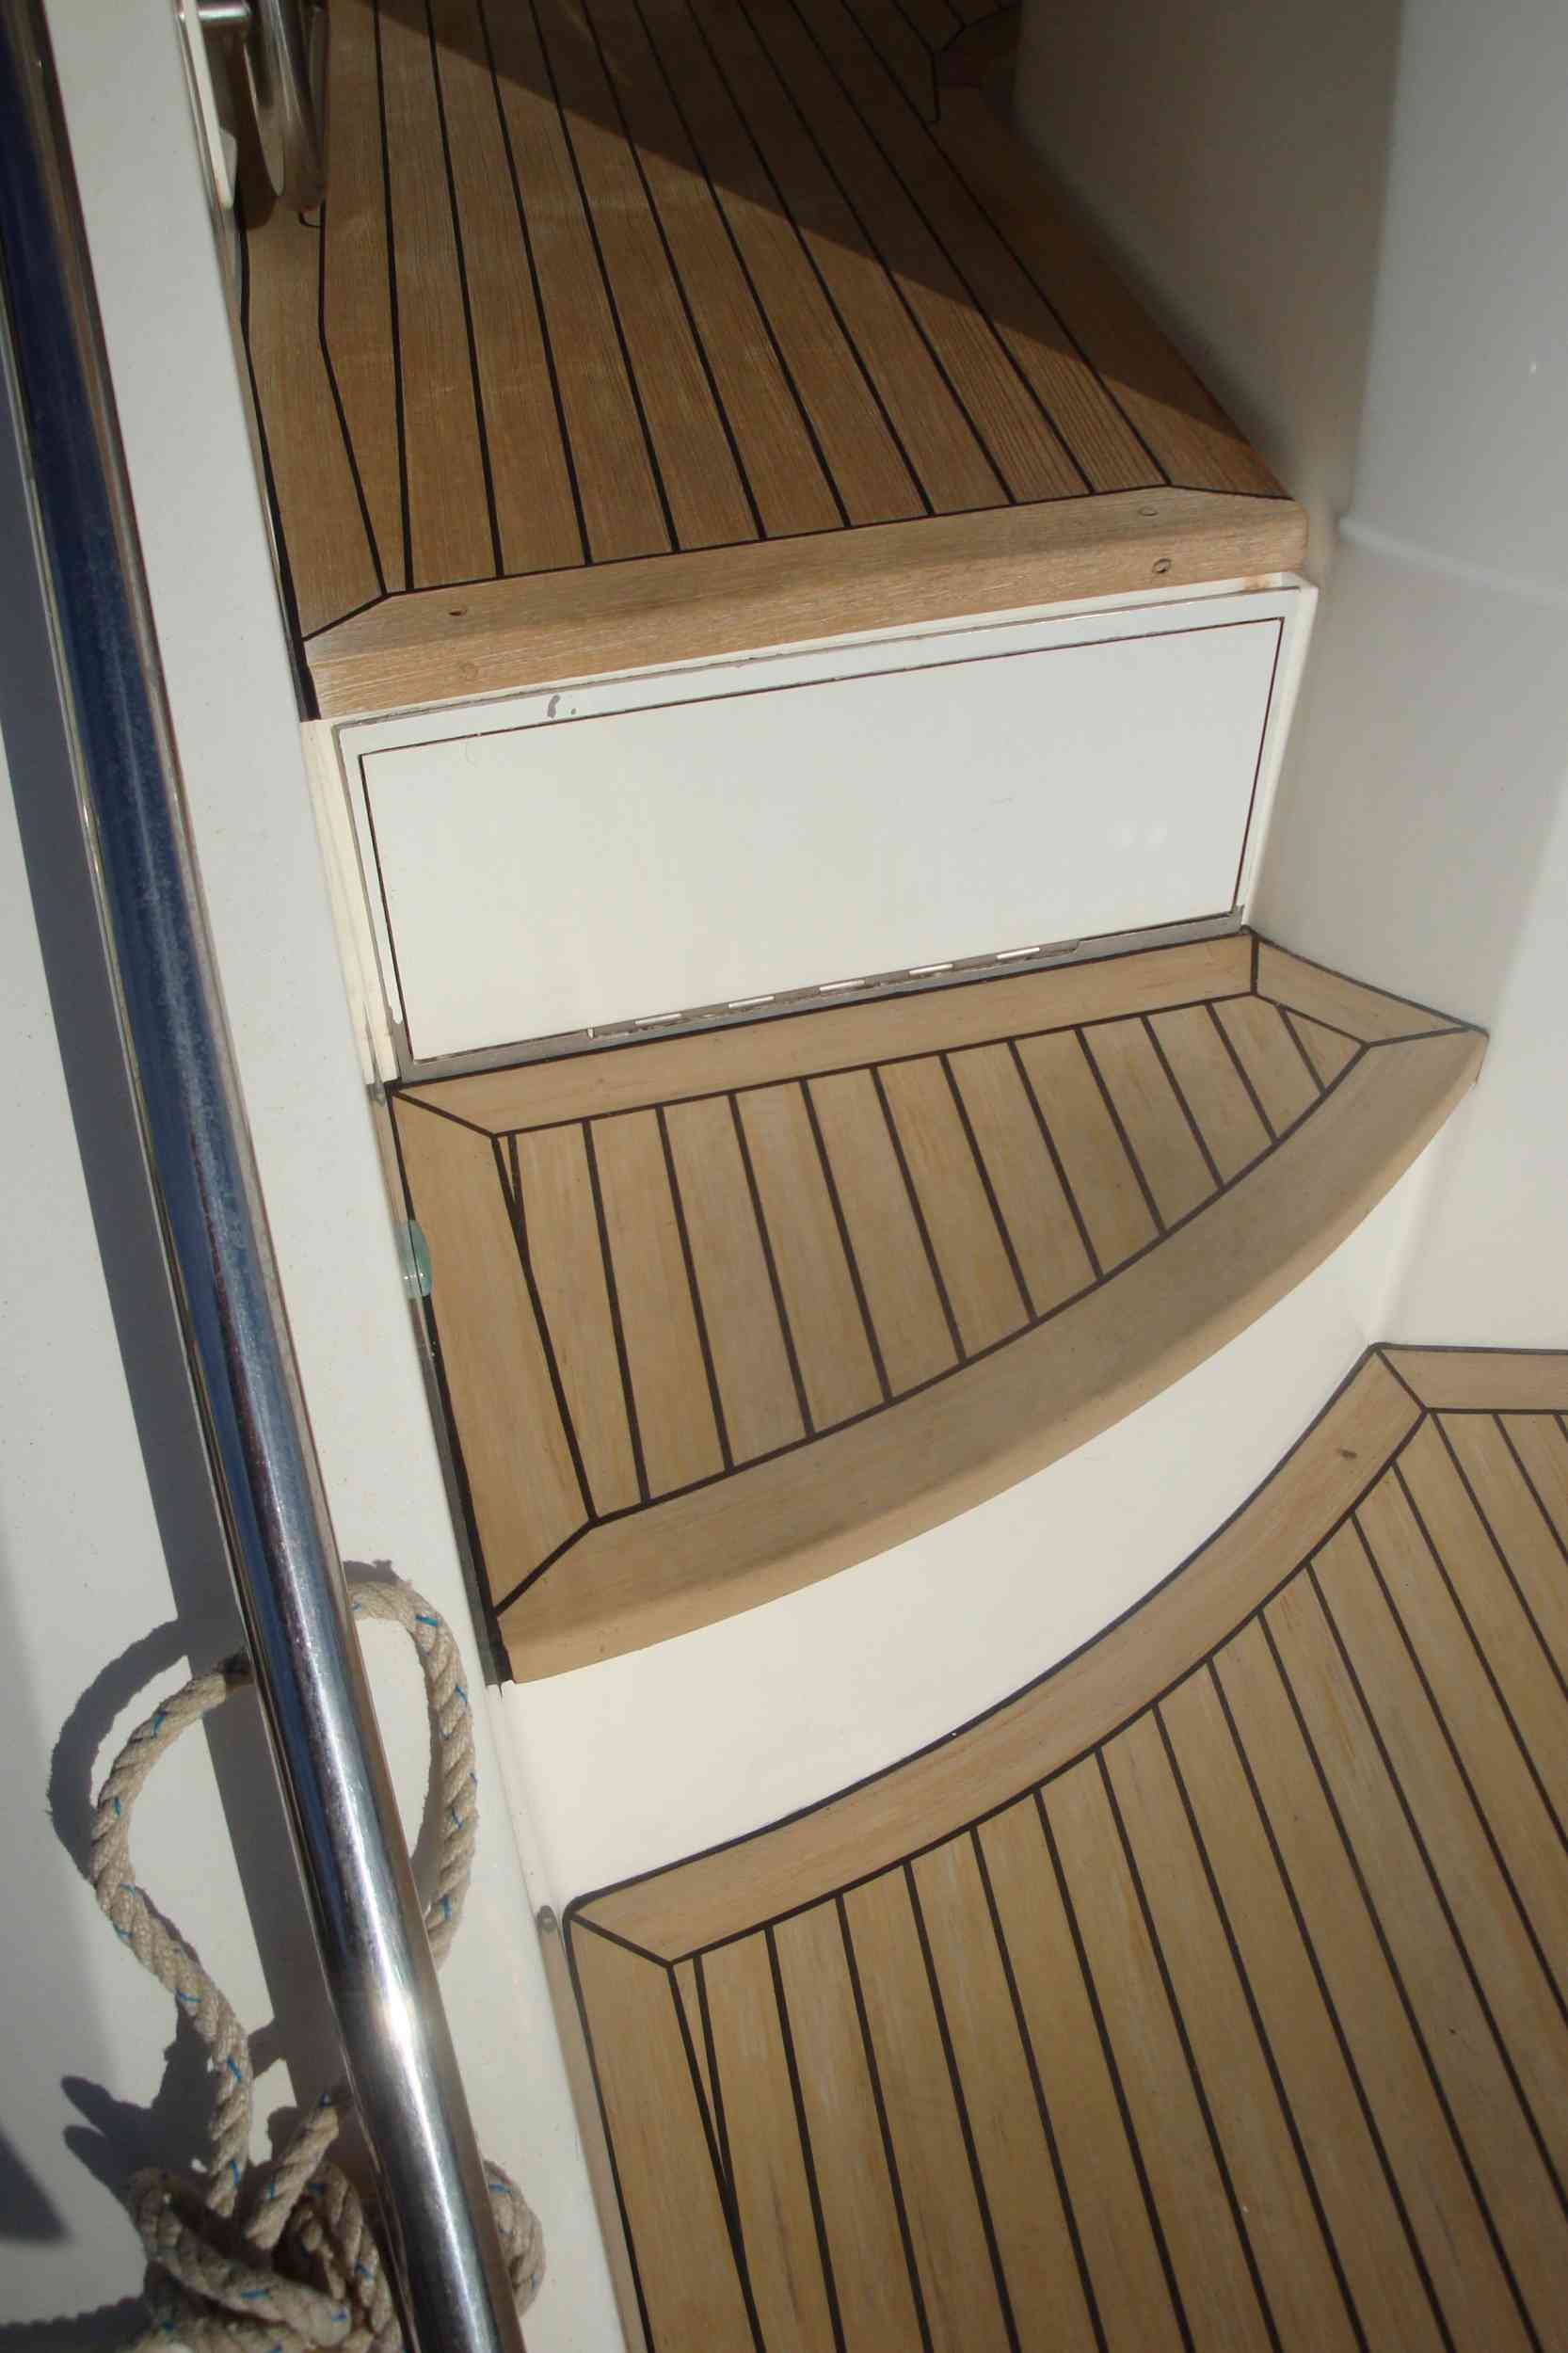
Here are some pics after our bathing platform had been fitted with Flexiteek. Sorry about the state of the old winter cockpit covers in the photo!!
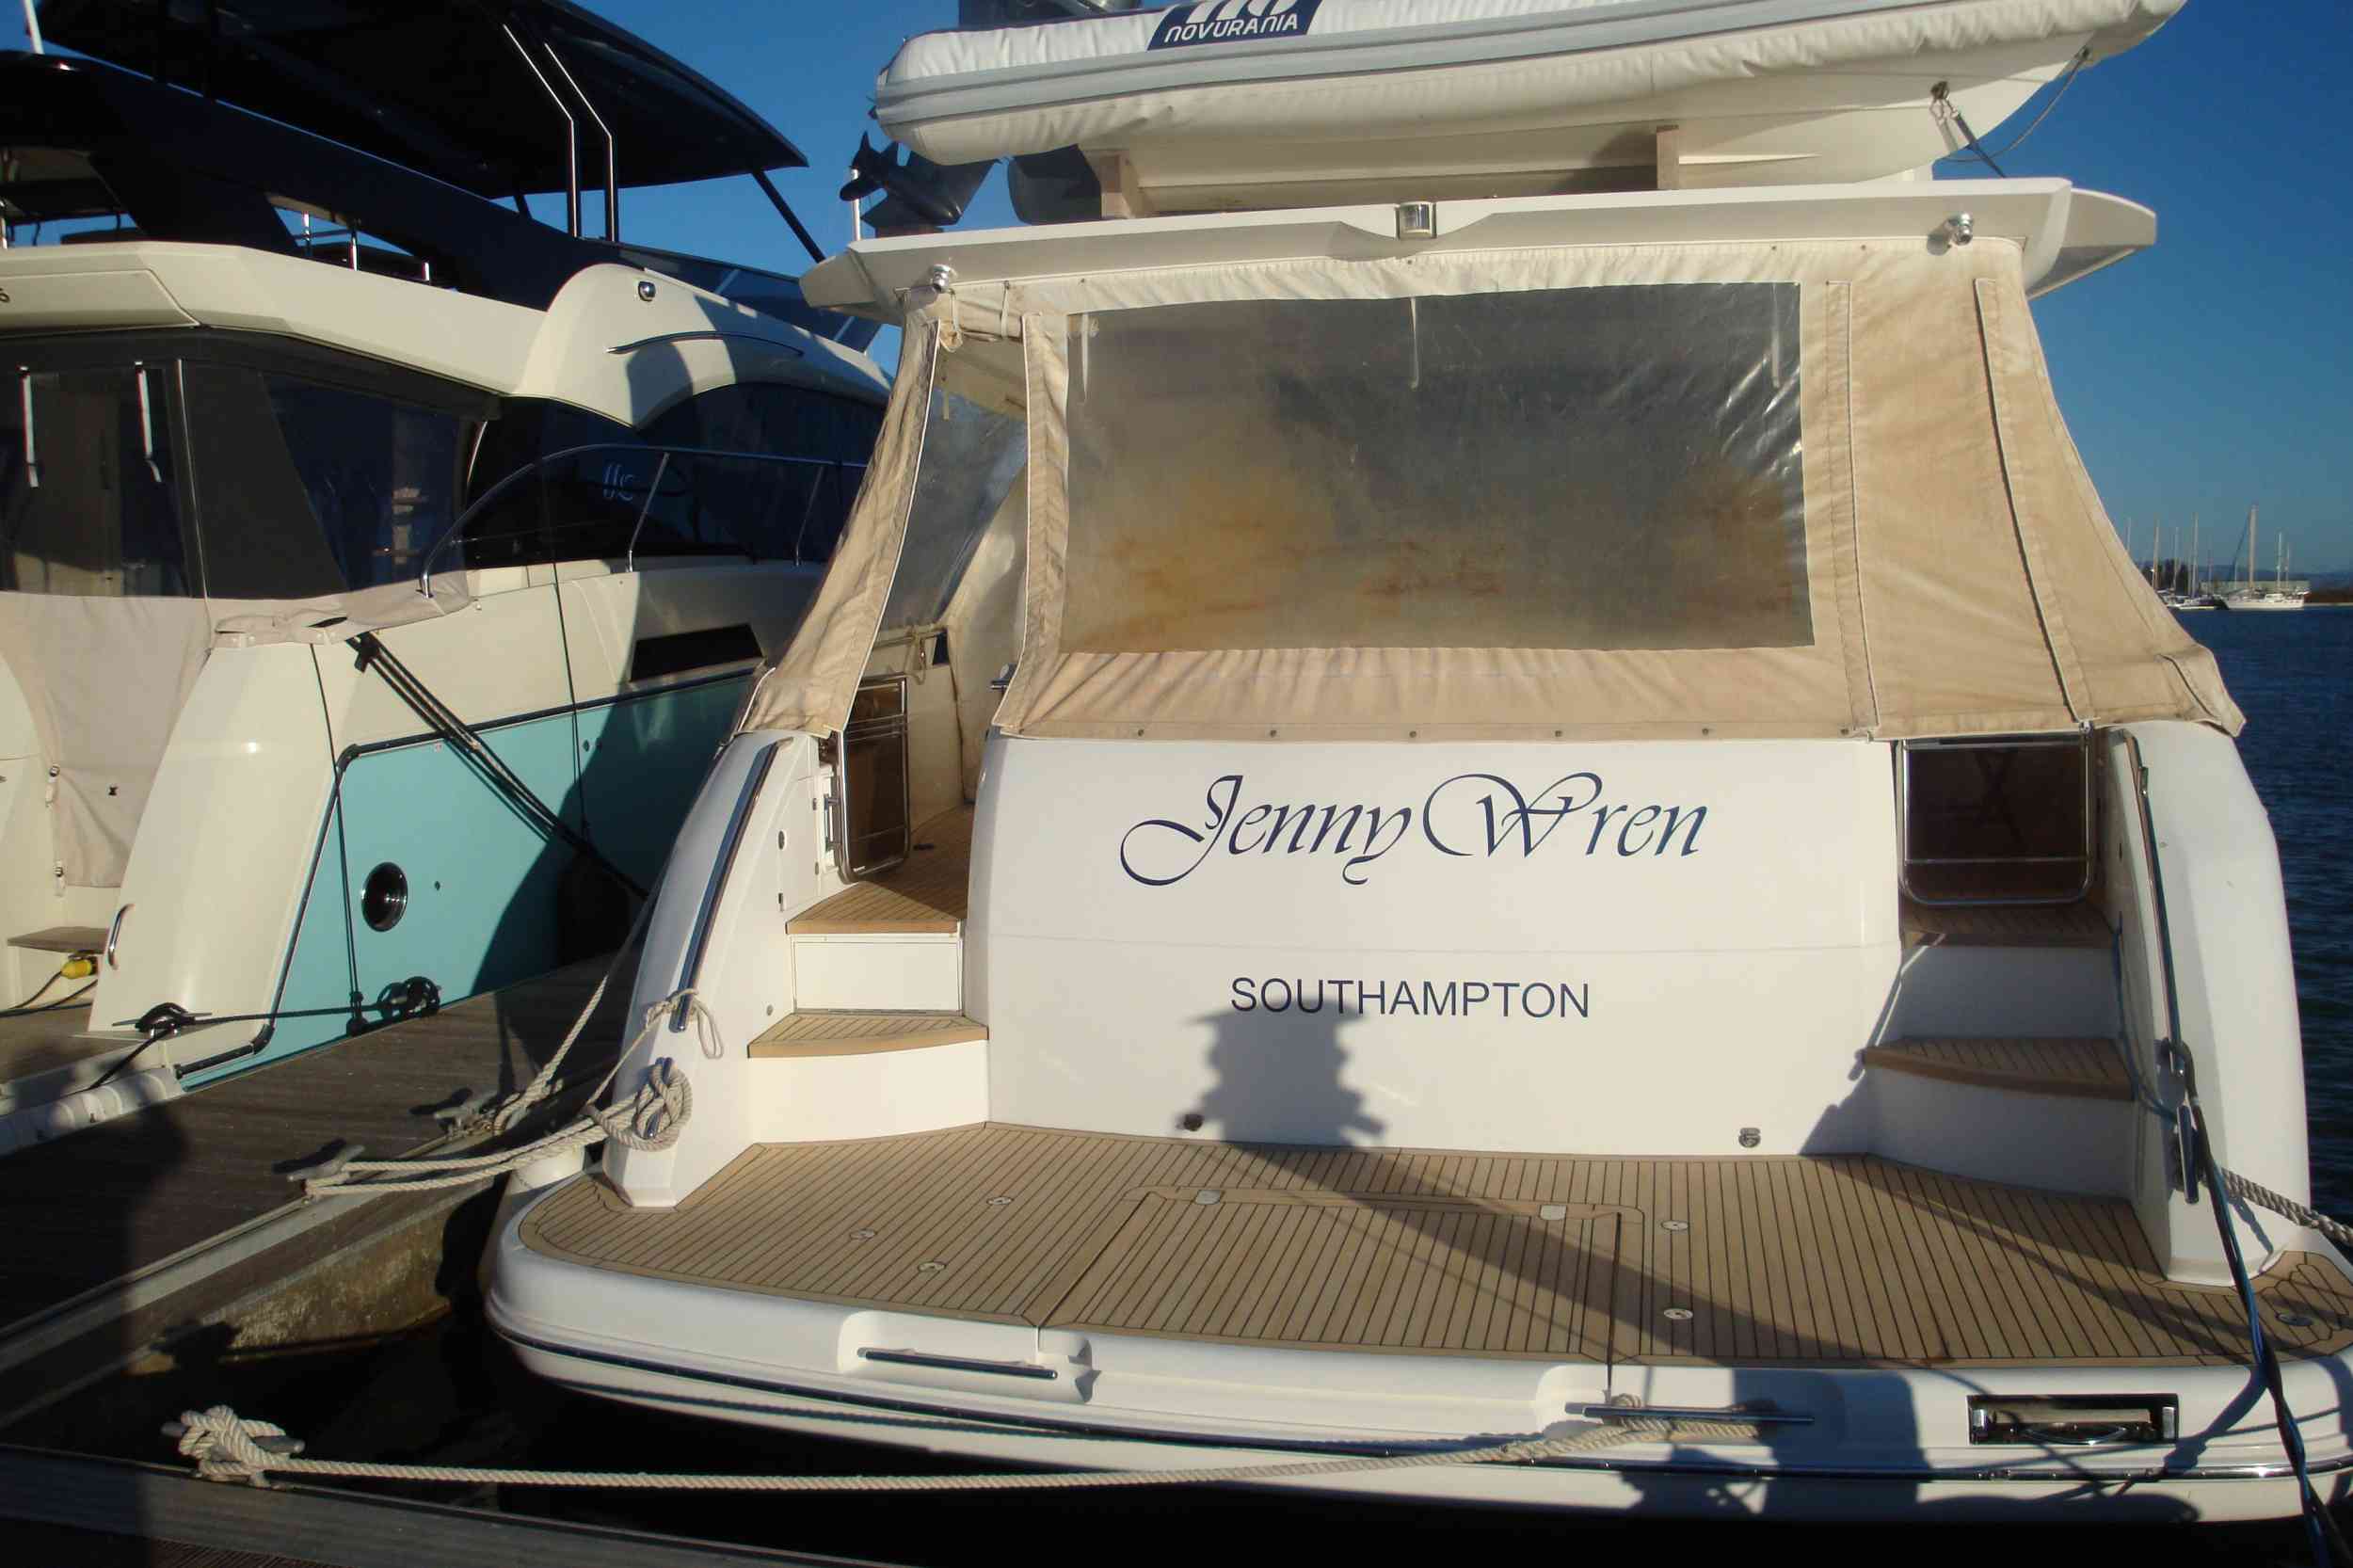
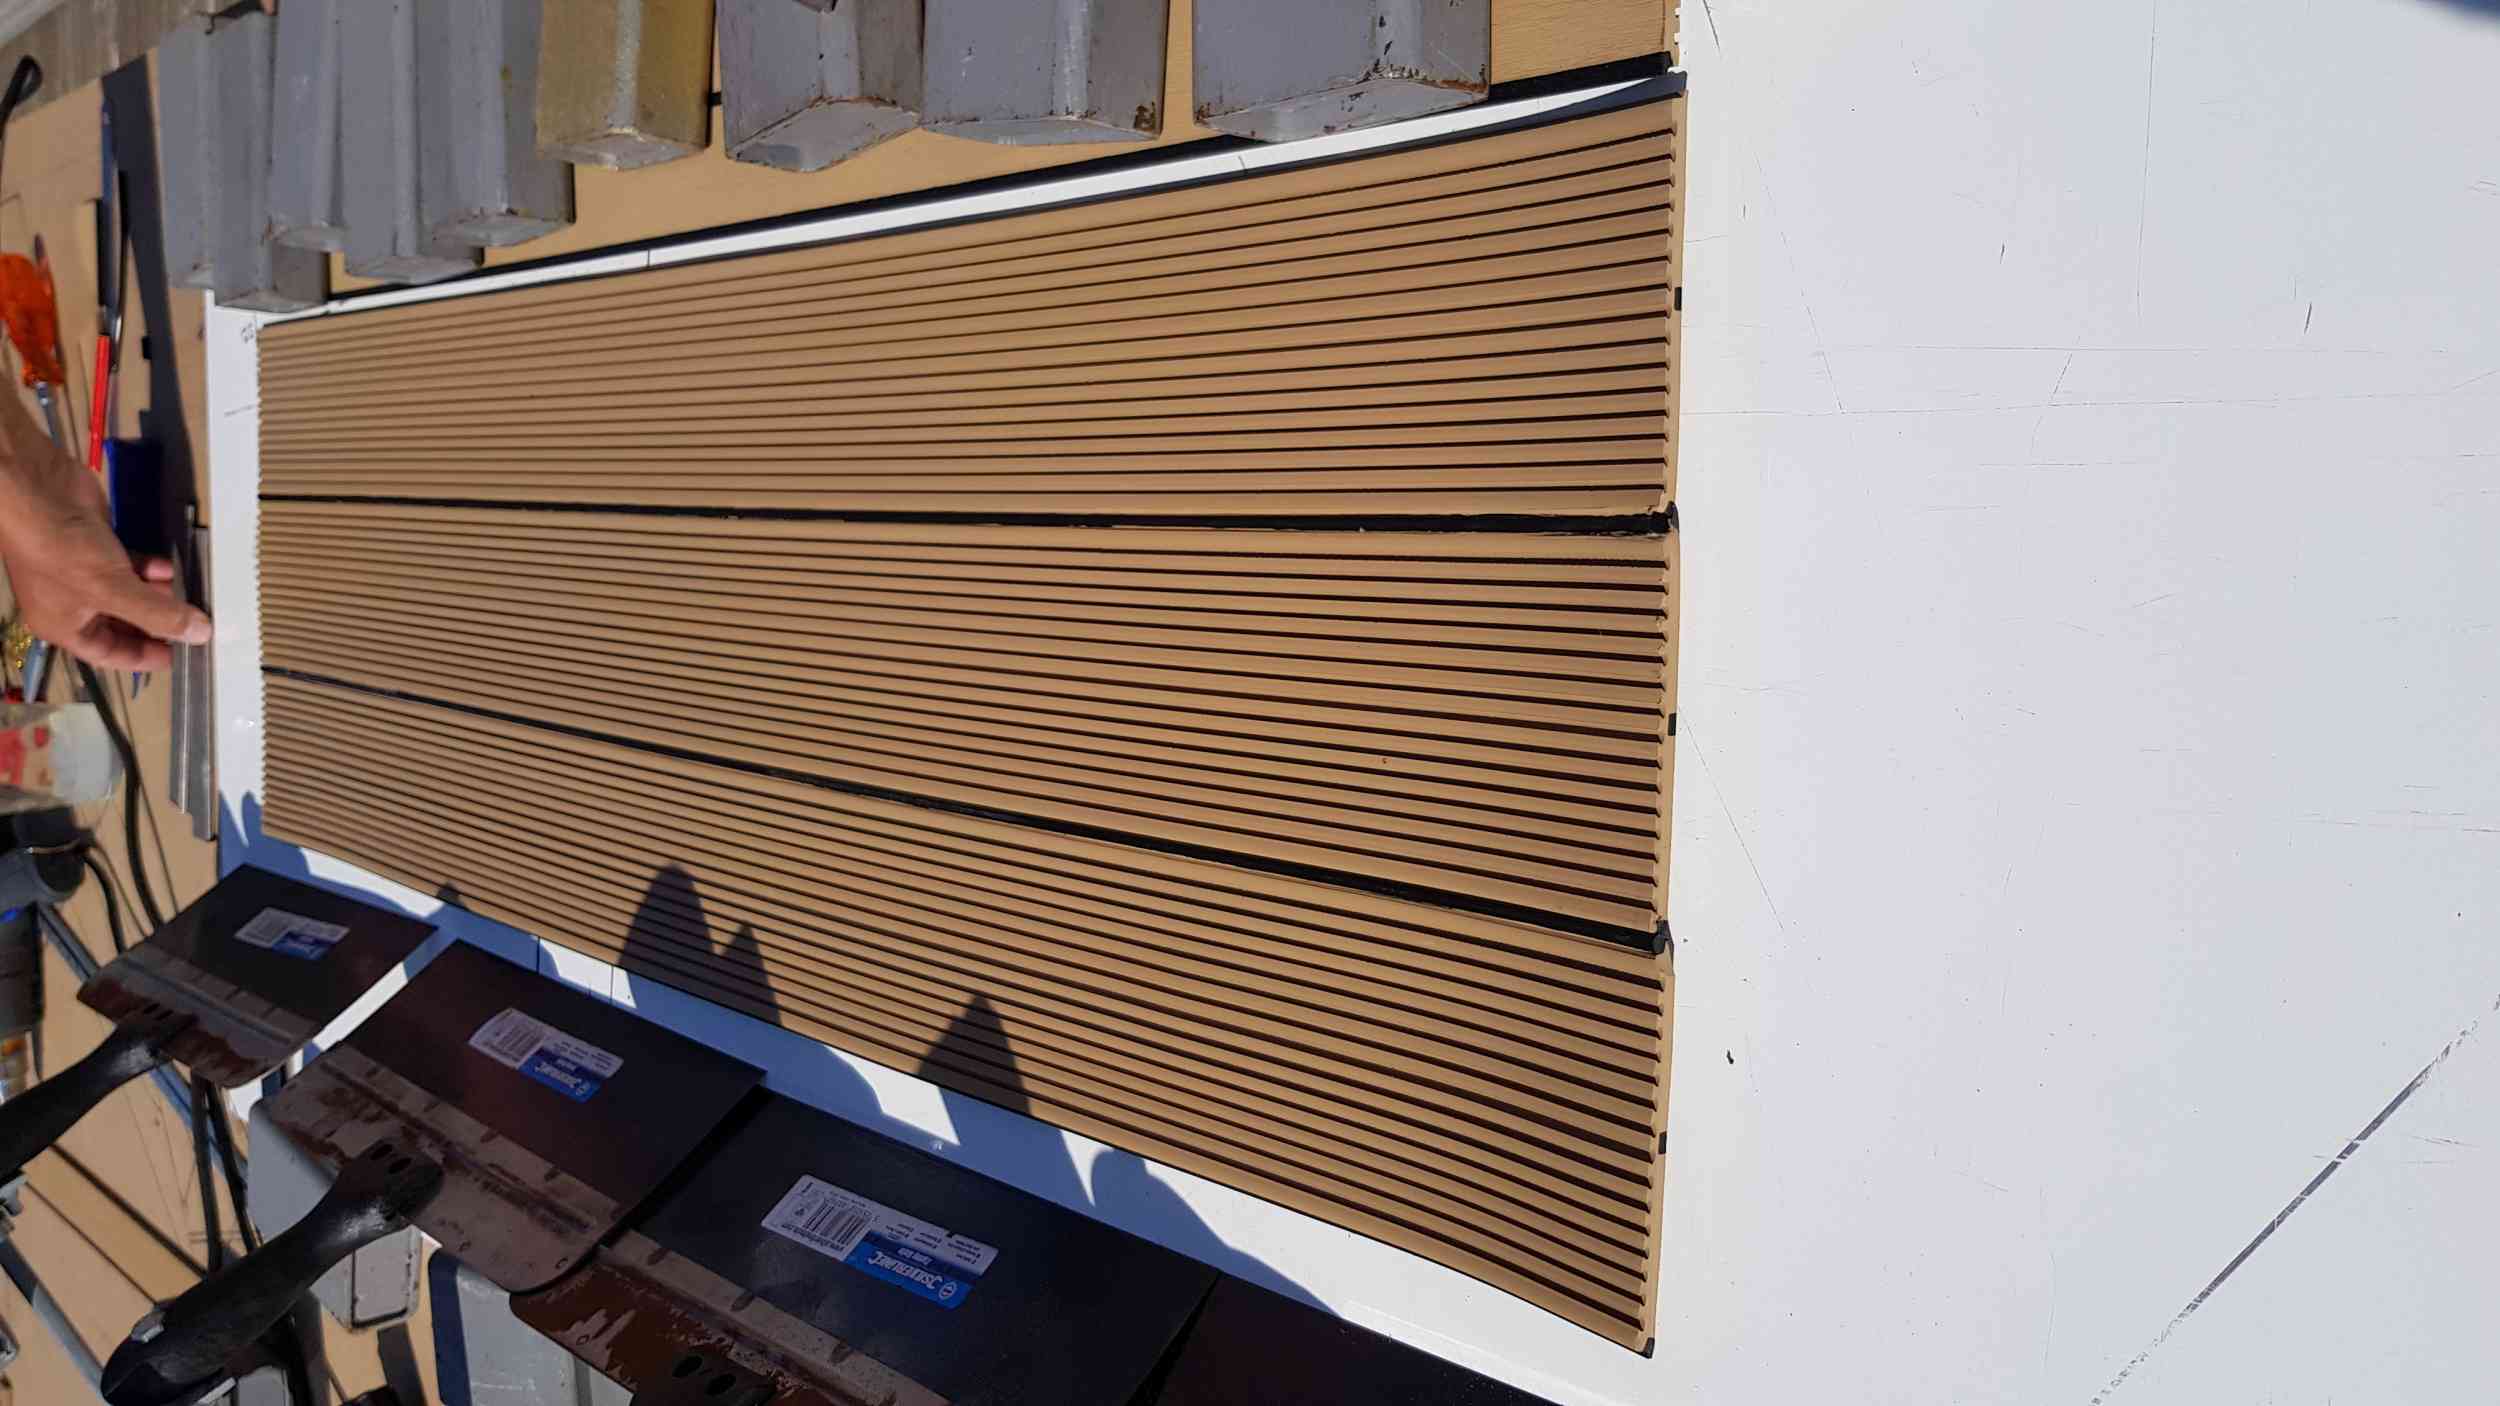
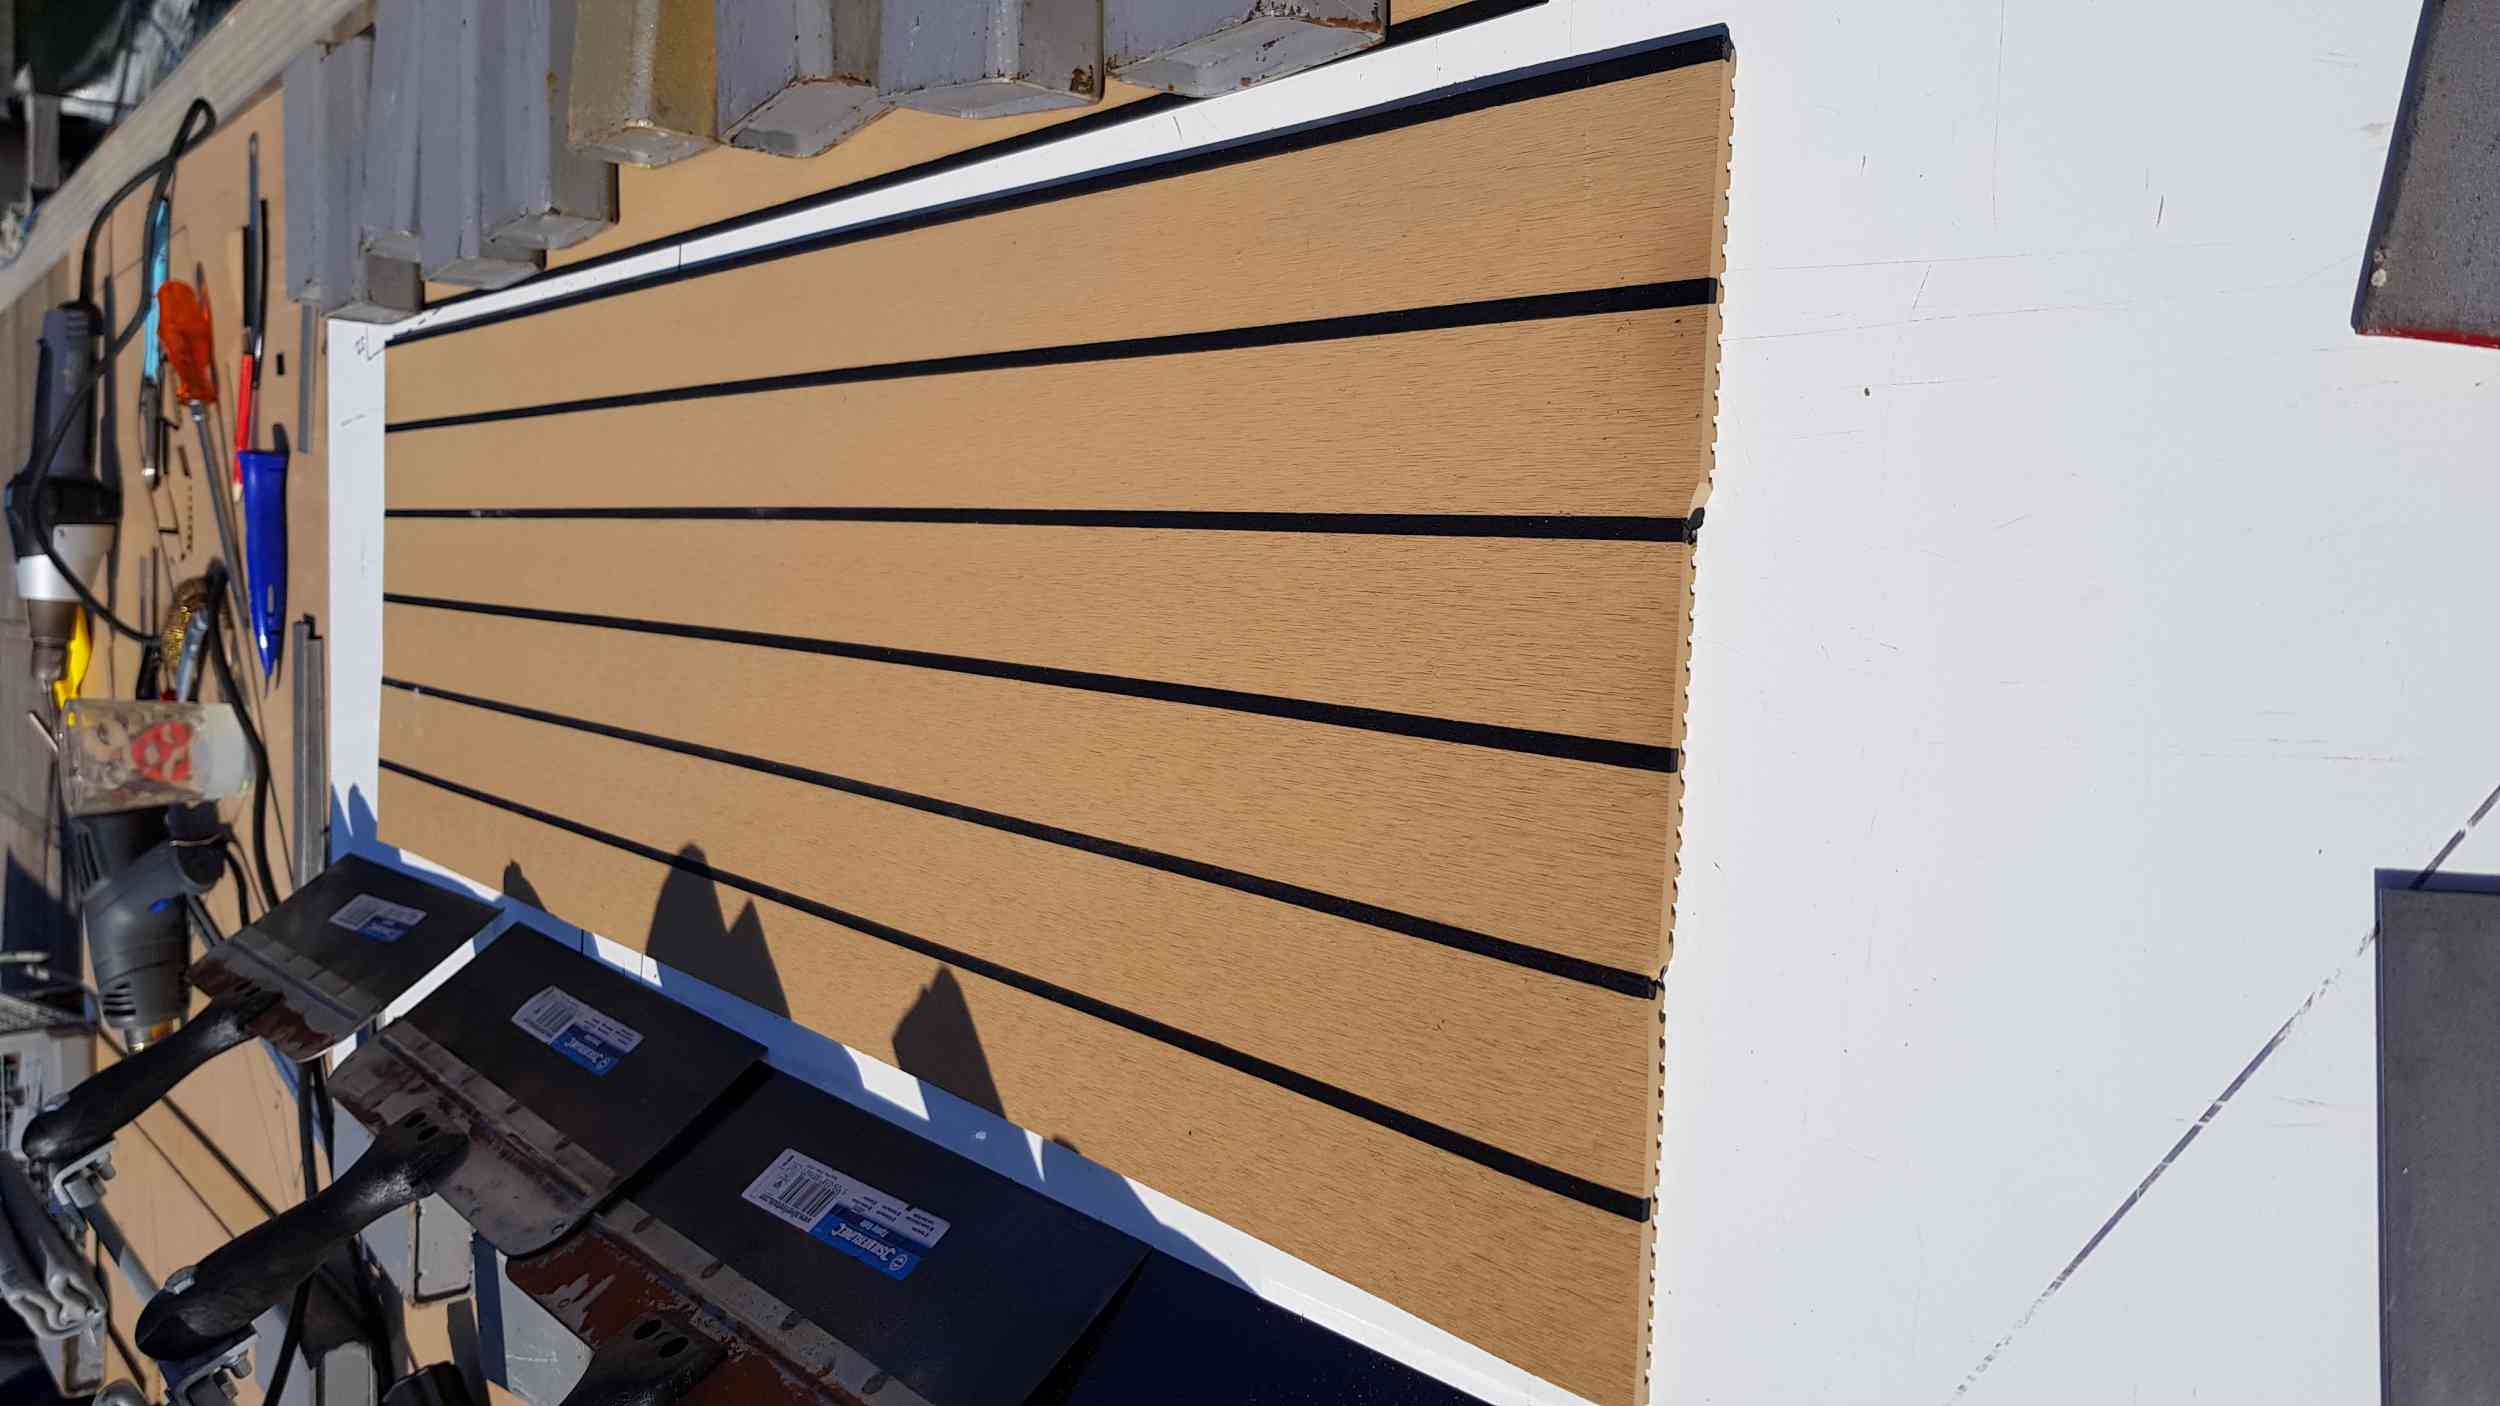
Can you tell the difference between the real teak and the synthetic teak?
And here you can see at anchor in the heat of the sun that the surface temperature isn’t that bad.

So, having had some success with the bathing platform, I now want to do the rest of the boat. Apart from being very expensive, it is important to do the job properly to make it look as close to original teak as possible. For example, planks have to line up as they cross over hatches otherwise the job will look awful. So, after getting some quotations for the work and discussing the techniques with professional suppliers, I decided to make and install synthetic teak myself. The first problem that I ran into was finding a supplier who would, not only supply me, but someone who I could call for advice. These days, the market seems to be cornered by Flexiteek and Permateek who push you to their contractors/dealers. This is not what I was looking for. Eventually, I found Trakmark who specialise in providing the components and materials to do exactly what I wanted.
I have decided to split the rest of my teak update into three phases. For right or for wrong, I decided to do the foredeck first. That has been successful so my next area is the replacement of the flybridge teak and finally the last phase will be in the cockpit. I expect to draw this out over several years. It is a real shame that we didn’t have synthetic teak installed on the boat when she was new.
Whilst researching, it was very apparent that there are lots of ways to design wooden style decks. Looking round the internet, I found some examples of Princess Yachts that had been updated with synthetic teak. In fact I was lucky enough to find photos of Princess 67 like ours. So using these images, I decided how NOT to do the update.
Here is the foredeck of a Princess V where, IMO, they have tried to follow the Wattsons wood teak design too closely. I don’t like the small thin planks in their design especially as it runs down the side decks.
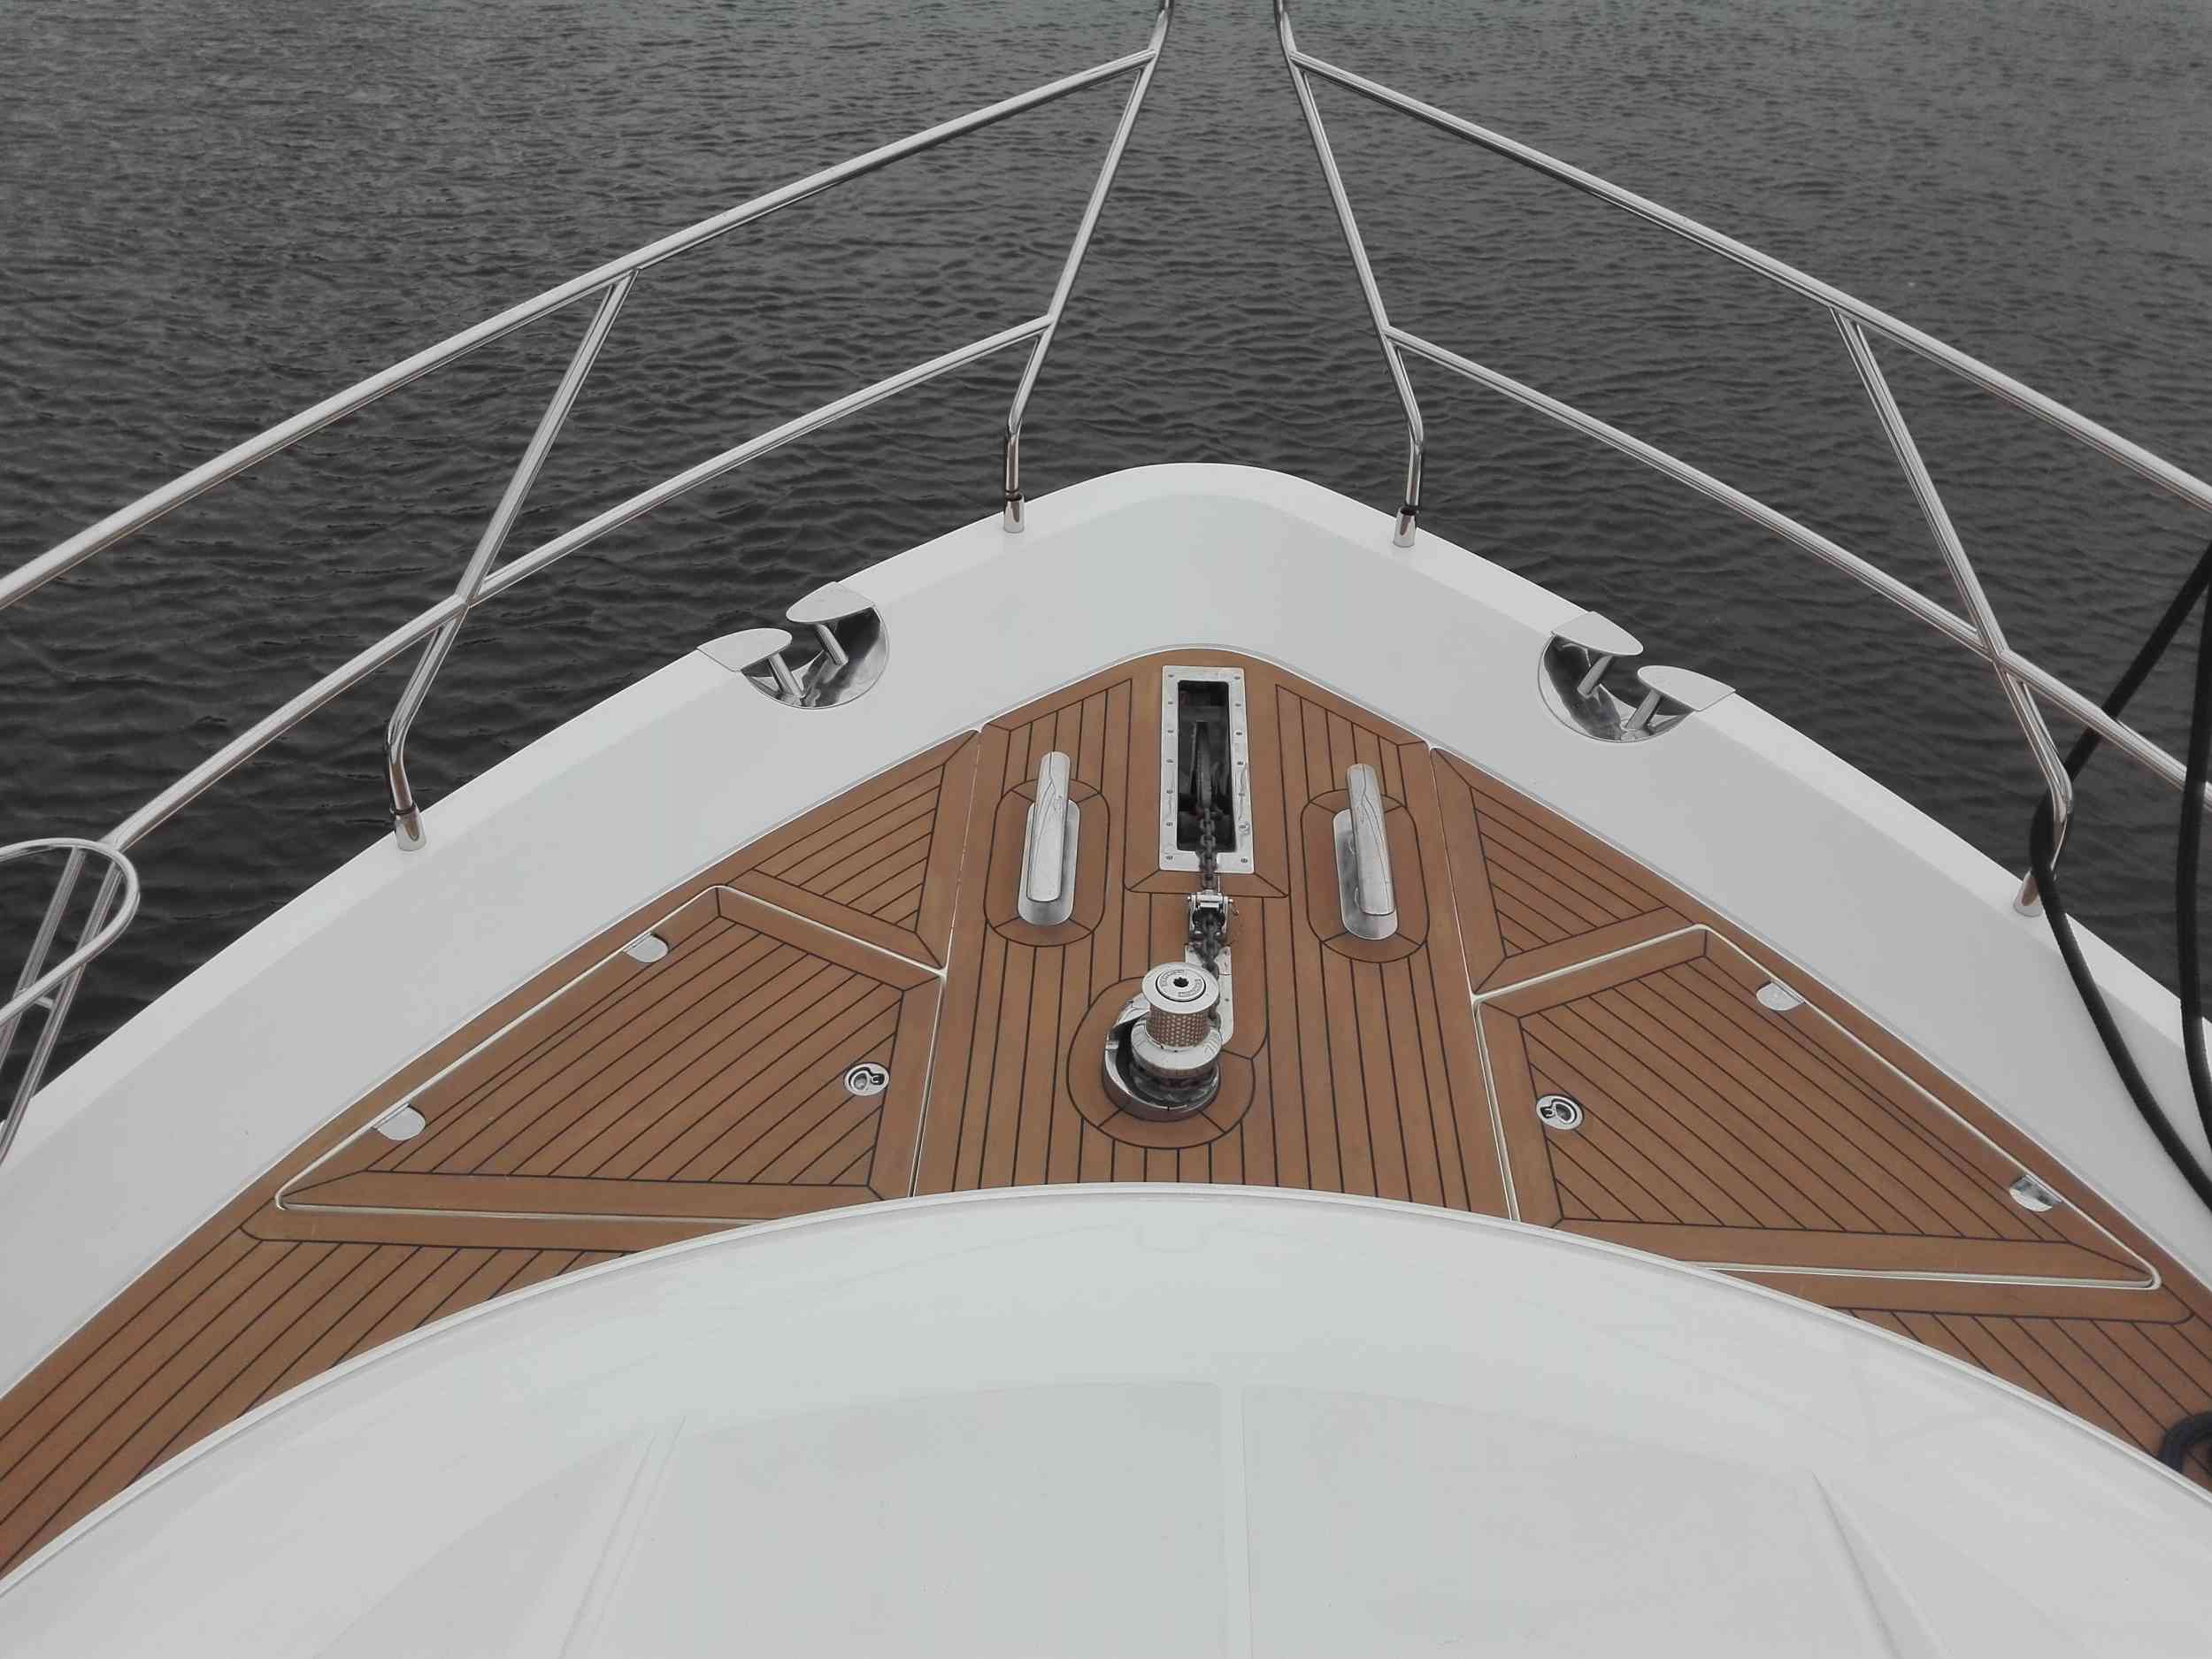
And here is the foredeck of a Princess 67 like ours. Here, they have broken away from the Wattsons design but, by keeping the planks straight, they have run into a problem where they have had to add a centre panel where the deck cleats and windlass are located. Again this isn’t what I wanted
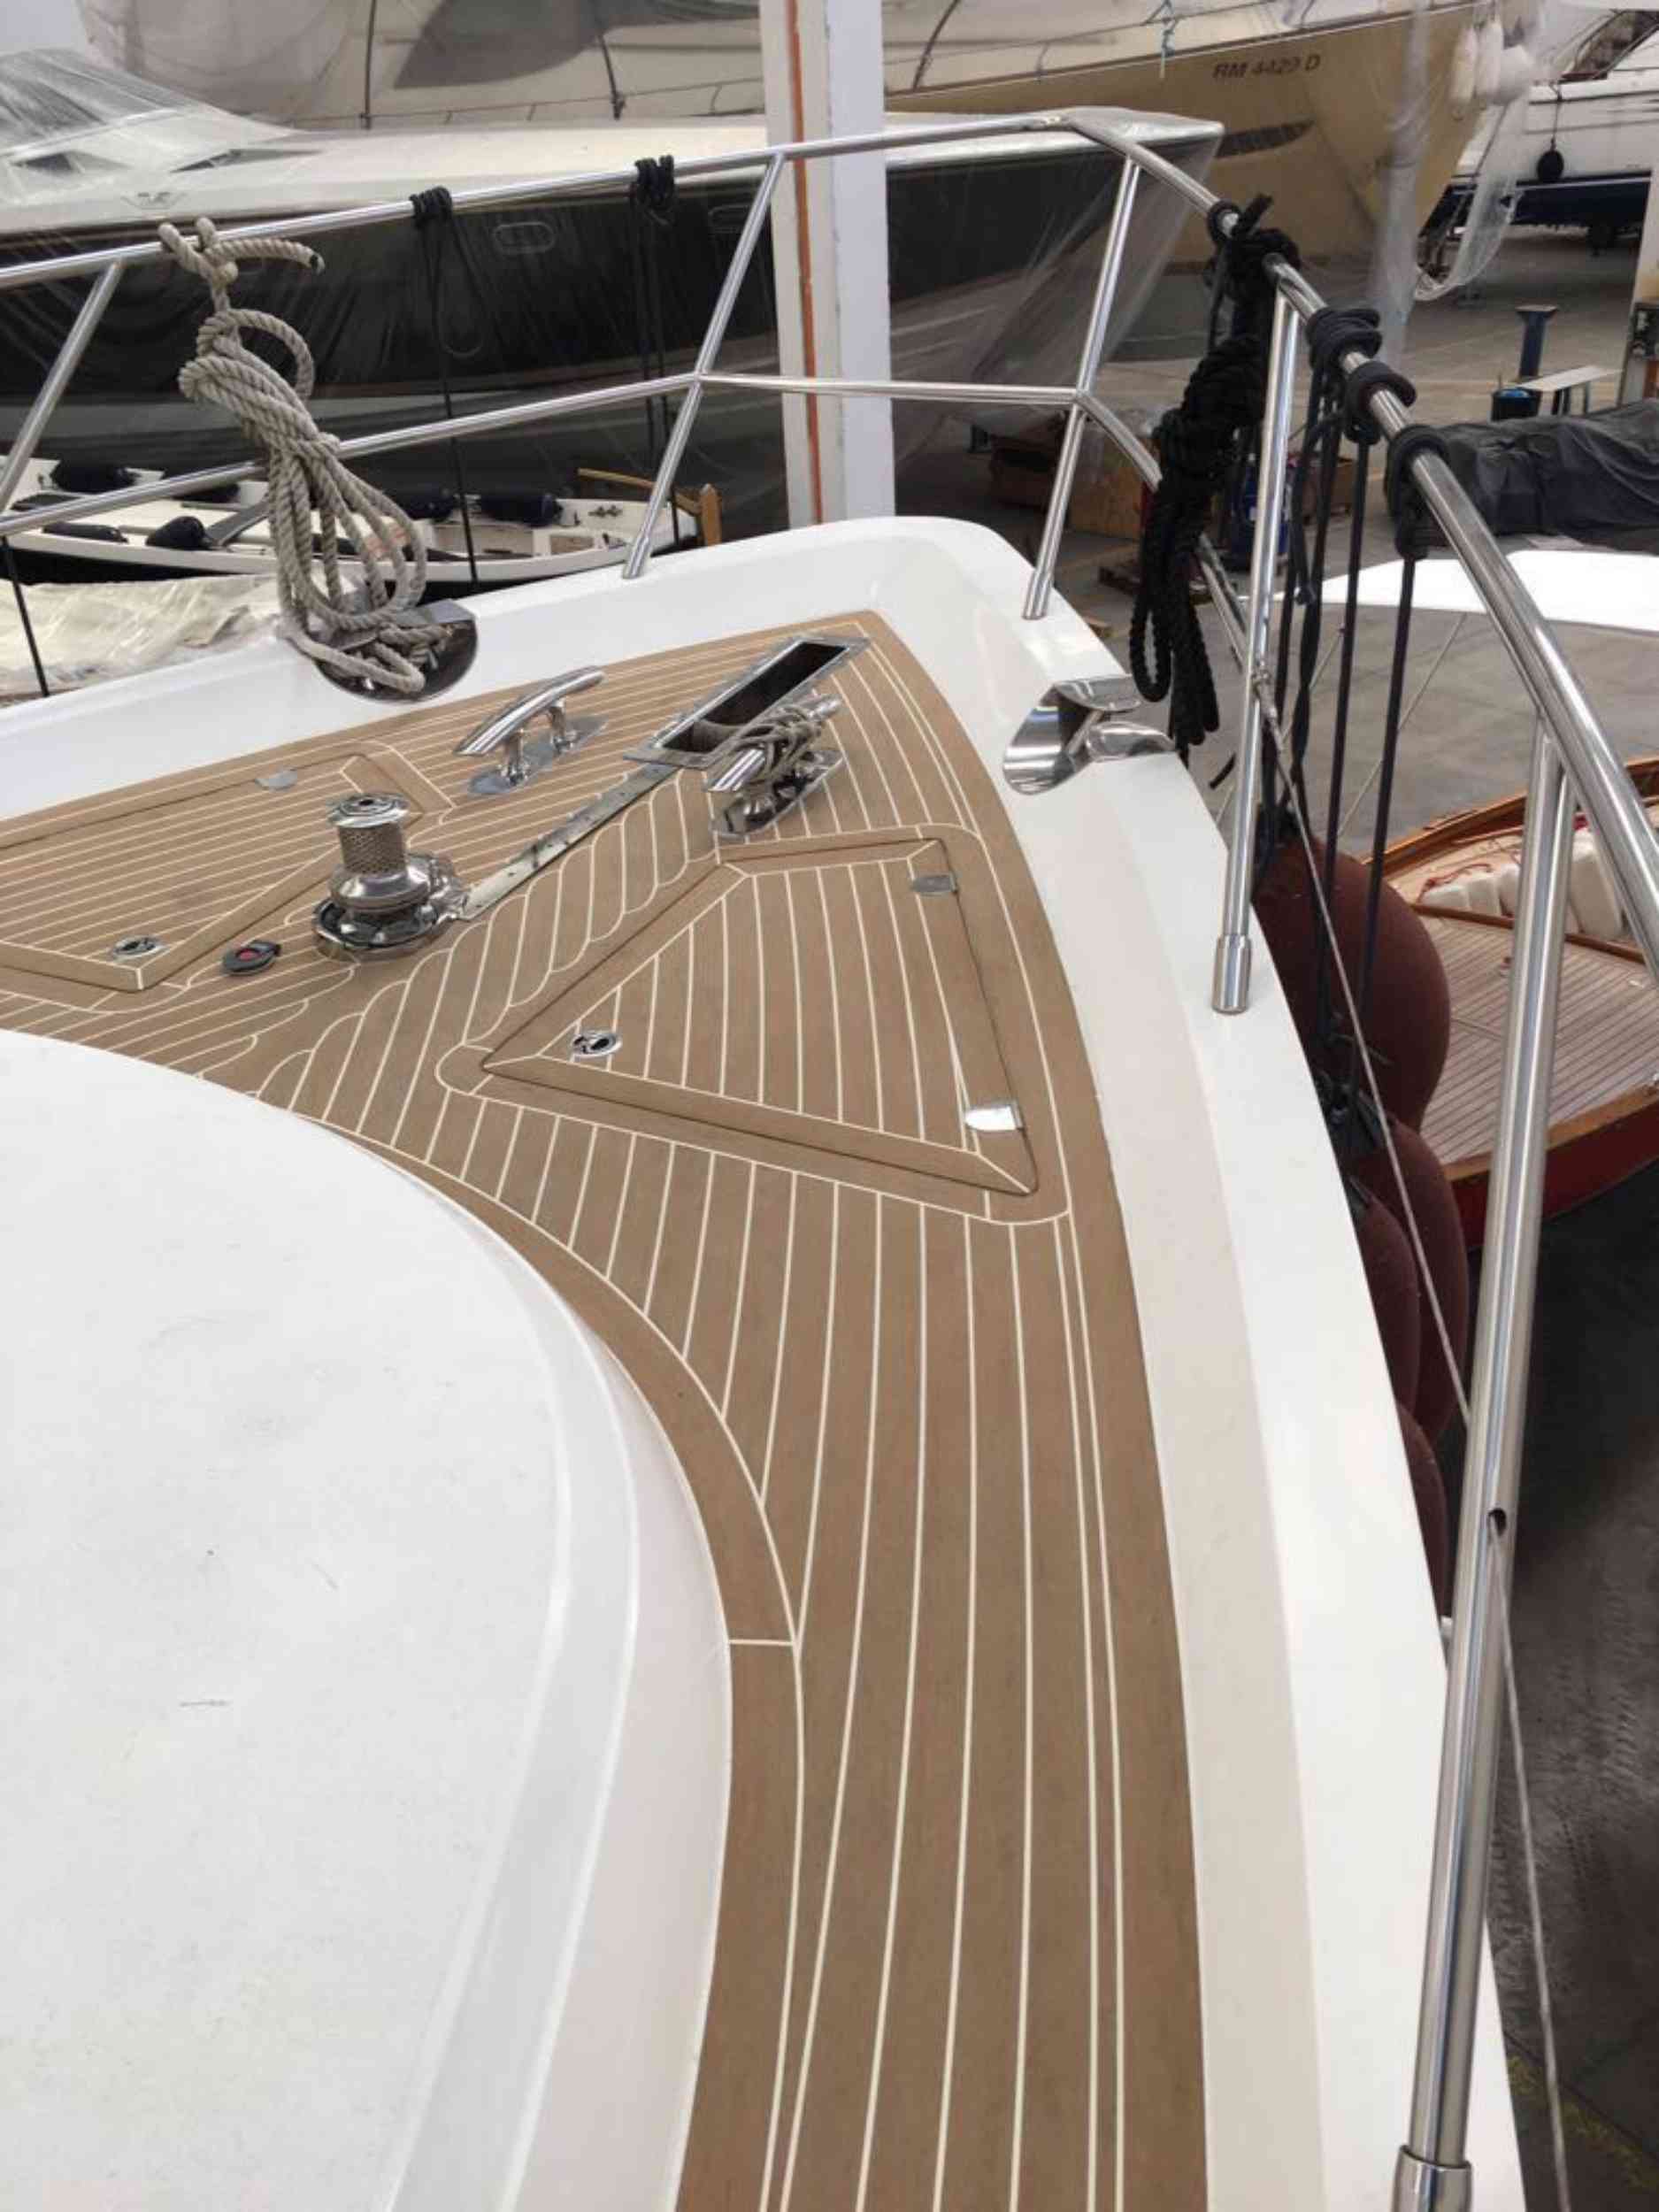
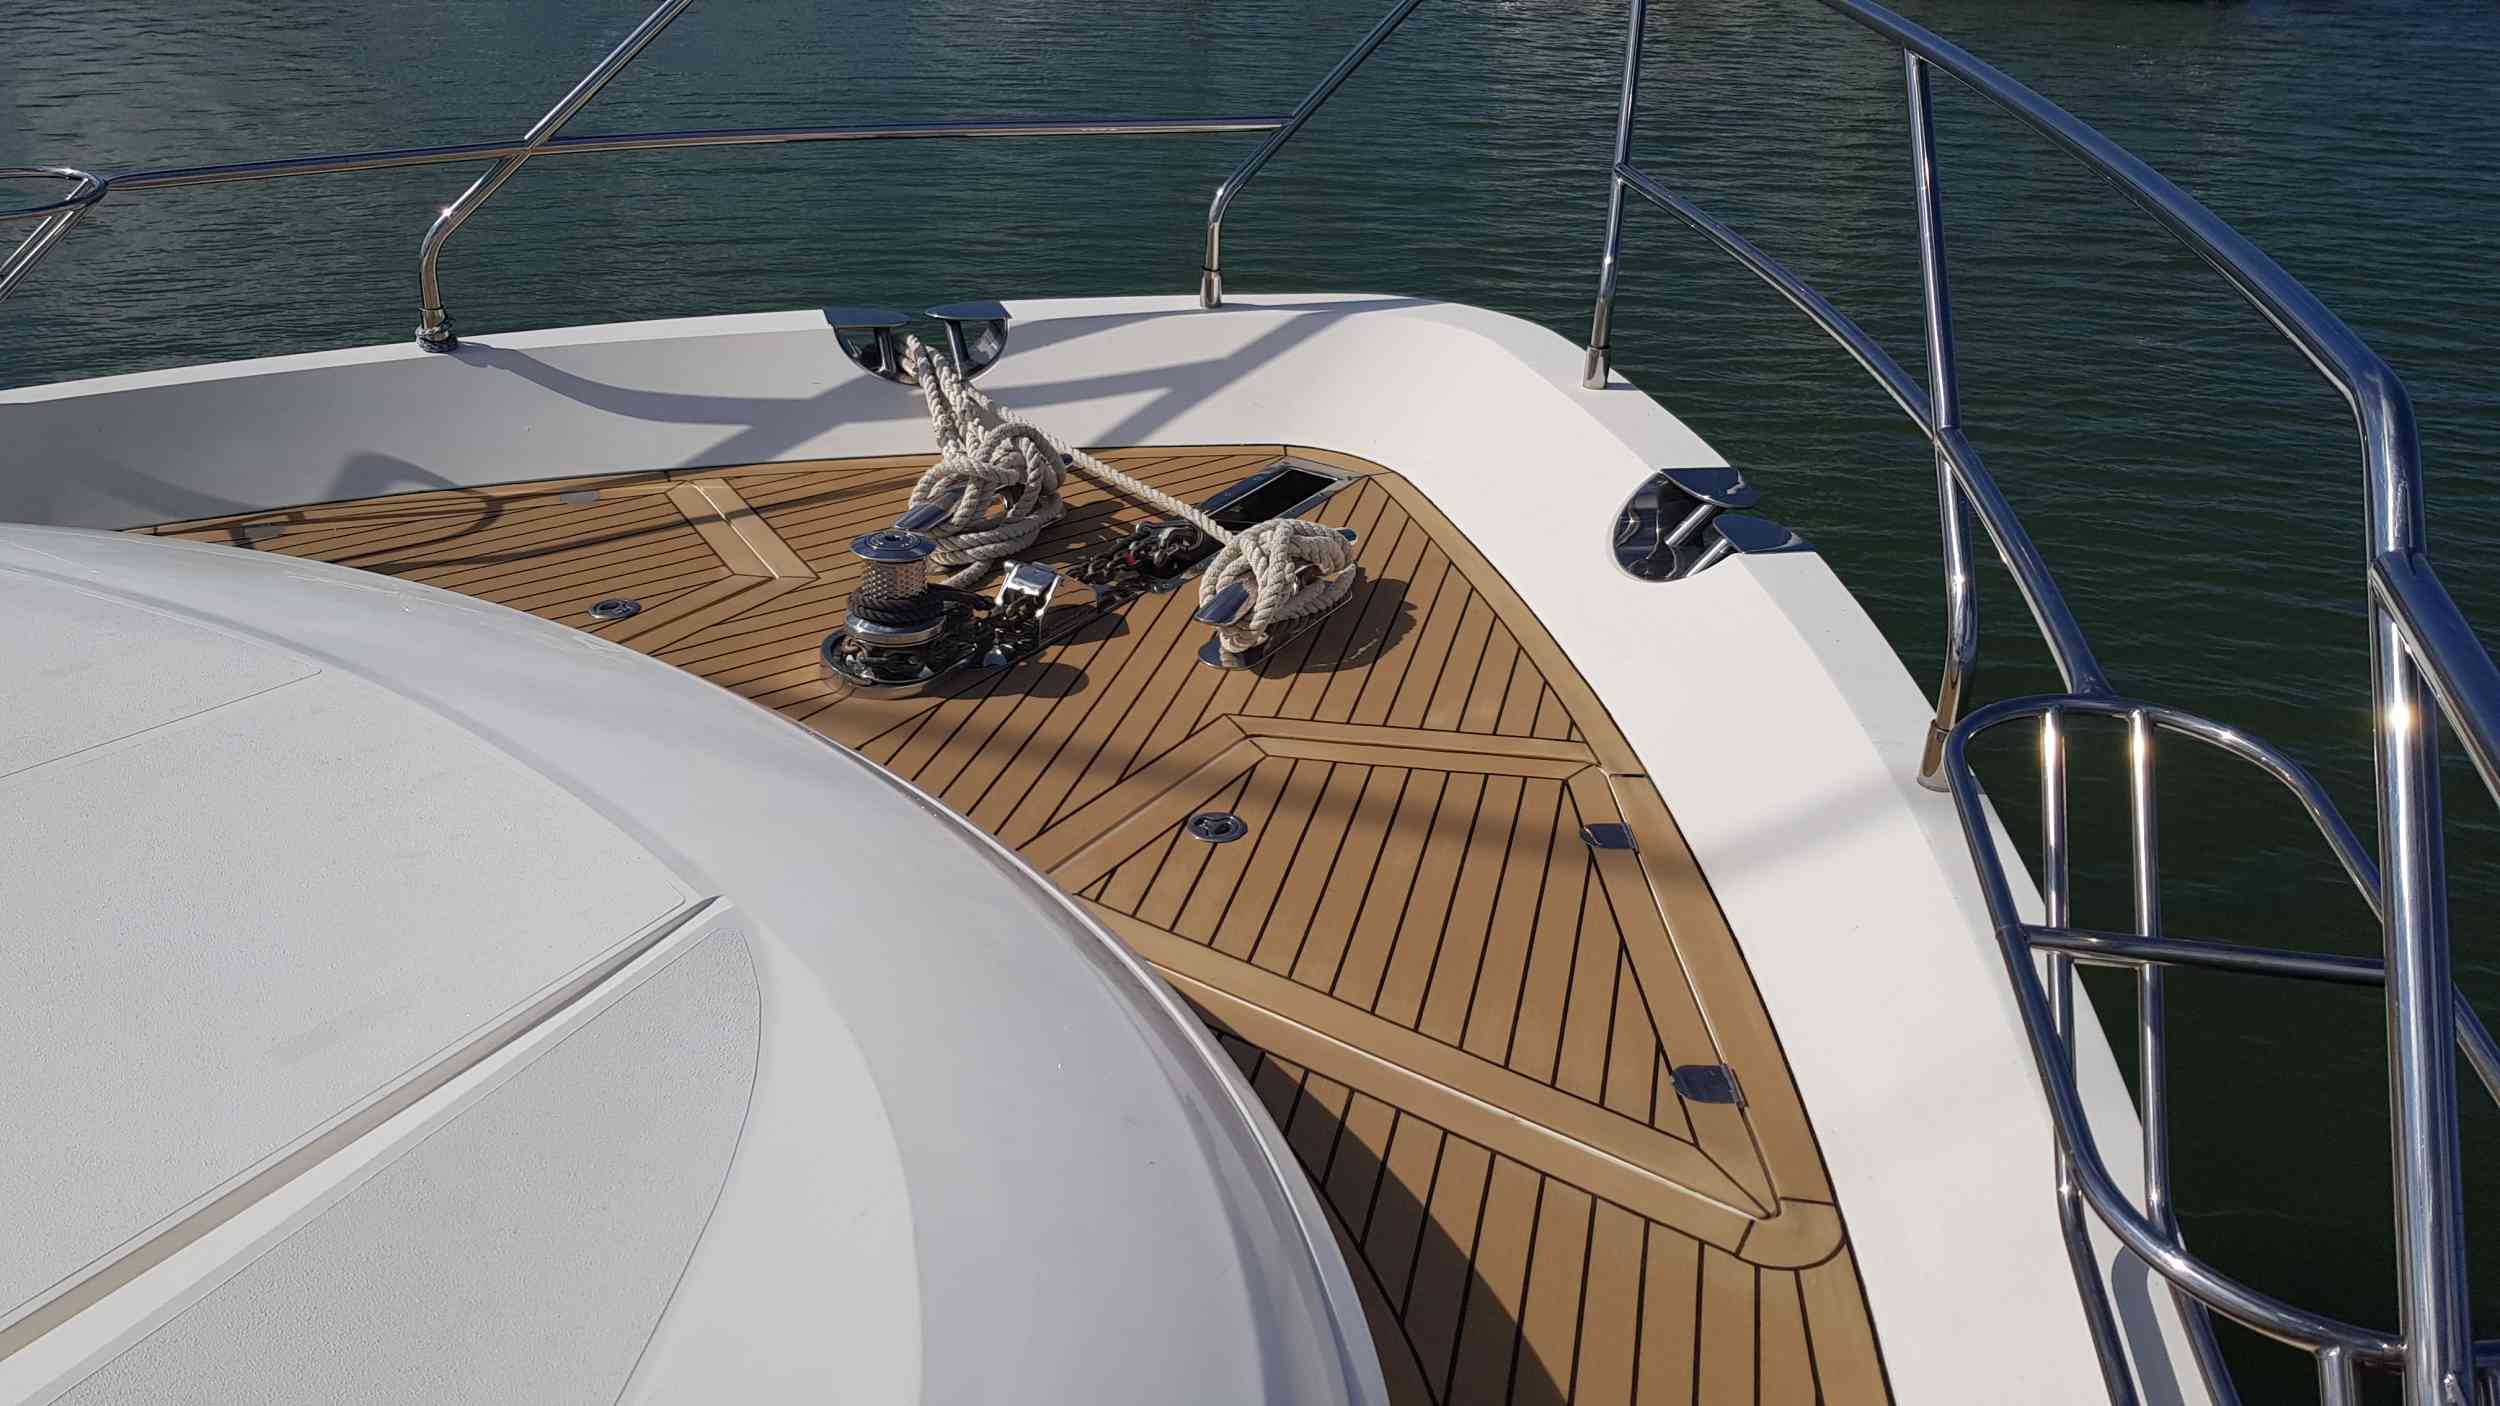
So, my idea was to follow the Wattsons wood design closer but to take care not to have thin planks in the design. This is how mine ended up.
As this thread progresses, I will discuss a DIY concept where I have tried to manufacture and install synthetic teak to the standard that you would expect from professionals. I discussed my intention to post this report with Trakmark who supplied the product that I am using. They are happy that I write this thread explaining the techniques that I have learned so far. Essentially, though, my technique is the same that Trakmark explained when I first started working with their product. There have been areas where I have found some difficulties and as a result I have developed my own techniques which I will explain as this thread develops.
More to follow on the actual making and installing of the upgrade.
Please note that these notes are my views and experiences. Not everyone agrees with my views of real wood teak. But, for the last 15 years, I have owned two boats fitted with real wood teak. For me wood teak is just plain “dirty” and needs continual cleaning to make it look good. We spend quite a bit of time at anchor and we don’t have a water maker. So, every morning, SWMBO and I try to get up early enough to catch the early morning dew to “flunky” off the boat. It is then that you see just how dirty the real wood teak gets. Simply stepping of recently cleaned teak onto a GRP coach roof will leave dirty footprints. This dirt is then transferred around the rest of the boat. The only way to clean it is with the two part chemicals. Some yachties will tell you that all you need to do is throw a bucket of sea water over it but that is total rubbish. Wood teak is just plain dirty and slopping some sea water over it does absolutely nothing. Also, over a period of 10 to 12 years, wood teak requires replacing anyway. Princess yachts start with 6mm thick teak decks. After 12 years the teak ends up less than 3mm thick.
Here is a pic showing the thickness of our old wood teak. You can see just how thin it is.
About three years ago, the bathing platform on our Princess 67 was showing signs of wear to the point where the black caulking was down to bare wood. This made the whole boat look shabby. So we decided to pay to have it replaced professionally. We chose to fit the second generation Flexiteek synthetic deck so now we have experience in both synthetic and real teak. Everything in boating is a compromise and teak decks are no exception. Real wood is hard to keep clean and wears away whereas synthetic teak gets very hot in strong sunshine but is dead easy to clean. So it is a matter of what suits you the best. In my opinion, the hot summer surface is a small price to pay for dirt free decks thus keeping the rest of the boat clean. Incidentally, away from the marinas, the synthetic teak stays much cooler. And as long as you select a recognised product, synthetic teak can look to the untrained eye just like real teak.
Here are some pics after our bathing platform had been fitted with Flexiteek. Sorry about the state of the old winter cockpit covers in the photo!!
Can you tell the difference between the real teak and the synthetic teak?
And here you can see at anchor in the heat of the sun that the surface temperature isn’t that bad.
So, having had some success with the bathing platform, I now want to do the rest of the boat. Apart from being very expensive, it is important to do the job properly to make it look as close to original teak as possible. For example, planks have to line up as they cross over hatches otherwise the job will look awful. So, after getting some quotations for the work and discussing the techniques with professional suppliers, I decided to make and install synthetic teak myself. The first problem that I ran into was finding a supplier who would, not only supply me, but someone who I could call for advice. These days, the market seems to be cornered by Flexiteek and Permateek who push you to their contractors/dealers. This is not what I was looking for. Eventually, I found Trakmark who specialise in providing the components and materials to do exactly what I wanted.
I have decided to split the rest of my teak update into three phases. For right or for wrong, I decided to do the foredeck first. That has been successful so my next area is the replacement of the flybridge teak and finally the last phase will be in the cockpit. I expect to draw this out over several years. It is a real shame that we didn’t have synthetic teak installed on the boat when she was new.
Whilst researching, it was very apparent that there are lots of ways to design wooden style decks. Looking round the internet, I found some examples of Princess Yachts that had been updated with synthetic teak. In fact I was lucky enough to find photos of Princess 67 like ours. So using these images, I decided how NOT to do the update.
Here is the foredeck of a Princess V where, IMO, they have tried to follow the Wattsons wood teak design too closely. I don’t like the small thin planks in their design especially as it runs down the side decks.
And here is the foredeck of a Princess 67 like ours. Here, they have broken away from the Wattsons design but, by keeping the planks straight, they have run into a problem where they have had to add a centre panel where the deck cleats and windlass are located. Again this isn’t what I wanted
So, my idea was to follow the Wattsons wood design closer but to take care not to have thin planks in the design. This is how mine ended up.
As this thread progresses, I will discuss a DIY concept where I have tried to manufacture and install synthetic teak to the standard that you would expect from professionals. I discussed my intention to post this report with Trakmark who supplied the product that I am using. They are happy that I write this thread explaining the techniques that I have learned so far. Essentially, though, my technique is the same that Trakmark explained when I first started working with their product. There have been areas where I have found some difficulties and as a result I have developed my own techniques which I will explain as this thread develops.
More to follow on the actual making and installing of the upgrade.
")