burgundyben
Well-Known Member
That deck sounds like a nightmare!
I'm rooting for you.
I'm rooting for you.
Hi Ben,That deck sounds like a nightmare!
I'm rooting for you.
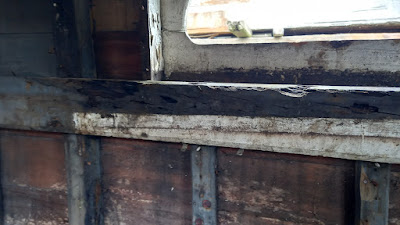
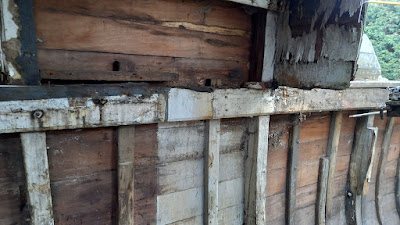
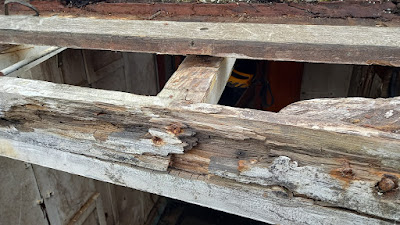
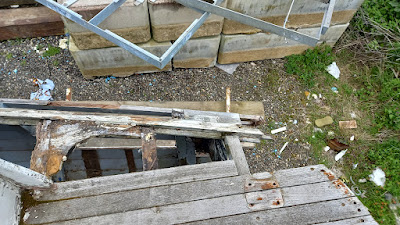
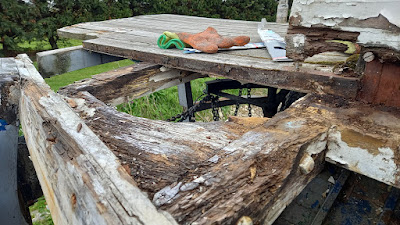
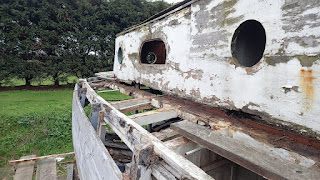
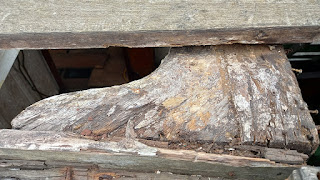
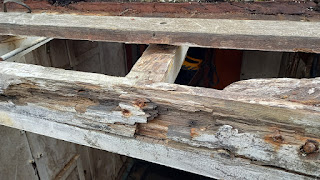
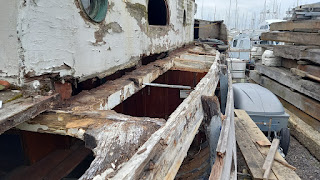
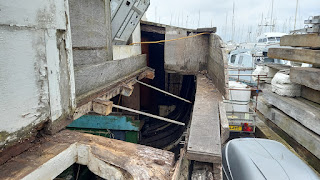
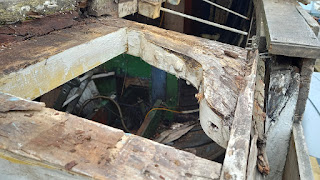
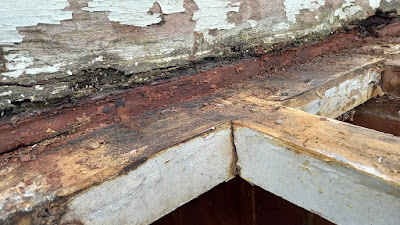
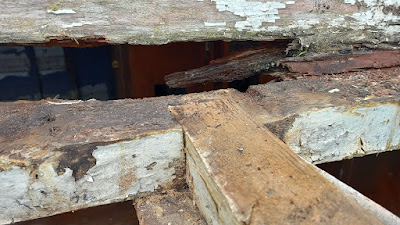
Hi,By coincidence I also had to replace a large part of the starboard beam shelf. I was surprised when the deck was lifted that there were no tie rods. The half and full beams were jointed though. I did have the advantage of having the Devil lifted in one piece. We bolted the devil to a frame on a lorry chassis and then with as many clamps as we could find we bent the uncut beam shelf and clamped it to the shape of the devil. Then left it so clamped for a month and sweated it. We scarfed the replacement and she went into a very satisfying clunk. The carlins were very substantial and were untouched by leaks (fortunately)


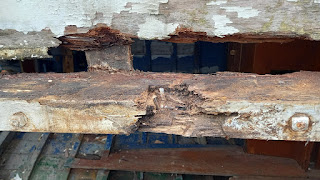

 DSC02127 by Roger Gaspar, on Flickr
 DSC02128 by Roger Gaspar, on Flickr
 DSC02050 by Roger Gaspar, on Flickr
 DSC02051 by Roger Gaspar, on Flickr
 DSC00010 by Roger Gaspar, on Flickr
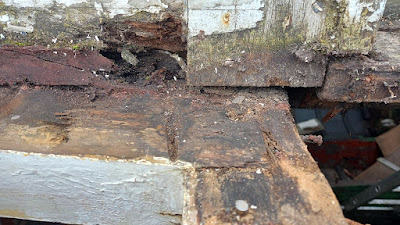


As a saying I live by states " Stick to the fight when you're hardest hit, It's when things are worst that you mustn't quit" I have lived my life that way and I am not about to to change now.I think your user name should be changed to Gunga Din.
You're a better man than I am, Gunga Din!
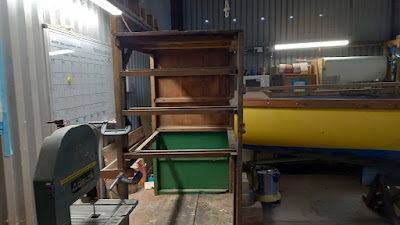
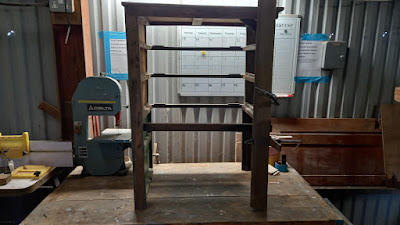
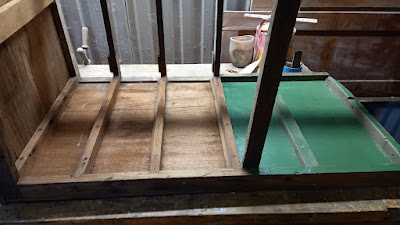
Hi Tillergirl,I do admire trying to save as much as possible. Especially the furniture which will 'retain' her atmosphere. I am sure it is probably quicker to do it from the beginning again but it will be original.