johnalison
Well-Known Member
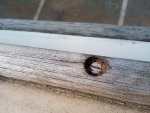
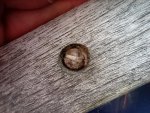
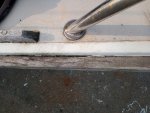
I Patio Magic all the odd bits of teak around the cockpit, which means the sole, handles and sheet track. If I had a grating I would also do that.Bit off topic but what do folks do with a teak cockpit grating. Years ago we used to Teak Oil them as they did not get much UV.


")