Seastoke
Well-Known Member
Yes sir mr MC Google you are good at wrapping, you must love Xmas.


You seem to be ripping along!More photos
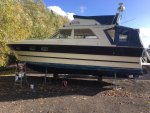
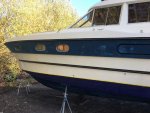
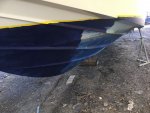
Has she been painted the blue colour shown around the upper part of the lower hull ? Wonder if she has and there is white gel under there, like the rest of the lower ? Certainly those bumper bands surely won’t be original you’d assume ? Or were both the aforementioned part of the hire boat spec/build request ? May have asked previously, but is there any sign of counter ballasting efforts, towards the forward area of the boat ? Just imagining she must be hugely lighter in the water back aft, without the assumed 1500kgs+ of tamd41’s and larger fuel holdings etc.More photos
Hi everybody.
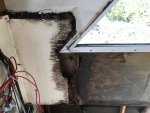
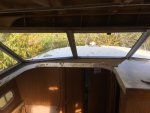
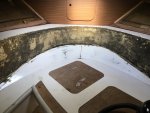
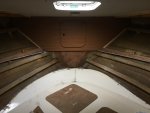
They have also started sanding down the blue upper part of the hull getting it ready for the vinyl wrap. They will finish off by filling those small screw holes left by those really naff corner fenders in the next week or so.
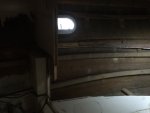
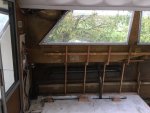
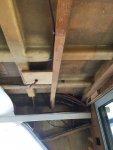
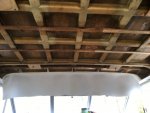
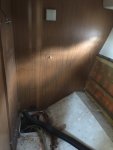
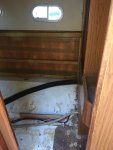
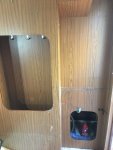
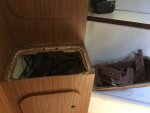
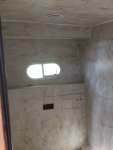
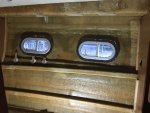
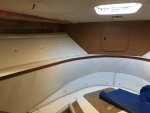
Because it has a very nice 80s tasty finish I will be getting it vinyl wrapped bright white inside.
")
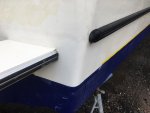
Is someone needing more practice at the helm ? Haha. Not something that should furnish a lovely classic Princess, in my opinion.Those "naff" little fenders on the stern quarters are there for a good reason. If you actually intend using your boat at some some point, you will eventually be doing battle with concrete on the Thames, be it in locks / lock laybyes or many of the mooring spots at the more popular honey pots.
During the gelcoat vs concrete "encounters " gel coat generally comes off worse, dangly fenders do limit some of the damage on the sides of the boat but getting any fender to stay in one place to protect the quarters is impossible, hence them there naff fixed fenders.


Those "naff" little fenders on the stern quarters are there for a good reason. If you actually intend using your boat at some some point, you will eventually be doing battle with concrete on the Thames, be it in locks / lock laybyes or many of the mooring spots at the more popular honey pots.
During the gelcoat vs concrete "encounters " gel coat generally comes off worse, dangly fenders do limit some of the damage on the sides of the boat but getting any fender to stay in one place to protect the quarters is impossible, hence them there naff fixed fenders.