Burnham Bob
Well-Known Member
As part of the maintenance regime I am supposed to clean the heat exchanger stack on my beta 13.5.
Normally I wouldn't worry, but the engine is installed in the bare minimum of space and to remove the stack I'm going to be working blind and for a large part of the time by feel - especially when removing the rear bolt.
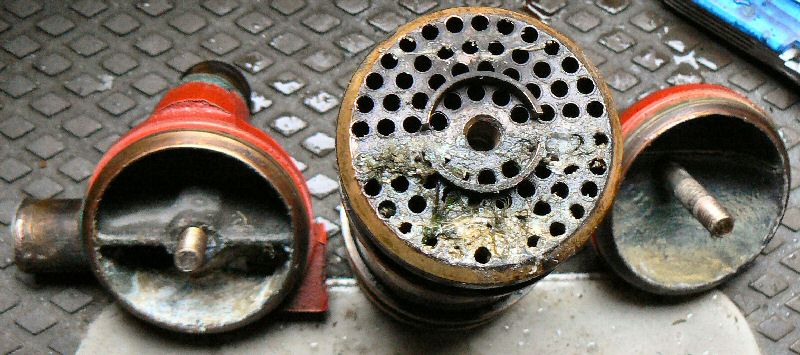
Never having done this job before I'd welcome some advice. Is the stack one unit that comes out in one piece or does it disassemble for cleaning? If it does I don't want to drop bits in the bilge as I draw it out.
Are the O rings captive? Am I likely to find one stuck inside the heat exchanger? Will they stay on when I replace the unit?
As I say, normally I wouldn't worry but never having done the job, and working blind I want to be prepared for every possible cock up and the manual isn't exactly helpful - with small grainy pictures.
Normally I wouldn't worry, but the engine is installed in the bare minimum of space and to remove the stack I'm going to be working blind and for a large part of the time by feel - especially when removing the rear bolt.
Never having done this job before I'd welcome some advice. Is the stack one unit that comes out in one piece or does it disassemble for cleaning? If it does I don't want to drop bits in the bilge as I draw it out.
Are the O rings captive? Am I likely to find one stuck inside the heat exchanger? Will they stay on when I replace the unit?
As I say, normally I wouldn't worry but never having done the job, and working blind I want to be prepared for every possible cock up and the manual isn't exactly helpful - with small grainy pictures.

") ).
).