Replace Blake's seacocks - what to do with bolt holes

infaddict

New member
Joined
26 Dec 2024
Messages
2
Visit site
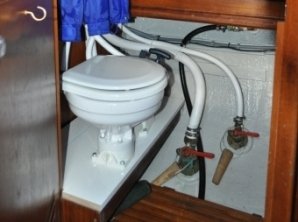
Hi, I am replacing some very old and corroded Blake's seacocks with Tru Design composite ones. The Blake's are secured with 4 bolts so when removed I need to fill these 4 holes. As they are below the waterline it's super important they are filled correctly. I have a solid fibreglass boat and hull.

My plan was to sand/rough up the insides of the holes using a Dremel tool, then put some masking tape over the outside of the holes. Then mix up some thickened epoxy, probably with some silica or chopped strand. And fill the holes.

Is this a suitable repair strategy for under the waterline? Any advice appreciated thanks.
 

Stemar

Well-known member
Joined
12 Sep 2001
Messages
23,747
Location
Home - Southampton, Boat - Gosport
Visit site
Provided the hull is reasonably thick, that should be fine. I'd be tempted to taper the holes a little using a taper drill, but I'm not sure how much that would add. If it's cored, I'd take out maybe 1cm of core around the hole and fill the whole lot.
 

infaddict

New member
Joined
26 Dec 2024
Messages
2
Visit site
Download "FIBREGLASS BOAT REPAIR & MAINTENANCE". Section 4.0 will likely give you the advise you need to reinstate full strength.

Publications - Wessex Resins & Adhesives
Thanks. That suggests a full bevelled repair of any sized hole. Which would mean completing grinding the entire old thru hole and glassing over. Then recutting a new hole for seacocks. A huge amount of work (I have 7 to do) but if it's the best and only way, so be it.
 

steve yates

Well-known member
Joined
16 Oct 2014
Messages
3,869
Location
Benfleet, Essex/Keswick, Cumbria
Visit site
Would it not be a lot less work to replace them with other blakes? They are about the best seacock you can get.
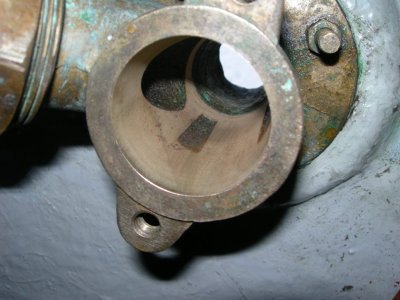
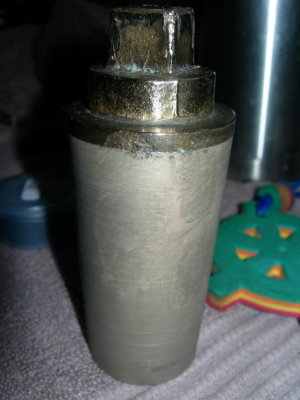
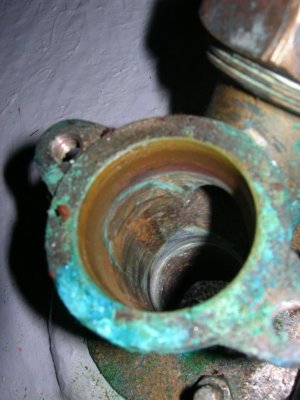
And also on those lines, do they really need replacing? A lot of old boats have decrepit looking old siezed blakes seacocks, that are transformed just by removing them, cleaning them up with petrol and lapping the cones with blakes grinding paste. Much less work than filling the holes.
 

Caer Urfa

Well-known member
Joined
28 Aug 2006
Messages
1,859
Location
Shropshire
groups.yahoo.com
There's no quick fix to do it properly. the holes are probably about 10mm dia and you need to count sink each hole inside and out to say to 20mm dia
After cleaning and sanding the area cover the outside hole over first with something plastic and start covering inside with say a 12mm dia fibreglass cloth cutout/resin, then another say 16mm dia and build up say halve filled, then do the same outside, fill both sides until proud of the hull thickness , outside can be sanded flush to suit later

However as above I would service the old ones , my last ones were 30 year old and worked fine, I always used Blakes 'green; own grease
 

Attachments

  • Blakes valve After grinding valve.JPG
    Blakes valve After grinding valve.JPG
    130.6 KB · Views: 3
  • Blakes sea cock valve After grinding.JPG
    Blakes sea cock valve After grinding.JPG
    110.8 KB · Views: 3
  • Blakes valve Before grinding.JPG
    Blakes valve Before grinding.JPG
    127.3 KB · Views: 3
  • Caer Urfa - Heads close up.JPG
    Caer Urfa - Heads close up.JPG
    62.9 KB · Views: 2

RunAgroundHard

Well-known member
Joined
20 Aug 2022
Messages
2,284
Visit site
Thanks. That suggests a full bevelled repair of any sized hole. Which would mean completing grinding the entire old thru hole and glassing over. Then recutting a new hole for seacocks. A huge amount of work (I have 7 to do) but if it's the best and only way, so be it.

I would look at the guide as just that, a guide, not a regulation that you follow. Then try and meet the intent that was both reasonable and secure. I did think much the same as you note and agree with your comments. On my own boat I recovered a 4 inch flue hole in the couch roof following the same guide, but filled a small 15mm shower draIN outlet (above the water line), just by tapering the inside and outside. I did fill as you suggest in your OP, but used glass cloth inside and outside to cap the plug of GRP.
 
Top