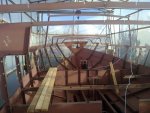
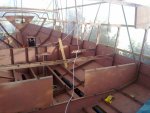
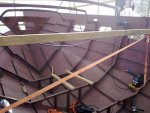
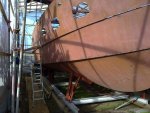
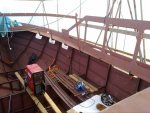
Steel boat build - Almarine 1200fa

JOHNPEET

Well-known member
Joined
24 Sep 2002
Messages
426
Location
Anglesey
Visit site
As requested by some of the members of the forum on my post regarding boat transport by road - I’m going to share some of the photos that I’ve taken of my boat building project that I’ve undertaken over the last eleven years or so along with a bit of a storyline/explanation of the photos posted.

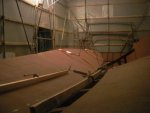
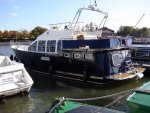
The boat is an Almarine 1200fa - the hull itself is a touch under 12m overall which is extended to about 12.7m with the addition of the swim platform and is 4.3m beam. Design draught is 1.2m. The hull is a steel kit designed by Hans Alma and supplied to myself by Bonito Boats in the Netherlands, which Hans owned and managed at the time. The first photo below is of a completed boat(not mine) which was based in Bristol - just to give you an idea of what is looks like.
Just a quick about the project that I’m going to share with you. The project has required many decisions to be taken about all sorts of aspects of what will be the finished boat. The decisions made are mine. Those decisions were made on a whole host of reasons and issues be it financial, limitations on my practical skills, limitations on the availability of equipment or simple personal preference. The decisions and choices that I made at the time may differ from those that you would have taken, but then your circumstances and limitations would have been different to mine! I’m very happy with what you will see as the end result and it is more than adequate for what I and my family need and intend to enjoy. I hope you enjoy my journey!

Do I have any regrets - yes, the obvious one being I wished I could have finished it in half the time! ?

The steel kit was ordered from Bonito Boats in late summer 2009 and arrived with me around Oct 2009.

The steel was all offloaded at my in-laws farm and put into one of their sheds for dry storage. We then moved it from there by tractor and trailer in three separate loads as i needed the various parts. The farm is about six miles from my house (The build site

After considering a number of various options, I had finally decided to use my garden as a build site and this is something that I have been so thankful for. It’s meant that I could just pop out at any time to work on the boat and make use of my workshop for whatever I need. Having to travel any distance to the build site would have been a nightmare!
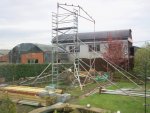
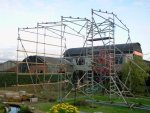
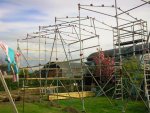
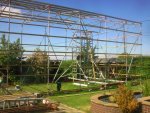
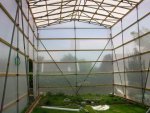
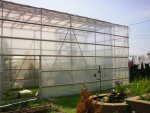
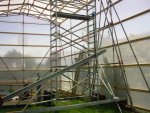
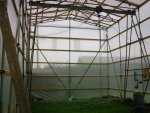
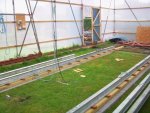
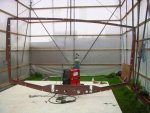
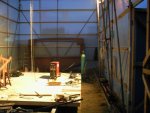
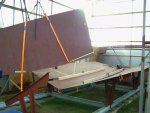
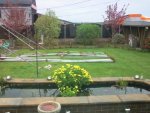
So the first batch of photos that I’m going to share with you is of the weatherproof shelter that I built between April and Aug 2010. The shelter needed planning permission! I also have good neighbours!
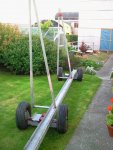
If you look carefully at the last of the photos, you should be able to make out the gantry that I made for lifting and moving the steel and engines etc.
FD71AF97-D628-4227-BF29-0265C5E2A8E0.jpeg0BF363C2-65D0-4CD7-925B-B8A2E4E7978D.jpeg14F6CBA5-F836-4938-8361-E0A179825715.jpegB16A5101-154D-46C4-B8EC-B5F918587A48.jpeg8EFE1775-288C-46DF-ABA6-8AD34BEDF427.jpeg40B5D4D1-CC04-48FB-A66B-1514F44B79A6.jpeg345B8318-C568-4737-B84A-99DAFB2D53C9.jpeg601F2130-5D9A-4638-9389-366E124E7405.jpegD2105AF8-FB73-4851-9B82-C3D622F0D25B.jpegC1CA7D8E-2374-4513-82D2-5652FCA29102.jpeg
 

colhel

Well-known member
Joined
9 Jan 2011
Messages
3,967
Location
Gillingham(Dorset) Boat Weymuff
Visit site
Yep looking forward to this.
Me too. I nearly nearly went down this route with a Bruce Roberts kit, about 20 years ago.

Friend of mine finished one about 4 years ago. I was involved in a very small way by helping out with some machining.
A massive commitment that needs a lot of self determination that @JOHNPEET here must have.
 

JOHNPEET

Well-known member
Joined
24 Sep 2002
Messages
426
Location
Anglesey
Visit site
Yes, I have to admit that I am very fortunate to have an extremely tolerant wife that accepts and supports my madness! ? Building the boat in our garden was actually her idea! She suggested it one day I suspect at a moment of weakness, when feeling sorry for me when I was trying to come up with a practical solution for the build site. Needless to say - I didn’t waste any time in taking advantage of that! ?

A little bit more about the “boat shed”

It is constructed predominantly from steel scaffold tube, with the uprights anchored into the ground via a 300mm square plate welded to the bottom and a wheelbarrow full of concrete on each one. The roof trusses are welded up from scaffold tube and 2” pipe and just slip over the top of the uprights and clamped with two 16mm pinch bolts. The plastic sheeting is “scaffold sheeting” and is amazingly strong. I bought it on 2m x 45m rolls which works out reasonably cost effective. It lasts about 2 years before degrading with UV from the sun, so has been recovered a number of times over the build period.

So the next stage was to form the steel building frame from RSJs. This was laid level on two strips of 100mm solid concrete blocks laid on the soil. 9” x 3” timbers were then laid on the blocks with the RSJs spaced off the timbers by hardwood blocks with a gap of about 11/2”. This was so that I could use a toe Jack to Jack up the building frame to re-level it if it sank into the ground. I’ve had to do this only once during the build and it only needed about an inch of packing to bring it back level again - this was laterally. The frame has stayed level longitudinally.

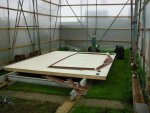
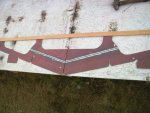
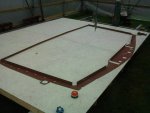
On top of the building frame and prior to the cradle being fabricated, I built a frame table from 4” x 2” timbers and six sheets of OSB painted white. This was used to mark out the dimensions of each of the frames in turn, so they could be tacked together.

Just a quick word about welding - The steel kit came with a comprehensive construction manual, much of which was about the welding sequence to be adopted and many warnings about ensuring that these instructions were followed if a fair hull was to be achieved. I have to say that these instructions turned out to be very valuable as welding distortion is very definitely your greatest enemy!
It is extremely important that the whole of the hull, frames and stringers are tack welded together initially - no full welds should be run on any of the steel as distortion from the welding will pull the boat out of shape to the extent that the hull plates just won’t fit! The other advantage is that it’s also easier to take things apart when you make a mistake ?

So the frame table was used to assemble the frames - tacked together only at the joints, with sufficient weld to hold them in shape only. The frames were then stacked half at each end of the shed ready to be assembled onto the bottom plates.

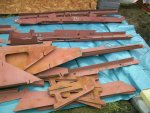
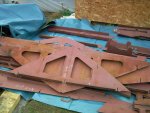
In terms of steel thicknesses - the hull bottom plates, frames and bulkheads are all 5mm thick. Everything else is 4mm thick apart from a few parts which were cut from 5mm steel because they were nested onto those plates to make best use of the steel when cut with the CPC plasma. The steel is certificated Lloyds grade”A” marine steel, grit blasted to remove mill scale and primed with sigma weld primer prior to being CNC plasma cut.

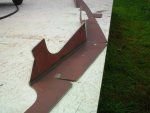
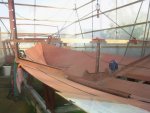
Where required, parts were pre folded or rolled . This has not always been a perfect science at the works prior to delivery it appeared as a few of the frame parts had been incorrectly folded and had to be cut and welded to correct. This can be seen in a couple of the photos.

I have to say that overall, the accuracy of the cnc plasma cutting was in the main absolutely mm perfect. If parts didn’t fit it was generally because I had made a mistake or something was not in place properly!

71F29B08-DDBA-472E-B94F-F2400D759D5A.jpeg906BE934-992D-40A7-B6B7-1D303E2DF313.jpeg0AE3DA4F-5413-4F09-A68D-D124571328B3.jpegF26F92C1-29A1-4320-B0FA-58863C9C2525.jpeg6010612C-AB77-4F6E-9F8F-51698078393D.jpeg030AAC6D-DA72-4348-B876-F15794074306.jpegD345FFC9-A6CA-42C9-8059-F8DDA1EC9626.jpeg9B2B33C2-A378-470E-9D28-D6DCE7430FAE.jpegAE9D65F4-BDD0-4C8D-A240-EDDC594462D4.jpegA3D9EA07-94E9-4DB7-A021-5DAA99D8183B.jpeg
 
Last edited:

JOHNPEET

Well-known member
Joined
24 Sep 2002
Messages
426
Location
Anglesey
Visit site
Ok adblocker installed on the IPad and we’re up and running again! Thank you to those that suggested it and apologies for taking a while to get round to trying it!

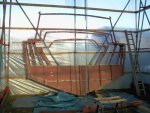
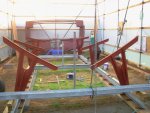
So once the frames had all been tacked together, the framing table had served its purpose and was replaced by the rest of the building cradle on the RSJs. The cradle came as part of the steel kit and was intended to get the builder on their way, but required some additional strengthening as weight was added and the build developed.
After the cradle was alined and welded in place the next stage was to bring the four bottom plates over from the farm and get them into the shed. These are 5mm thick with the largest weighing around 500 kg. I did have some help to get these into the shed and manoeuvred onto the cradle. You’ll also see in the photos the trolly that I welded up to move the steel sheets from the roadside, into the boat shed - a distance of about 30m. The trolly allowed the sheets to be moved on edge.

The bottom plates were aligned and tacked together every 300mm or so. This was fairly straightforward at the aft end as the plates were flat. Further forward it was more of a challenge as the curvature of the hull became more pronounced. A combination of chain block and numerous ratchet straps were required to pull the sheets up into the required curvature and together at the centre for tacking. As previously mentioned though, once they were in the right position, the joint was perfect.

All of the hull sheets had lines ”etched” onto the primer for alignment of the frames. I think this is domes by running the cnc plasma without the compressed air on! This made alignment of the frames onto the bottom plates fairly straightforward. The most difficulty was found where there the bottom plates had to be jacked up to meet the frames in some instances. This was due to a natural lateral curve forming in the plates which was greater than the curve on the frames. Remember the plates are 5mm thick, so not particularly flexible!
8AFDB941-DB64-4A65-A853-A388C64C4E14.jpeg7E244292-EEB3-455E-A83F-5E86DA5F3DAC.jpegD3B85DE2-C7D8-4BA9-B3D8-1283D5A9ABF7.jpegCCBEF9F9-2EF7-4BC6-963C-B408B4BD72DE.jpegACCF98FE-957B-47EA-8674-7D17809695FF.jpeg

94236182-8810-4DAD-A443-D5EF0717CD39.jpeg851F9375-D911-4744-9993-78998F87CF94.jpeg9EDF6F1C-C3FE-4A42-9C0E-E0985E912C16.jpegB83B2F0F-7EA9-491F-9865-176BE82DE415.jpeg9C967419-C1DF-4E8E-AA2C-2965DAC840B2.jpeg
 

JOHNPEET

Well-known member
Joined
24 Sep 2002
Messages
426
Location
Anglesey
Visit site
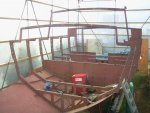
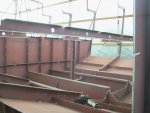
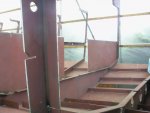
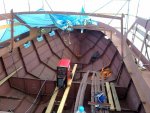
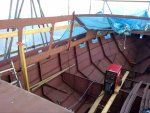
So one by one, all the frames were tacked onto the bottom plates remembering to insert the stringers into the slots before doing so. The stringers were also cut from sheet stock by cnc plasma as they are curved to suit the various parts of the hull. You will also notice the limber holes cut in the frames and stringers to allow any condensation/moisture that develops in the finished boat, to drain to the lowest point from where it can be pumped away.

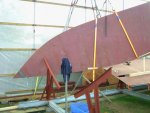
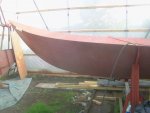
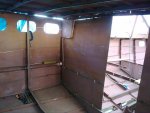
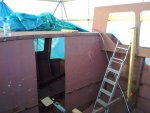
After Ty frames were all tacked to the bottom plates, the side plating was added and a process began of lifting plates, alignment, tack weld here, pull it into place a bit more, tack weld there - repeat! The time taken to add each plate at this stage could vary between two or three hours to a day or more, depending how much grief was suffered to get it properly into place and tacked. The important rule being not to move on until each plate was completed as perfectly as you could, otherwise any problems would just be further compounded as other plates were added.

106DA3FC-1838-4DE0-BAF3-B56118ADEED4.jpegECFF34A1-3B8E-4C3D-AB4F-DA1B406C4E5C.jpegBCC60804-CB11-4337-9047-47DC632C5671.jpeg1AB876FF-8367-44E2-B948-B58FC85BC83C.jpegF0F68E5B-6918-4F7C-BE0B-5E29FE70F805.jpeg4845E424-77BE-45EF-870E-1B0A82C7E72E.jpeg3A1CAD02-5ECF-4C30-B0BA-59FB21D652EF.jpeg3D8AA2B0-F871-4F96-B821-626021A56578.jpegFCEC0186-0B1F-480A-B673-727C0060771D.jpegA2B7E21E-D272-4453-81DB-37A6721018A7.jpeg
 
Top