rafiki_
Well-known member
Happy New Year to you too Vas.
Sorry to hear you have back problems. Few things more painful or debilitating ��
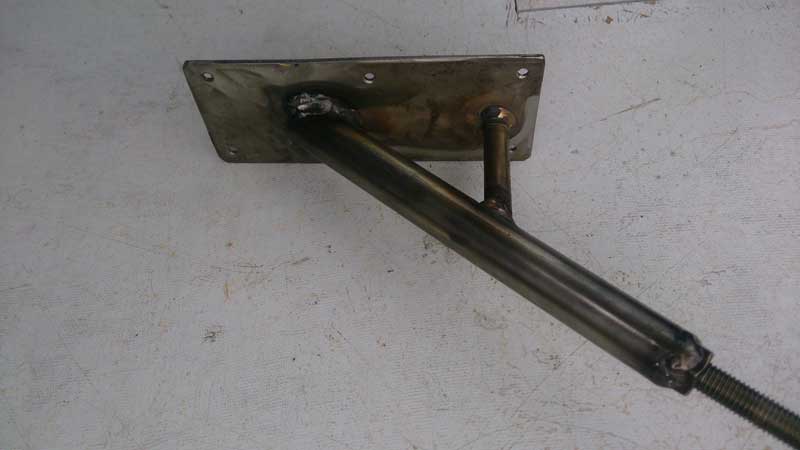
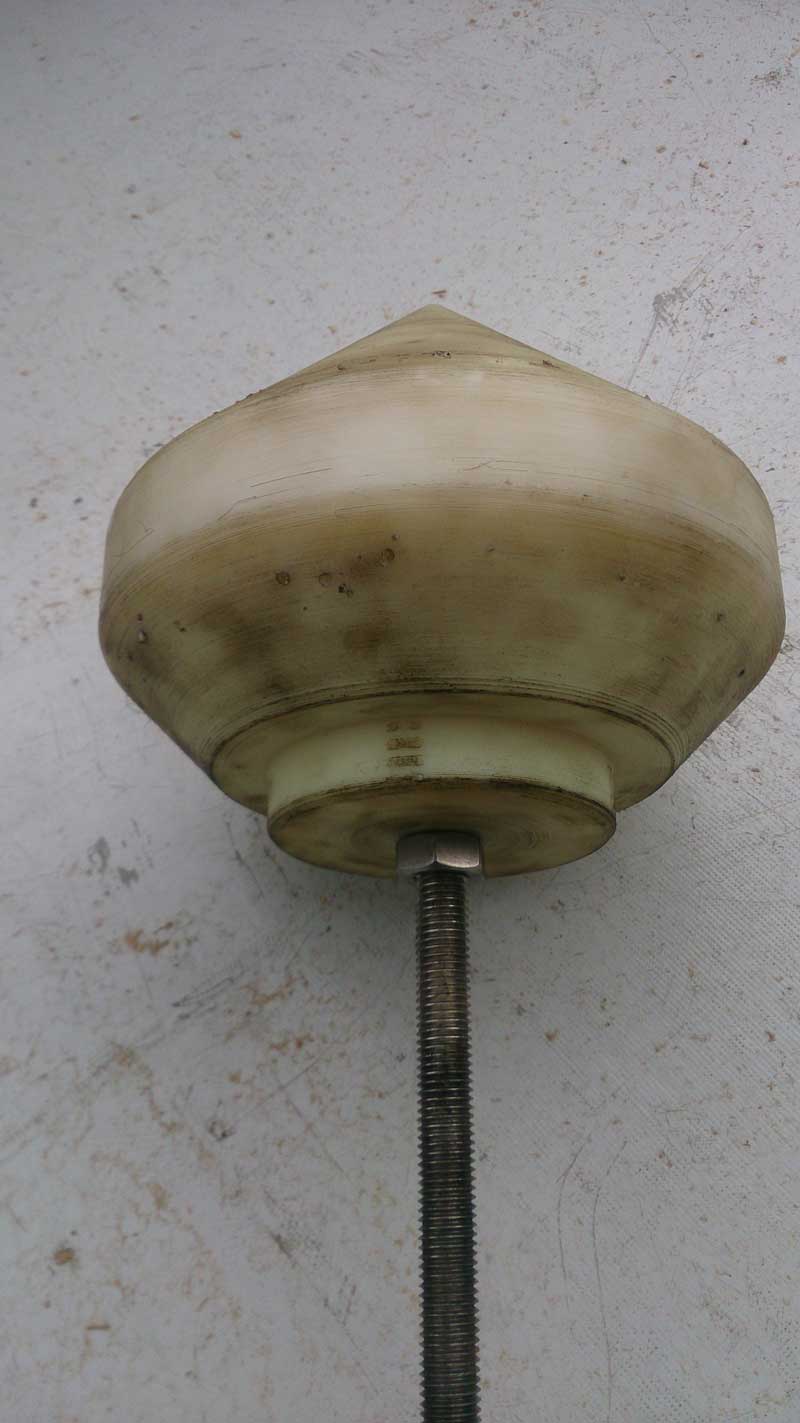
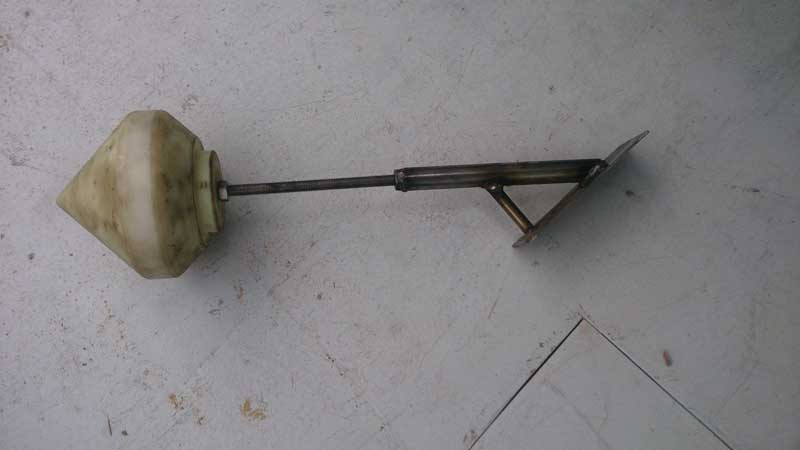
Nice work on the anchor. And nice for you to have the extra reassurance.
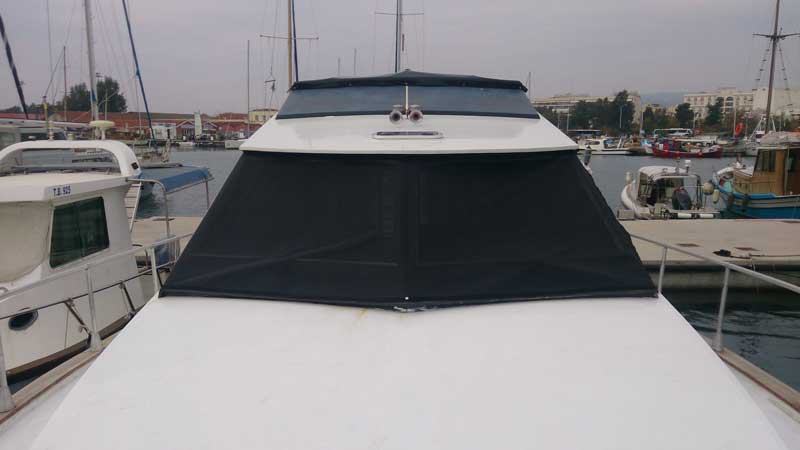
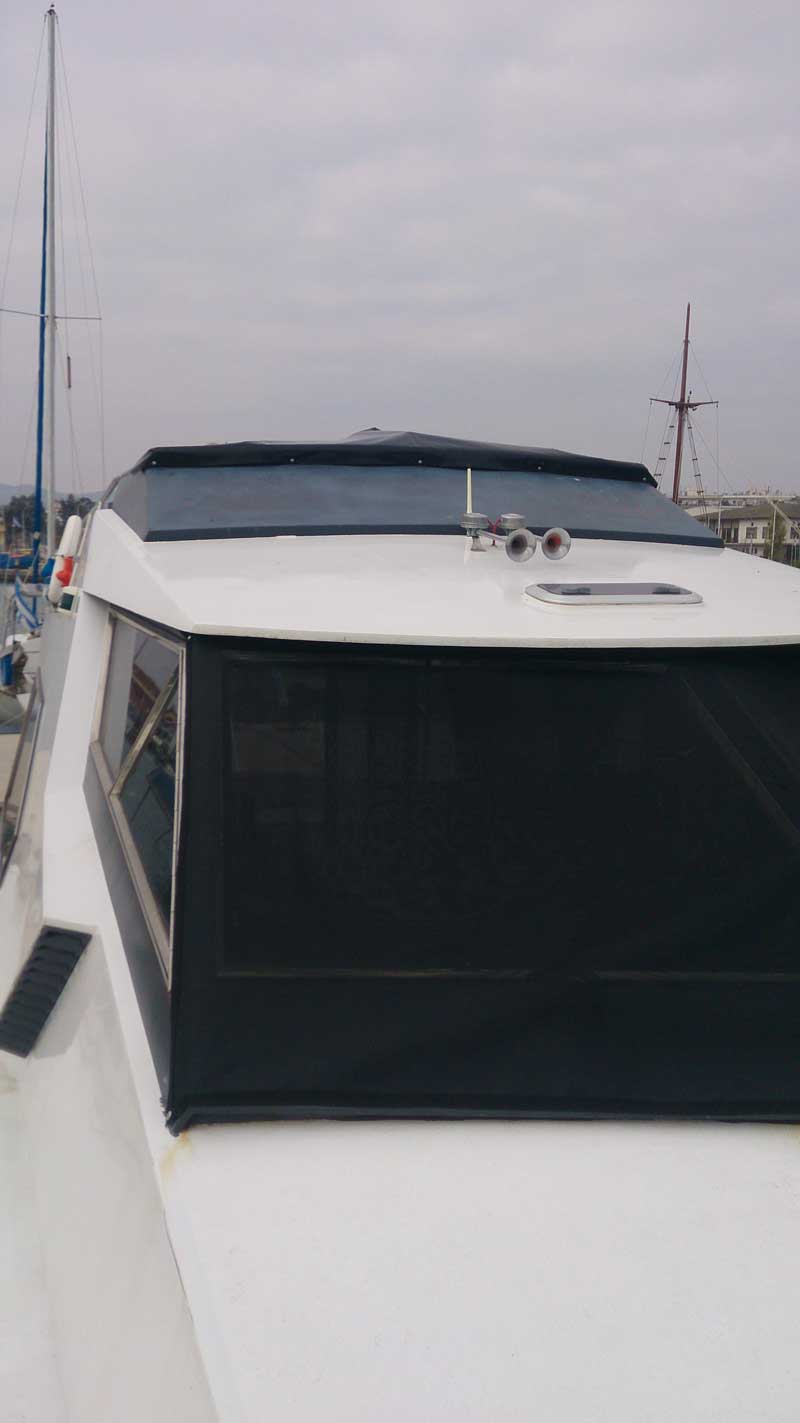
In the Azi, the curtains have tracks top and bottom, hence keep the curtain material reasonably tight, so no sagging.
Sorry to hear you have back problems. Few things more painful or debilitating ��
Nice work on the anchor. And nice for you to have the extra reassurance.
In the Azi, the curtains have tracks top and bottom, hence keep the curtain material reasonably tight, so no sagging.
") cant keep a mad man down
cant keep a mad man down